Smoking meat can be a dirty process, with ash, dripping fat, sauces, and more to deal with. So you need to know how to clean an electric smoker.
After smoking some fantastic food and massively impressing your guests, they go home to leave you with crusty grill grates, a drip tray full of grease, a chip tray of full ash and all sorts baked onto the inside walls and floor of your smoker.
So how to clean it?
After reading this guide, you’ll know exactly how to clean your electric smoker properly, the equipment that you need, what to do when faced with mold, and how to maintain it thereafter.
Not only is cleaning electric smokers necessary for visual allure and, of course, health and safety, but it also prolongs its lifetime.
Cleaning your smoker is a skill that you need to learn, so whether you are a smoke newbie and you’re online doing your research, or you’ve been at it a while, and you can’t put off cleaning any longer, this guide is for you and your electric smokers.
Jump to:
- 1 How Often Should You Clean Your Electric Smoker?
- 2 Must You Clean an Electric Smoker Before First Use?
- 3 Follow The User Manual
- 4 Equipment Needed for Cleaning Your Electric Smoker
- 5 Cleaning the Interior of Your Electric Smoker
- 6 What If There Is Mold Inside?
- 7 Cleaning The Outside Of Your Electric Smoker
- 8 Electric Smoker Maintenance
- 9 Conclusion
How Often Should You Clean Your Electric Smoker?
Don’t feel ashamed if you’re here because you’ve just reached for the smoker and thought ‘urgh, I really need to clean this thing,‘ after all, the first step to recovery is admitting there’s a problem!
Or maybe it just doesn’t seem to be firing up or smoking like it used to, and if that’s the case, then it’s likely that something inside is clogged up.
Either way, if you answered yes to either of the above scenarios, it definitely needs a good spring-clean.
We will discuss general maintenance further down in this guide, but to keep an electric smoker in good condition, the general rule is that it needs a thorough clean every 3 to 5 uses. And if you’ve spent money on a good electric smoker, you should want to look after it!
Must You Clean an Electric Smoker Before First Use?

A handful of people recommend washing a new electric smoker before you go onto season it.
Personally, as stated in my electric smoker seasoning guide, I don’t see this as a necessary step. And indeed, most manufacturers have no mention of this in the owner’s manual.
If you wish to, it will do no harm, but it’s unnecessary.
Follow The User Manual
Almost every gadget comes with instructions, and while many of us are guilty of chucking them in the bin, there will always come a time when the user manual comes in handy. And this time is one of them!
Taking something apart is easy, but putting it back together in the correct order can often be tricky, and the user manual will ensure that you know exactly how to do this and help you with those trickier bits.
If you can’t find your user manual, then you can either try your manufacturer’s website to find a download or, if that isn’t fruitful, then take photos of your smoker during the dismantling, so you know which parts go where when it comes to putting it back together.
Equipment Needed for Cleaning Your Electric Smoker
The most organized among us know that the secret to efficiency are lists, so here’s a quick checklist of everything you need to clean your electric smoker:
- Tarpaulin or newspapers to cover work surfaces and floors
- Bristle-free grill brush
- A bucket of warm soapy water
- Sponges or cloths, and a scouring pad
- Metal spatula or grill scraper
- Tongs, paper towels, and vegetable oil
- Tin or microwave-safe bowl and boiling water
- Glass cleaner (for glass windows only)
- Stainless steel cleaner (for stainless steel smokers only) or a specialized grill cleaning product.
For the soapy water, a teaspoon of liquid dish soap for every 4 cups of warm water is the ideal solution.
Cleaning the Interior of Your Electric Smoker
Cleaning electric smokers is much easier when it’s still warm.
So either let it cool down slightly after use and clean it then, or heat up your electric smoker to its maximum temperature for around an hour, and begin these steps after it has cooled down again slightly.
The rule of thumb here is that it needs to be warm, but not so warm that you can’t touch it.
Before you begin, just remember that a smoker is not meant to be spotless, and it will darken with each smoke.
This darkening also helps to prevent rust and even helps with the smoking process, so just aim to remove the grease and burnt bits of food, and don’t worry about getting it gleaming again.
Note: If there’s mold on the inside, then skip to the below section on mold first. And if there isn’t, then follow these steps in order.
Now that you’re ready, make sure that you have detached the smoker from the electrics, and you’re good to begin with the first steps.
Cover Your Work Area
First things first, you need to cover your work area otherwise you risk damaging the surfaces and floors as grease and grime can be quite stubborn and damaging.
Use tarpaulin or newspapers, and be sure to cover everything that might come into contact with your smoker or any of its parts, as well as underneath it to catch any drips or lumps that will come out during the cleaning process.
Remove The Ash From The Chip Tray or Smoker Box
The chip tray or smoker box is where all the wood chips are burnt that add the smoky flavor, and after smoldering all the ash will collect at the bottom. Simply remove this tray and dispose of the ash in the bin.
Remember, if the ashes are still warm, then place them into a non-combustible container to ensure that you don’t start any fires!
Remove Shelves, Water Pan, Drip Pan, and Clean Them
Remove the shelves, water pan, and drip pan, and if they are dishwasher safe, then just put them in so you can get cleaning the rest of it while your trusted machine does all the hard work for you.
If not, simply scrape out the grease in the drip tray with a metal scraper, and then wash each part in a bowl of warm soapy water, using the grill brush to remove any built-up grease and grime.
Rub Down the Sides and Bottom of Your Smoker
The smoking process means that the inside your smoking chamber will get very greasy and sticky with residue after each use, and not just at the bottom of it, it will get everywhere!
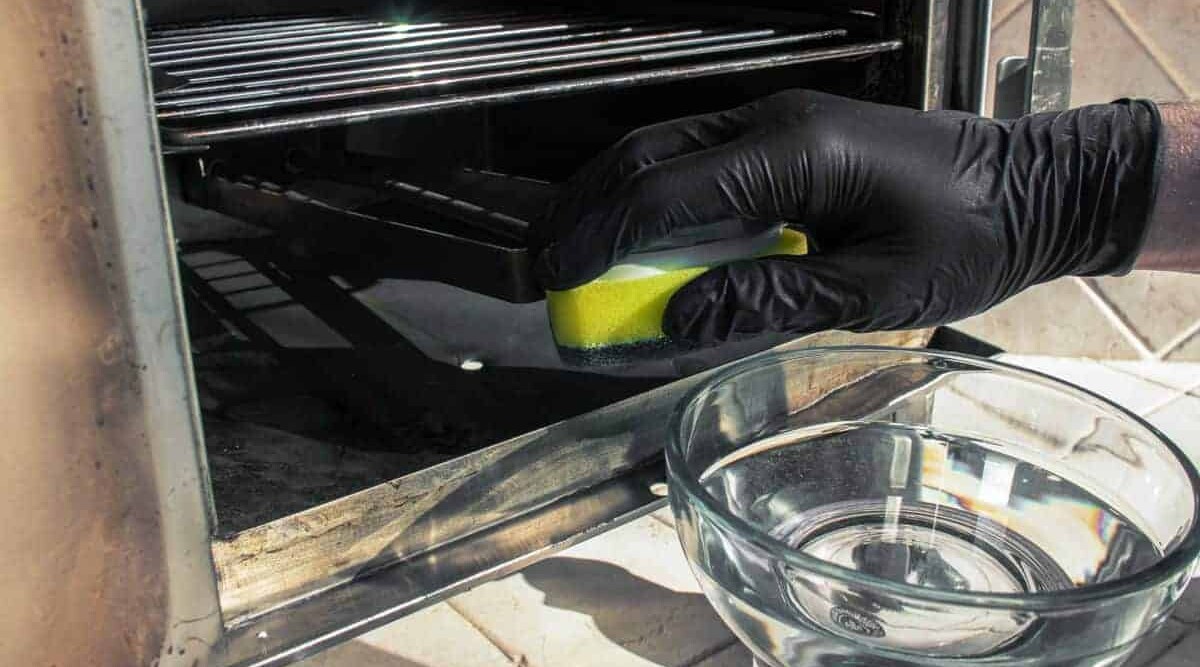
Use a scraper to gently scrape off any thick grease, and then once this is done use a sponge or damp cloth with warm soapy water to scrub the inside walls.
Once the sides are rubbed down, then scrape the fallen lumps and grit from the bottom out into a bag or pan, and then rub the bottom with the sponge and warm water.
Make sure that you start with the top of the smoke chamber and work your way down the sides, with the bottom being the last bit to clean, otherwise you’ll end up cleaning the bottom twice.
Clean The Glass Door
Not being able to see how the meat is doing in the smoker is a pet peeve of many, so it’s important to keep it clean so you can see the action!
If the grease is thick and gloopy, then there’s no other option than to use a scraper to help slide the grease off. Only use wood or plastic, not a metal scraper or a metal bristle brush, to be sure not to scratch the glass.
If it’s not too stubborn, and it just needs a bit of elbow grease, then just use the sponge to wash off the grease with soapy warm water.
Reassemble Smoker and Fire It Up
The messiest bit’s now complete, but it’s not beer o’clock just yet!
Just remember that your smoker will never be gleamingly spotless like it was when you first bought it, but as long as it’s clean, the inside job is done.
Now you just need to reassemble it in the reverse order that you took it apart while using memory, the manual, or the photos you took if you get stuck.
Once you’re happy that it’s all back in place, crank it up to its highest heat and blast it for 30 minutes. This will evaporate any excess water or soap suds. Alternatively, you can pat it dry with paper towels and let it air dry for around an hour with the door open.
Whatever you do, don’t close it up and pack away while still damp, because this will almost 100% guarantee that you’ll come back to mold next time round.
Oil Your Grates
Once your smoker has cooled down, just as you would with any smoker or grill, be sure to use a paper towel steeped in vegetable oil to oil up the grates.
Not only does this prevent food and grime from sticking, but it also helps to prevent future rusting.
Do this with tongs as your shelves will still be hot from the heat blast in the previous step (unless you waited out complete cooling.)
What If There Is Mold Inside?
So, you’ve opened up your electric smoker, and there’s mold inside?
Don’t worry, this happens to the best of us, especially when you haven’t used it for a while.
Some smokers have even found maggots in their smoker because when unused for a long time, the grease, bacteria, and moisture work as a breeding den for them. Gross, but true!
Simply fill up a tin or microwave-safe bowl with boiling water, place it inside your smoker and set it to the highest setting for an hour. This will burn the mold away and kill all the maggots and eggs.
So now wipe it down, scrape it out, and then you’re good to go with the above steps for normal cleaning.
Cleaning The Outside Of Your Electric Smoker
Make sure the smoker is again detached from the electric, and you can then begin the next steps.
Simply Wash and Rinse With Soapy Water
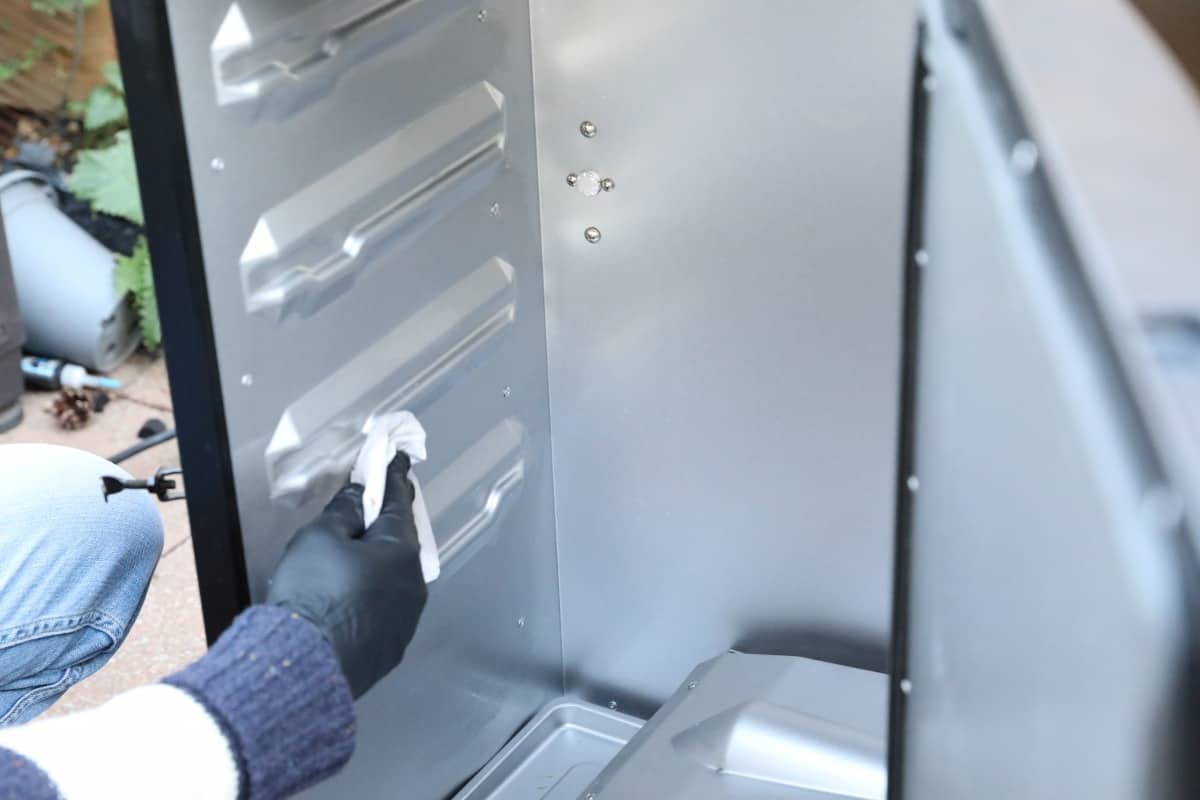
Use a sponge or damp cloth with fresh warm soapy water, and wipe it all over the outside of your smoker to remove any dirt, and remember to scrub the door seal too, as many people forget this step.
Once you’ve given it a good scrub, then use your garden hose, set to low power, and wash away the soap suds. It’s no more complicated than that!
Use Glass Or Stainless Steel Cleaner If Needed
If your smoker has a glass window or is stainless steel on the outside, then you’ll want to use glass or stainless steel cleaner, as these will leave it looking fantastically clean and impressive.
Using regular detergents can leave them looking dull, leave watermarks or stains and even cause damage. So only use the right tools for the job!
Electric Smoker Maintenance
For your electric smoker to maintain its glorious shine and smoking abilities, it’s crucial to look after it, especially if you smoke a lot!
Before every use, make sure you rub the shelves with vegetable oil to stop the food from sticking to them.
After each use, and preferably while it’s still warm, scrub each shelf with a wire brush to remove any food and grease as well as burning off any drippings with a quick blast.
Both of these steps will help to keep the smoker much cleaner and prevent any mold from developing in between uses.
Also, in between uses, it’s important to cover your smoker up with a protective cover. Not only does this prolong its life, but it also protects it against the elements.
Conclusion
If you own one, your electric smoker is undoubtedly one of your best gadgets, so you should look after it!
The best way to look after it is to clean and maintain it every 3 to 5 uses. Not only will this ensure it lasts longer, your guests will be much happier and carefree knowing that your food is safe to eat.
Do you have any tips or tricks on how to clean an electric smoker? Share your smoking wisdom in the comment section below. Or if you have any questions, fire away! I will answer every comment.


Indoor electric powered grills is easy to clean.
This is very true 🙂
Just not the same, Varun
Thank you for the informative article! Very much appreciated.
Thanks, Dustin!
Mark, is it cool to smoke a pork butt in a pan in my electric smoker to make clean up easier?
You can do, but it won’t be the same. There will be so much fat and juice collection in the pan, that no bark will form on the bottom that becomes submerged, and it might also become a bit pot-roasty, mushy and slightly overcooked on the bottom as it will be for hours sitting in the juices and fat as it cooks.
Got it….. thanks
Thank you for the segment about solving the mold problem. I was about to throw it away but you have saved the day!! Thank you!!😁
Thanks, Lisa. I’m glad it was helpful 🙂
Thanks for the article! Can you recommend an indoor electric smoker that’s typically easiest to clean? I’m turned off by how black and sooty mine got on the first use!
Hi Cecil. You shouldn’t be using a ‘smoker’ indoors unless you have industrial extraction, due to carbon-monoxide issues, plus the soot in the smoke that will settle everywhere. Also, the ‘smoke deposits’ are unavoidable inside the unit itself I’m afraid, it’s the nature of the beast when smoking foods.
How do I clean the cup that I put my wood chips in to the smoker tray. Mine sticks and won’t open until the smoker gets hot.
Hi, Jerry. Without seeing it, I cannot say, as models can be very different. I would think if it sticks until it’s hot, then it’s likely got a build up of creosote and fats that harden when cooled, and soften when hot. So you need to clean it somehow when warm.