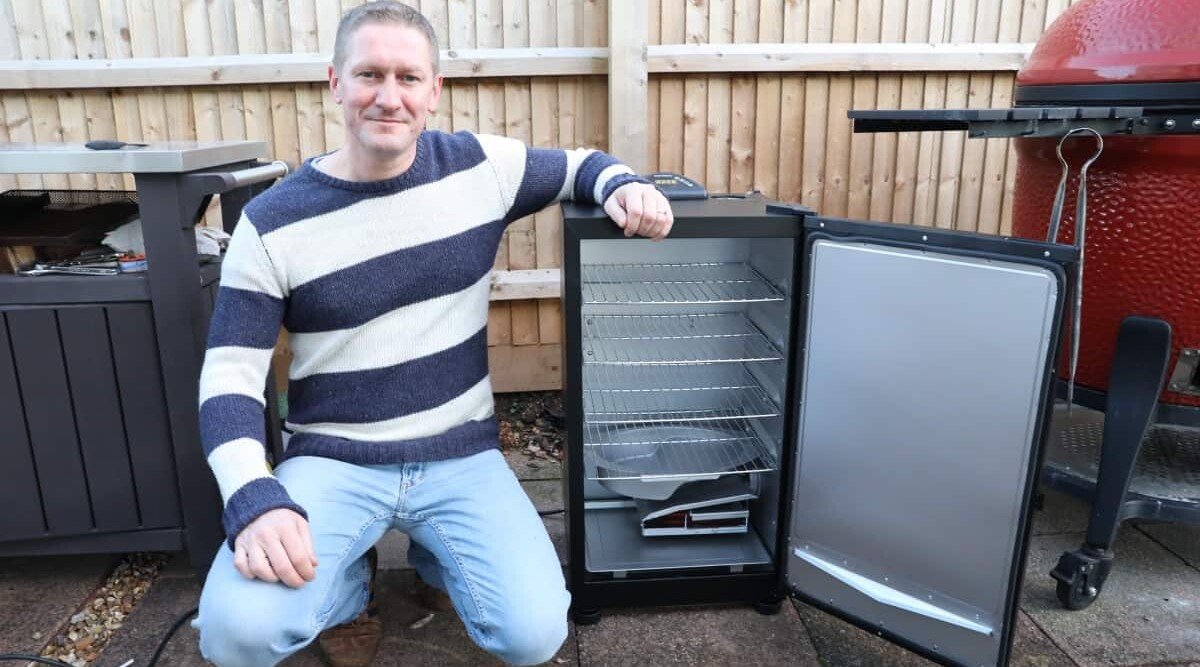
Over the course of this article, I’ll not only tell you why you need to season your new electric smoker to get the best results, but I’ll also explain, step-by-step, how to season an electric smoker.
Plus, I’ll cover the wood chips versus no wood chip debate, including a solution!
Yes, an article dedicated to this topic may seem unnecessary to some, but not everybody is aware this process needs doing, or how to do it. So here we are.
Some assembly required. Batteries not included. Download the latest firmware. These are all phrases every impatient owner of a new item dreads.
When you’ve got a new toy, you want to open the box and start playing right away, right? And this certainly applies to buying a new electric smoker.
I quote directly from the Char-Broil website:
Before you use your new smoker, you need to season, or cure, it.
Aw, come on! I just want to make brisket!
If you’ve just bought, or are waiting on delivery of a new electric smoker, stick with me right to the end — you won’t regret the tiny investment of time when that tasty meat hits your plate.
And make sure to also check out our list of useful electric smoker tips and tricks!
Jump to:
- 1 Why Season Your Electric Smoker?
- 2 How to Season an Electric Smoker, Step-by-Step
- 2.1 Be Sure Your Smoker is Properly Assembled
- 2.2 Wash Out the Insides if You Desire
- 2.3 Apply a Thin Coat of Cooking Oil to the Inside Surfaces
- 2.4 Leave Everything Empty
- 2.5 Plug in and Turn on Your Smoker
- 2.6 Completely Open any Vents
- 2.7 Set the Temperature to Maximum
- 2.8 Leave to Heat Through for 3 Hours
- 3 Should You Use Wood Chips When Seasoning?
- 4 Final Thoughts
Why Season Your Electric Smoker?
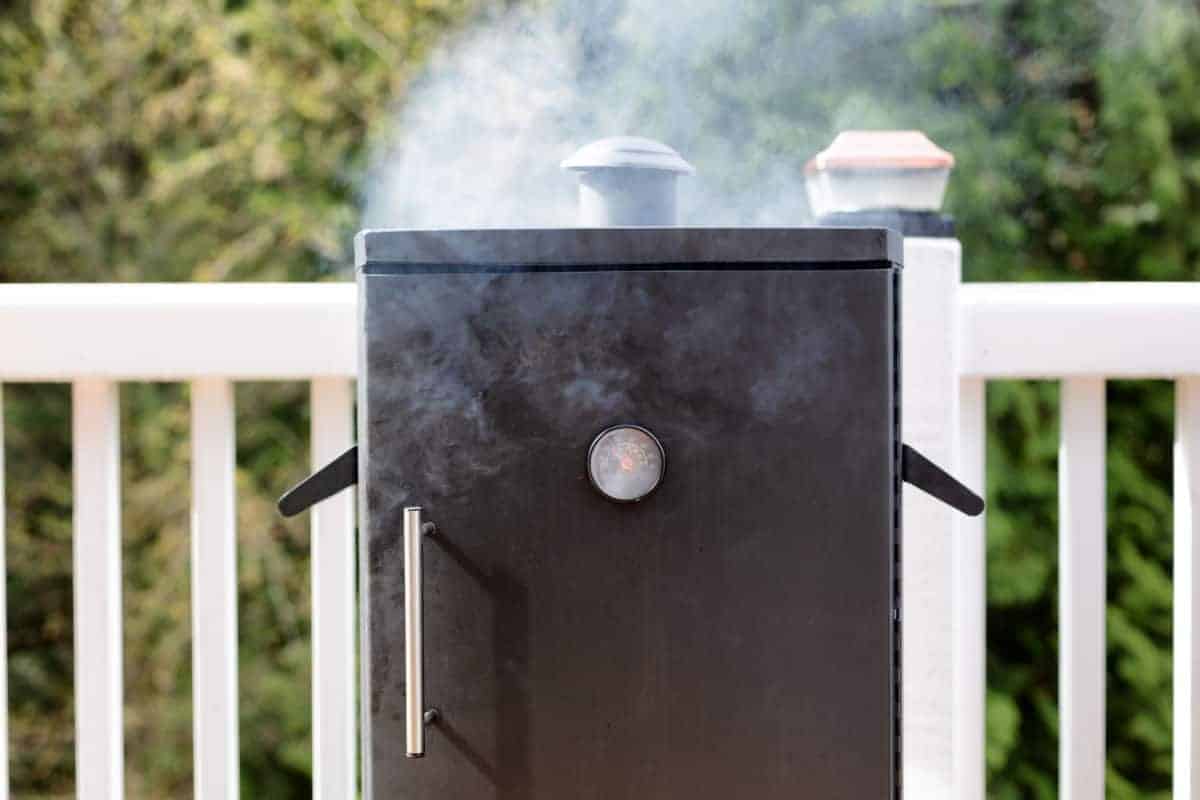
I’m a practical guy. I’ll do what I’m supposed to do — even if I’d rather not — IF you give me a good reason.
So, here are two very good reasons why you should season your electric smoker.
To Clean Out What the Manufacturer Left Behind
When the day comes that electric smokers are grown on organic farms, you can safely skip this step. Until then, they’ll be made in factories and exposed to solvents, cleaners, dirt, oil, paint, adhesives, and so on.
Even in the cleanest facilities, the manufacturing process leaves a residue of unpleasant chemicals you do not want in your food.
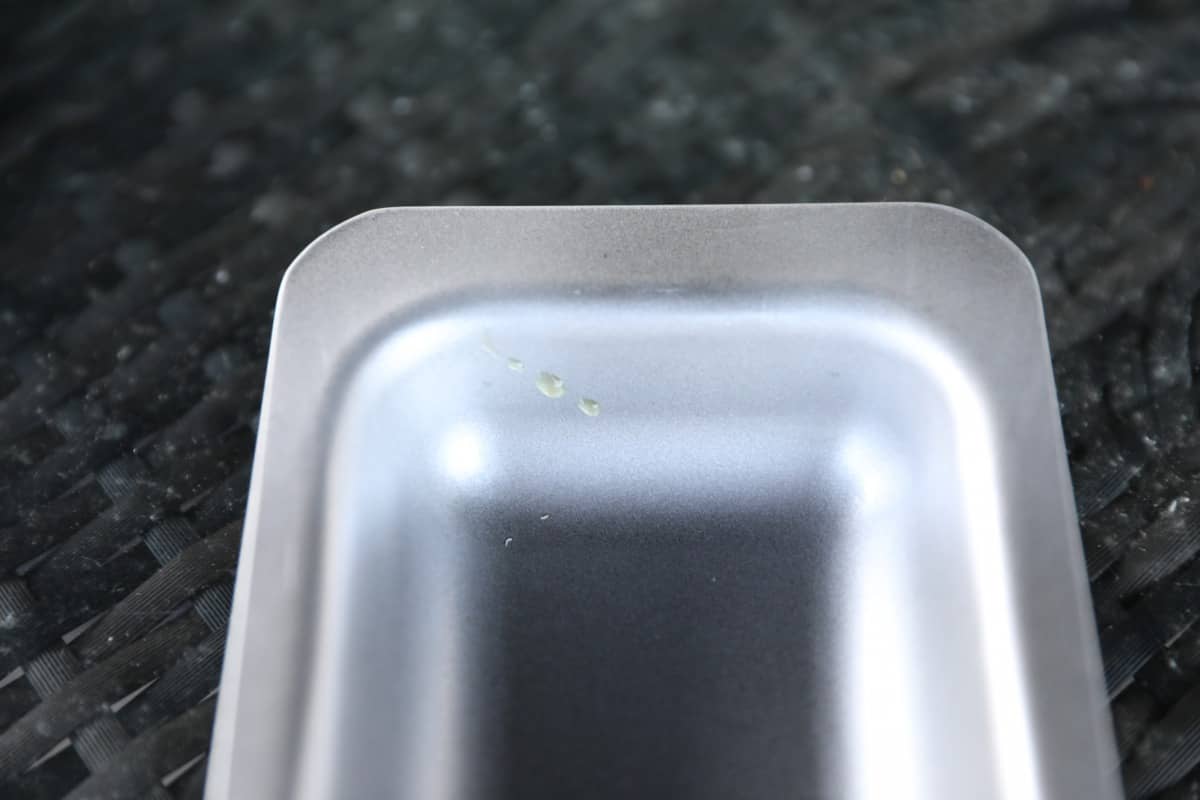
The seasoning process of firing up the smoker without meat inside effectively burns off this left-over industrial nastiness, so none of it — or it’s fumes — can make it onto your meat when you do cook for real.
To Protect Your Smoker and Extend Its Life
Once upon a time, it was a given that you got your car rust-proofed to keep it from turning to Swiss cheese. But it’s still a good idea to coat the undercarriage, especially in wet climates.
An electric smoker doesn’t cost nearly as much as your car, in fact you can get some reasonable electric smokers for under $200. But it still quite an investment, and one that you want to last.
The process of seasoning your electric smoker effectively helps to rust-proof it. It’s like the Ziebart of smoking.
Yes, despite all the chemicals I listed in the previous section, nothing is done to protect the inside your electric smoker from the moisture that wants to eat it.
A coating of carbon from the smoke prevents moisture from getting at the metal. That saves you from the necessity of wiping down the interior regularly and saves your smoker from an untimely demise.
How to Season an Electric Smoker, Step-by-Step
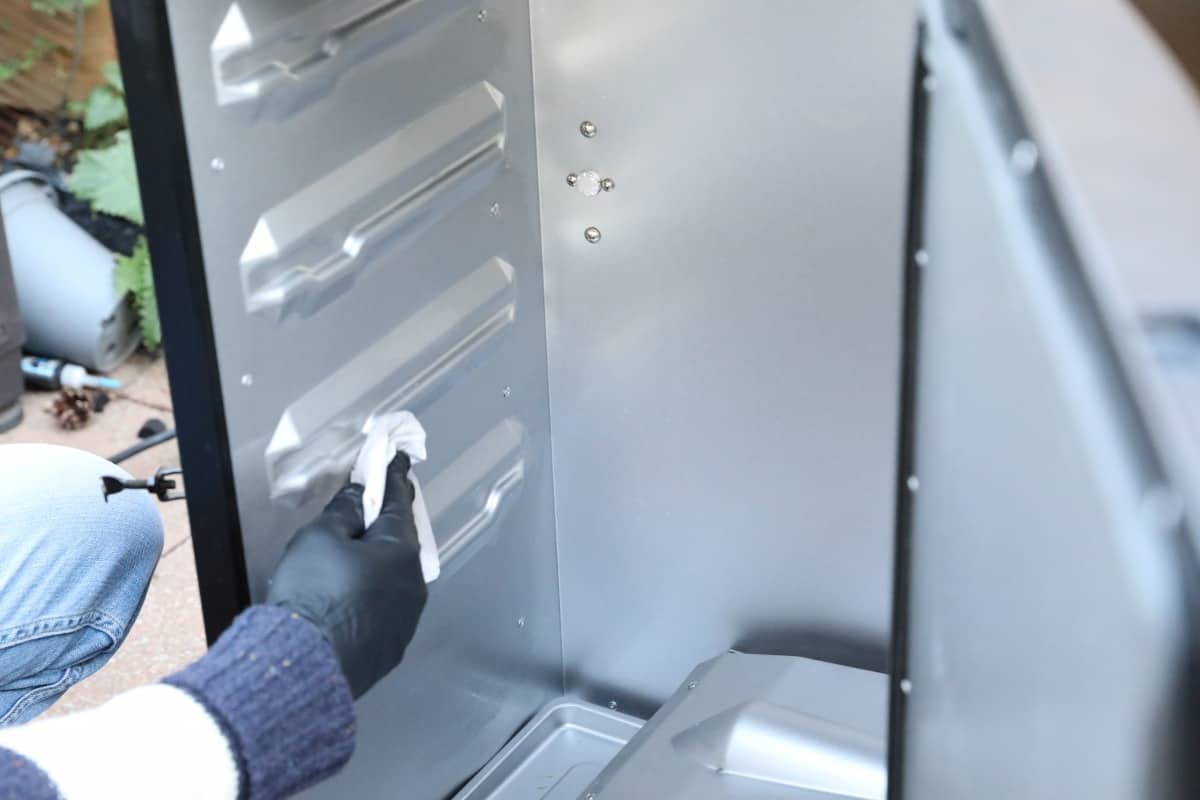
The following instructions are somewhat generic but will apply equally to almost any model and are the exact steps I take to season my electric smokers.
Different manufacturers may have their own process for seasoning a new smoker laid out in the manual, and I suggest you follow that process if it’s available.
If not though, the following is the most generally agreed process, and you can be confident you’ve done things right if you follow it.
Be Sure Your Smoker is Properly Assembled
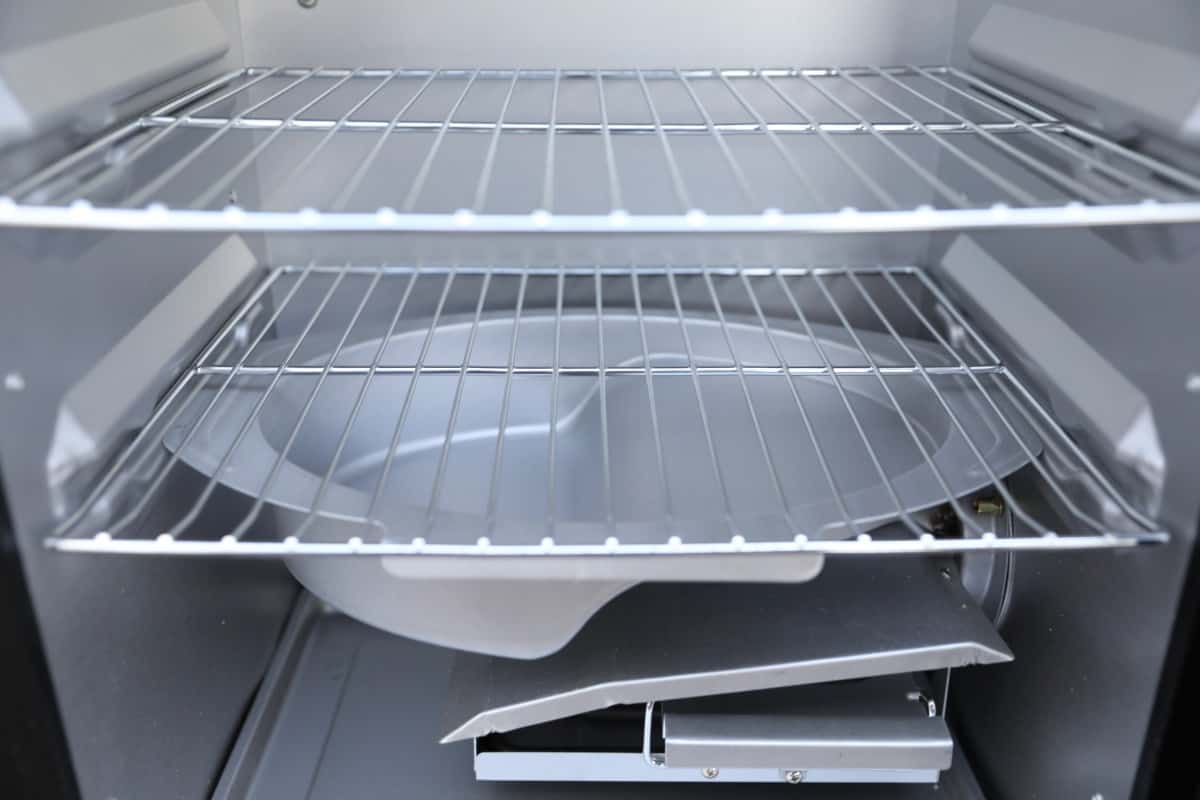
Remember earlier when I said, “Some assembly required”? That applies here.
Follow the manufacturer’s instructions carefully as you finish putting your new smoker together. Watch for any missing, broken, or potentially faulty parts that may need replacing while you’re at it.
Wash Out the Insides if You Desire
I have seen a few people recommend to wash out the insides of your smoker with either soapy water, or a specialized grill cleaner before seasoning.
The idea’s not horrible, and you can do so if you wish, but personally I don’t see it as a necessary step. It is brand-new, relatively clean, and the seasoning process burns away anything from the manufacturing process that we don’t want in there.
So for me, I don’t see much (or any) benefit to washing your brand-new smoker. I would just crack straight on with seasoning. But if you do wish to, you can follow our guide on how to clean an electric smoker.
Apply a Thin Coat of Cooking Oil to the Inside Surfaces
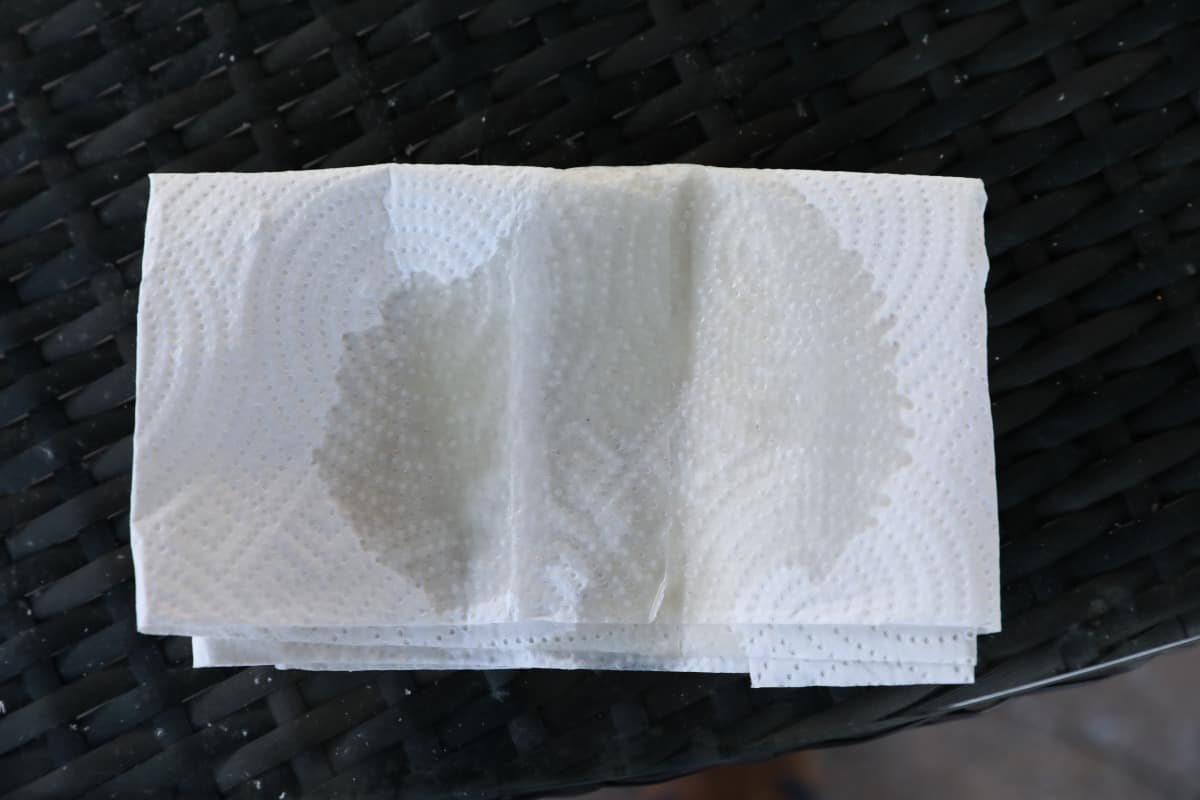
First, remove anything from your electric smoker that can easily be removed to make oiling the inside easier. This includes all racks, the water pan, drip tray, and wood chip tray.
Using a clean, soft cloth, wipe a thin layer of cooking oil over every inch of the interior walls of the smoke chamber.
Keep it light — you don’t want oil pooling up, or streaks forming on the walls that would later get baked on.
And do not coat the heating element as this will burn, smoke, potentially even ignite, and will not be good for the element.
The racks, water pan, and drip tray do not need oiling. But once the inside walls have been coated with oil, put everything back inside the smoker.
Leave Everything Empty
For now, leave everything empty before you start to season. Do not add water or wood chips, and certainly do not add any food!
Plug in and Turn on Your Smoker
Forgive me for stating the obvious, but this has to happen before anything else.
Completely Open any Vents
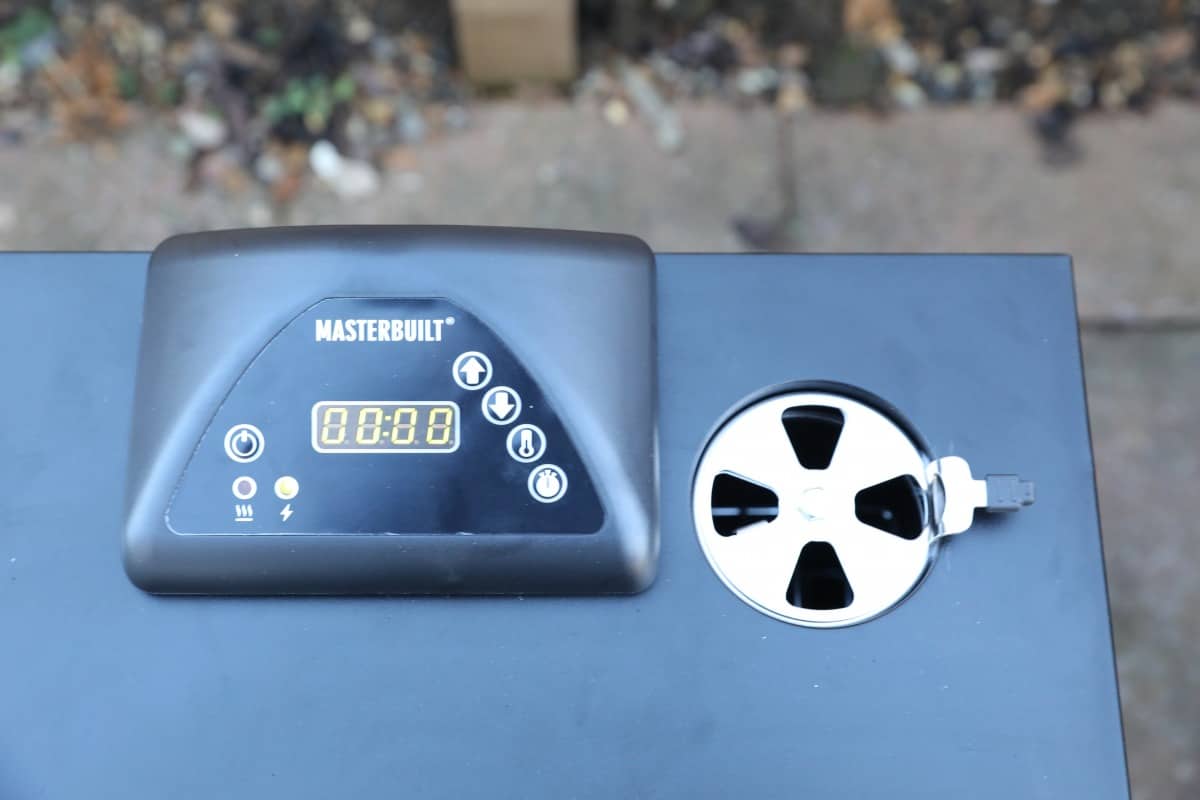
If they aren’t already, fully open the vents and leave it that way for the entire seasoning session.
You want the vapors of the burnt off residue to escape the smoking chamber, not hang around forever.
Set the Temperature to Maximum
Check with the manufacturer’s instructions, but most say to set to the maximum temperature available.
For the most popular brand, Masterbuilt electric smokers, this will be 275 degrees Fahrenheit in most cases. But for whatever make and model you have, just set it to the maximum temperature possible.
Leave to Heat Through for 3 Hours
Again, this is Masterbuilt’s advice. But we have taken the effort to look into other brands, and they all say to season for between 2 hours and 3 hours.
So if you run the seasoning process for 3 hours, regardless of brand, you will have exceeded the minimum amount required, and that’s what’s important.
So make this the minimum time. Any longer is fine, and any less is not.
Should You Use Wood Chips When Seasoning?
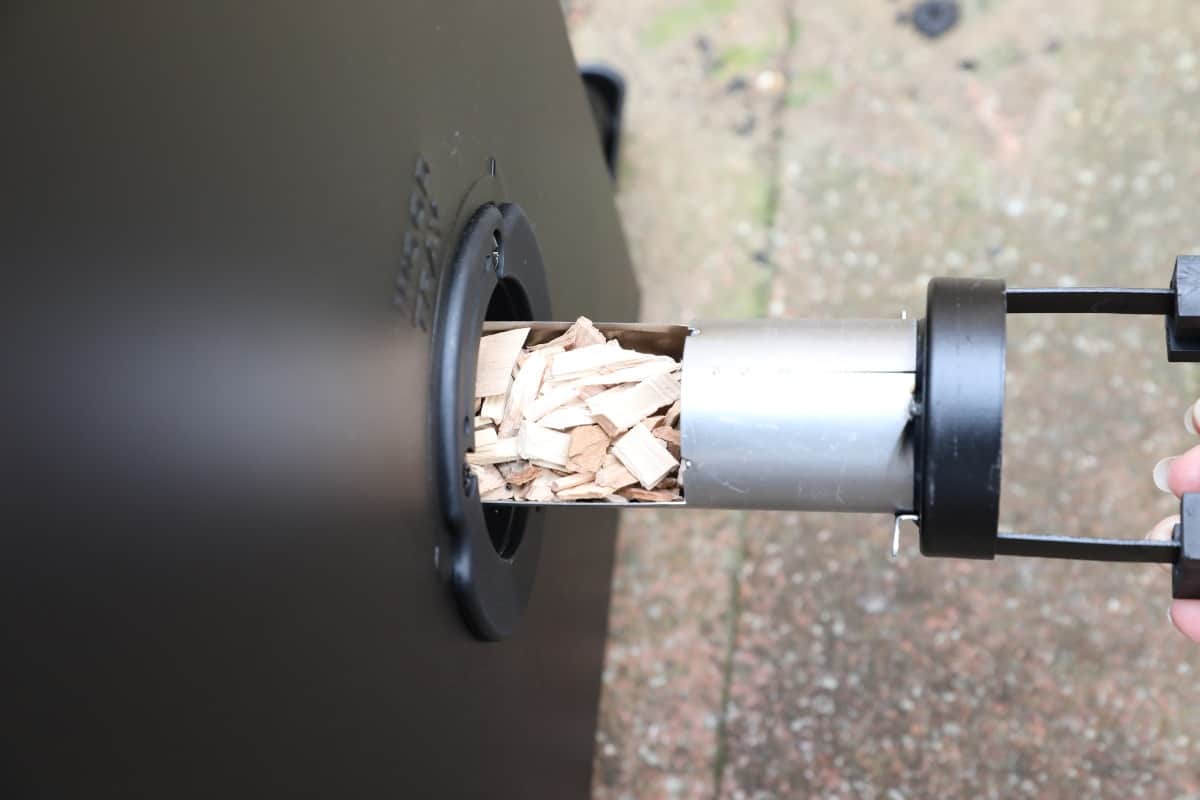
That’s a great question. The answer isn’t immediately apparent with some manufacturers saying yes, and some saying no.
Masterbuilt, for example, says to add wood chips when there are 45 minutes left in the seasoning session.
Char-Broil, on the other hand, says to leave the smoker box empty of wood chips. So what’s the right answer?
The theory behind using wood smoke during the curing process is that you’ll beat the grease to the punch by creating a protective patina of smoke and soot.
Does that mean we ignore the manufacturer if they say no wood? Yes and no. Ready for a loophole? Technically, we can do both!
If you run your smoker empty for 2 hours, you’ve satisfied the “requirements” laid out by Char-Broil. But, if you leave it running for another hour and add wood with 45 minutes to go, you’ve followed Masterbuilt’s directions, too.
This way, your smoker seasoning process satisfies the instructions of two of the biggest electric smoker manufacturers. Sounds good to me.
And that’s about it, job done!
Final Thoughts
By taking the time to season or cure your new electric smoker before your first smoking meat session, you’re setting yourself up for success.
No, it’s not as much fun as making food. But, when you do have that first cook (and second, and third…), it’ll taste better because you did the prep work.
Thanks for sticking out this guide on how to season an electric smoker till the end — it’s not the most glamorous topic, but it is an essential process you want to make sure of!
If you know someone else planning on an electric smoker, be sure to pass along this article. And since you’re here, why not search the site for even more articles on smokers and what you can cook on them? If it has to do with food and fire, it’s here.


Thanks this was very helpful with my first go with a smoker. 3 hrs and counting!
Very helpful. Instructions with my 30″ Cuisinart were very brief and this article cleared up any confusion. I also like the idea of adding wood chips with 45 minutes left. Here we go!
Great information. When my new one comes in, seasoning will be the first thing after assembly.
Now I need to hunt how to do the door seals.
I googled the topic on how to season my pit boss electric smoker. Not one gave as much step by step as you did. Like the vents open or closed and many other questions I had. GREAT JOB. Thanks
Thanks, Dave. I’m happy to hear it helped.
Thank you and very direct in your recommended best practices
exactly the information I was looking for, thank you!
great advice for me as a beginner
Thnks! … I needed curing 101class, I wasn’t sure to use or not use wood chips. I have a cuisinart and it says no use of flavor wood chips, but all I have are s apple?? … #any suggestions
Hi Cruse. It says no use of wood chips? I’m assuming this is not a smoker then? Probably best to follow manufacturers instructions.
Do you put water in the pan before seasoning?
No, you do not add water during seasoning.