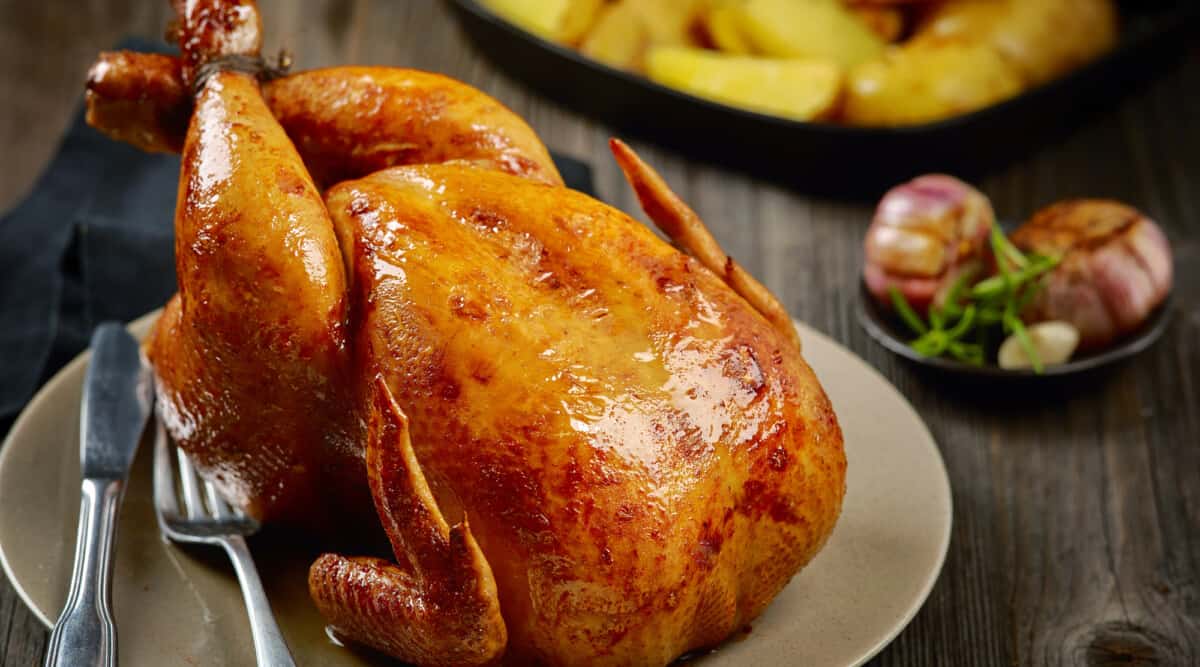
I achieve crispy chicken skin by salting the bird and then drying it in the fridge overnight. Next, I pour boiling water over it to tighten and slightly render the skin, then patting it dry.
To cook, I begin roasting the chicken on high heat, then lower the temperature for the remainder of the cooking time. I avoid touching the chicken during cooking to prevent skin wrinkling or tearing. After cooking, I let it rest uncovered. Trust me, this works every time.
And now you know the perfect process to get crispy skin, there’s no need to read the rest of the article!
But I recommend you do because today we’re going to chat chicken —like talking turkey, only smaller. Specifically, we will look at a large collection of tips for how to get crispy chicken skin if roasting or grilling, and I will show you how to get it right every time.
Because, for as easy as it is to prepare, grill, and enjoy chicken, getting the skin crispy can be hard as heck. What’s the secret, or secrets, behind chicken skin that isn’t either dried out or rubbery?
All is about to be revealed. Chicken lovers, this one’s for you.
Jump to:
How to Get Crispy Skin: My Foolproof Process
Over the years, I’ve researched and tried every trick under the sun to get crispy chicken skin. It took a lot of trial and error, but I finally settled on a process that works for me every single time. And here it is:
- I stretch the skin tightly across the whole body the night before I want to cook my chicken and cut away any loose flaps of skin on the edges.
- I then salt it heavily. I use ½ teaspoon per pound for chicken pieces and 1 teaspoon per pound for whole chicken.
- Next, I place the chicken uncovered on a wire rack in the fridge overnight, which massively helps dry the skin. This typically lasts 15 to 18 hours, as I do it before bedtime and remove it an hour before cooking time.
- One hour before cooking time, I place it in the sink and pour over boiling water. This massively tightens and starts to slightly render the skin. (A trick used in all Peking duck recipes.)
- I then pat it as dry as possible before leaving it to air dry for about 45 minutes.
- I then apply a salt-free dry rub (as it’s already been salted), and definitely DO NOT marinade or apply any sauce.
- I begin roasting the chicken on high heat at about 430 °F for 15 minutes, then lower the temperature to 350 °F for the remainder of the cooking time.
- I avoid touching the chicken at all during cooking so I do not wrinkle up or tear the skin, which can cause fat and moisture to get trapped, preventing crispiness. I use a remote, leave-in digital thermometer to monitor the internal temperature of the chicken so I know when it’s cooked to 165 °F, and I can remove it.
- Once the chicken has finished cooking, I rest it uncovered because a foil tent can cause condensation to soften the crispy skin we’ve worked so hard for.
- I do not sauce my chicken if I’m aiming for ultimate crispy skin. I serve the chicken with sauce on the side, so people can choose to sauce it if they wish. I do not apply sauce as it causes my crispy skin to go soggy.
And this is how I get crispy chicken skin. It is foolproof, works every time, and doesn’t require any special tools or ingredients, unlike some tips and tricks you hear about.
Each Step of My Process Explained
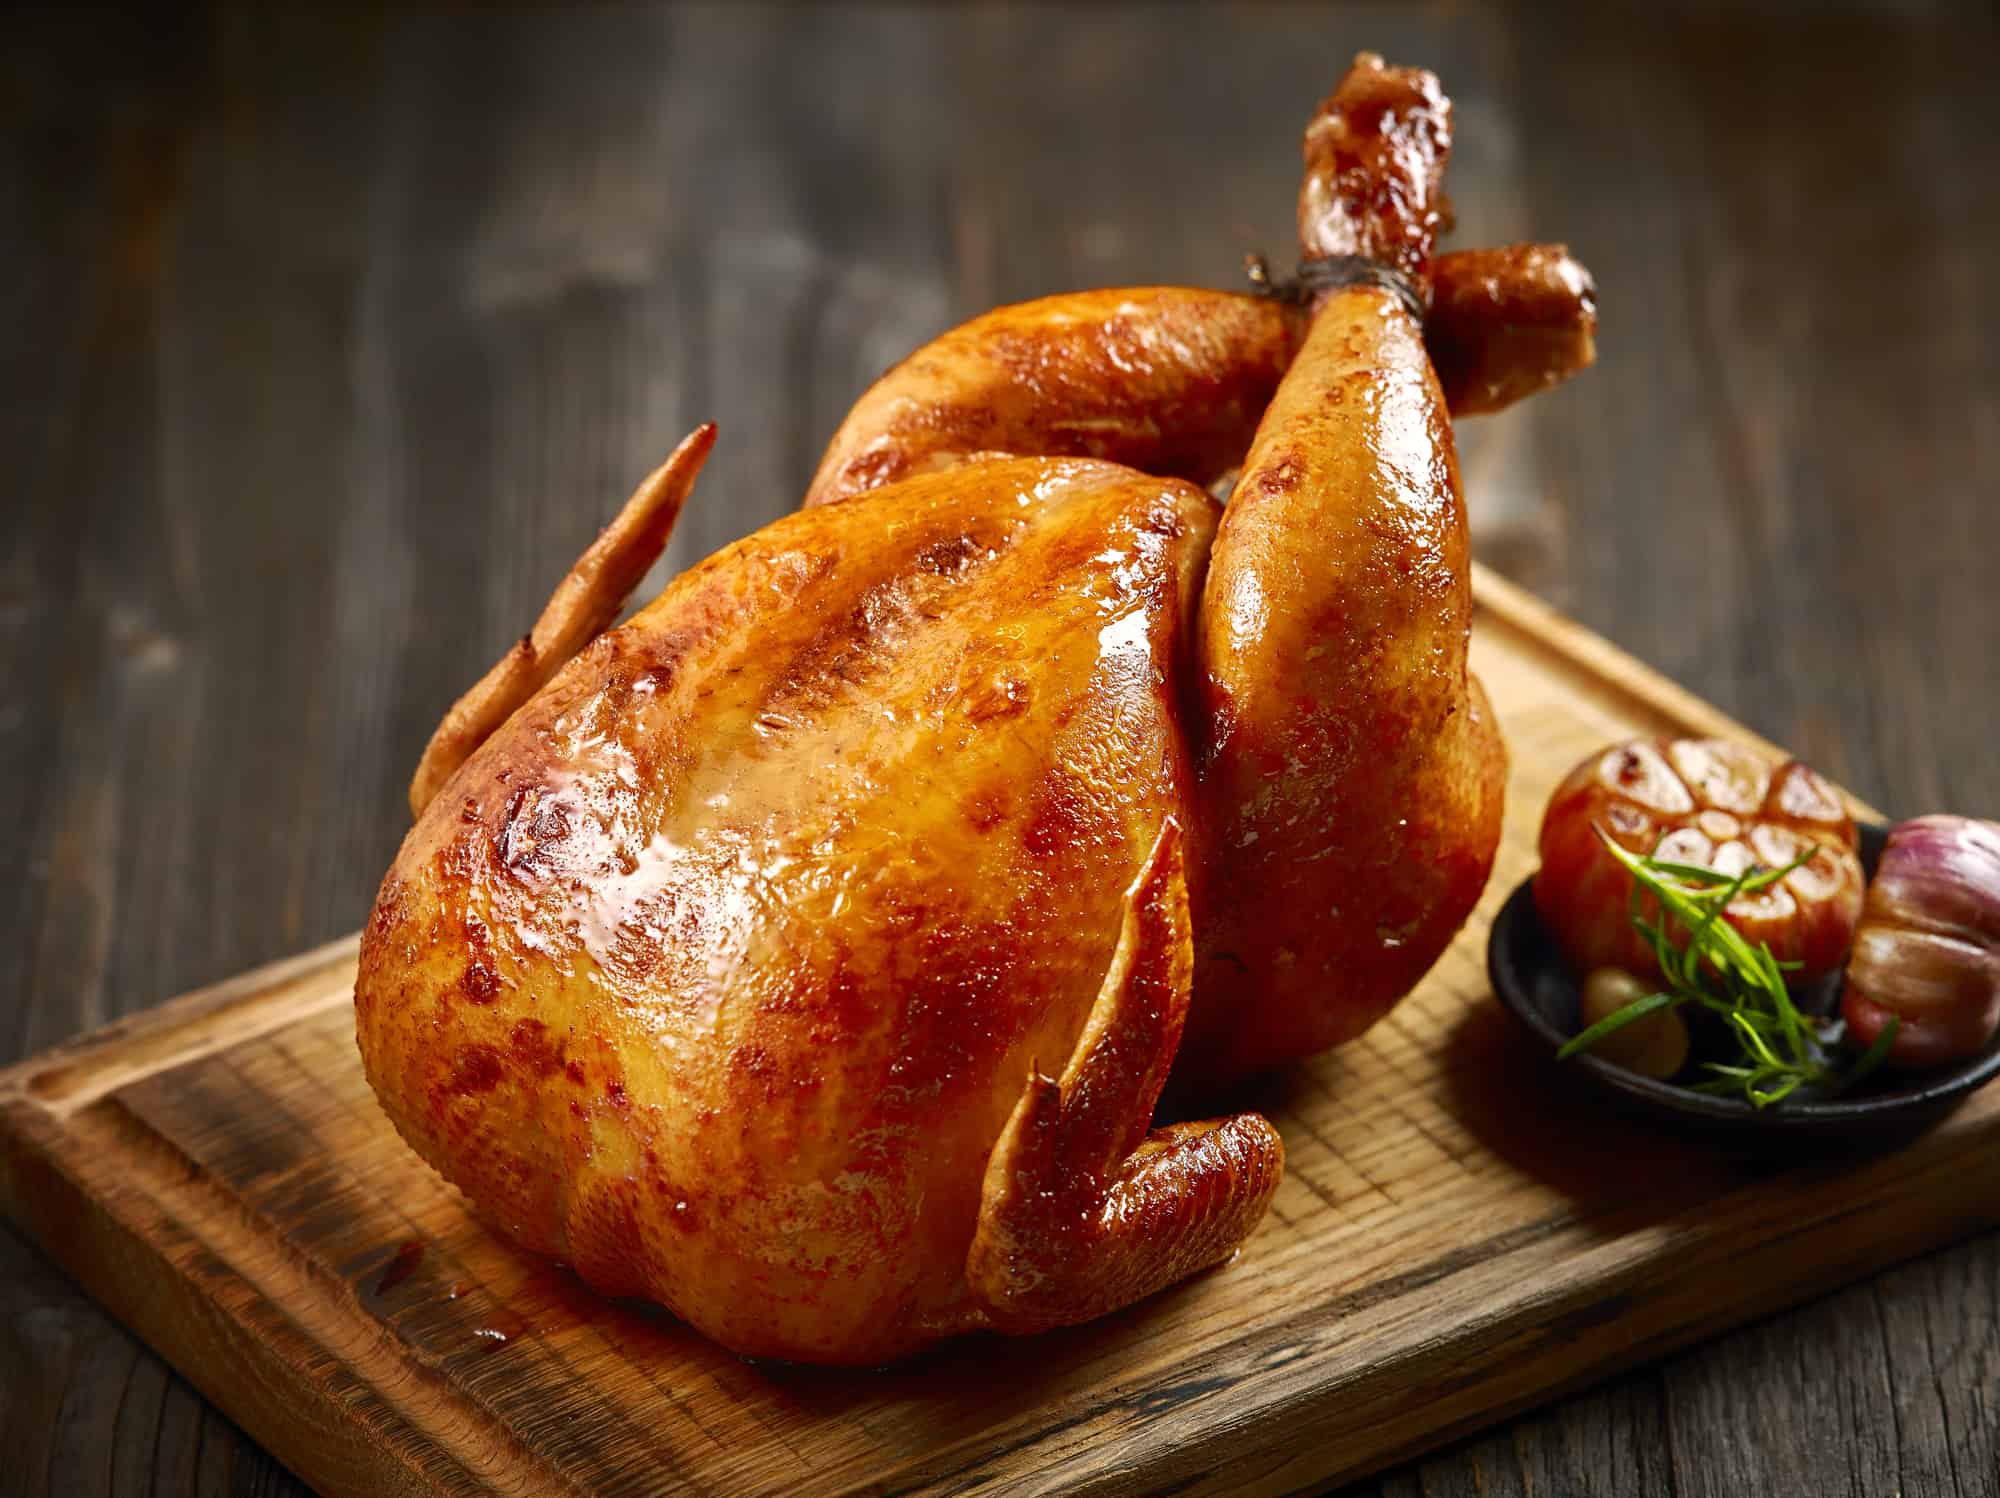
Let me explain all the steps I take so you know the theory behind why they work.
Stretch it Smooth
A raw, skin-on chicken can be an ugly, wrinkly thing, and all those folds trap moisture and cause uneven cooking.
But even way before cooking, stretching the skin smooth before placing it in the fridge to dry out ensures maximum skin exposure to dry air. If there are folds or creases, these areas are shielded from the dry air and can retain moisture.
So it’s time to channel your inner plastic surgeon and give your chicken a facelift and tummy tuck!
Since the skin sits loosely, it’s possible to pull it and stretch it and smooth it out until it’s tight. You can use scissors to remove excess flaps.
That drum-tight skin will dry out more evenly and, later on, cook more evenly and without pockets of moisture.
Salt Your Way to Success
If you’ve ever read up on brining, you know that salt effectively draws moisture out of meat. Even if you haven’t, you may have noticed that bathing in salt water dries out your skin. The same thing applies to chicken.
As an add-on to drying the chicken in the fridge, try sprinkling salt on the skin to help pull moisture from inside. I try not to table salt, though; I like to use kosher or flaky sea salt.
Use ½ teaspoon ok kosher salt per pound of chicken pieces or 1 teaspoon per pound for a whole chicken. If all you have is table salt, halve the amount of salt you use.
Some people suggest rubbing the salt in a bit, so it penetrates the surface. Be gentle, though, or you’ll just tear the skin to shreds. I just sprinkle it over and lightly press it in.
Dry the Chicken in the Fridge Overnight
You don’t have to be a rocket scientist to understand that something wet can never be crispy. So, the first step towards crispy chicken skin is getting rid of unnecessary moisture. You do this by drying it in the fridge overnight.
A refrigerator dries chicken skin by maintaining a low-humidity environment where cold air is circulated, which evaporates moisture from the chicken skin’s surface. Leaving the chicken uncovered in this setting allows the dry, cold air to wick away moisture, resulting in drier, crispier skin when cooked.
If your chicken is frozen, you need to defrost it thoroughly first. Check our guide on how to quickly defrost chicken for tips.
If not frozen, then first unwrap your chicken, whether it’s whole or in pieces, and pat it dry on all sides with paper towels. Don’t rub hard; just press the towel against the skin and let it wick the water away.
Next, salt the skin and stretch the skin as detailed above, then let the chicken air-dry in the fridge. Leave it unwrapped on a wire rack or platter for at least a couple of hours, but preferably overnight. It’s perfectly safe, and the trace bits of surface moisture remaining will evaporate.
The Boiling Water Trick
This one may sound a bit crazy and definitely counter-intuitive. The secret to crispy chicken skin may be more water and not less!
Following the salting and fridge-drying techniques described above, when you’re ready to take the chicken out of the fridge and cook it, fill up the kettle and set it boiling.
Place the chicken in the sink and pour the boiling water over every inch of the bird, taking care not to scald yourself. You should notice the skin actually contract and tighten to the contours of the chicken frame. This is a technique borrowed from Peking duck recipes, that tightens and starts to render the skin.
Once finished, pat the chicken dry again, before letting it sit for half hour+ to dry further, and then it’s ready for the grill.
Just before cooking, dab it with kitchen towel one last time, and then add your favorite chicken rub. Do not marinade your chicken, or add any sauce, as this will destroy any chance of crispy skin.
Check out this video from FudeHouse to see the process in action. Skip ahead to about 00:40 if you want to get to the boiling water part.
Crank Up the Heat… at the Start of Cooking
Starting your chicken cook at a much higher temperature will help dry the skin, start rendering the fat very quickly, and get a good sear and the Maillard reaction going, which all help to really crisp up the skin.
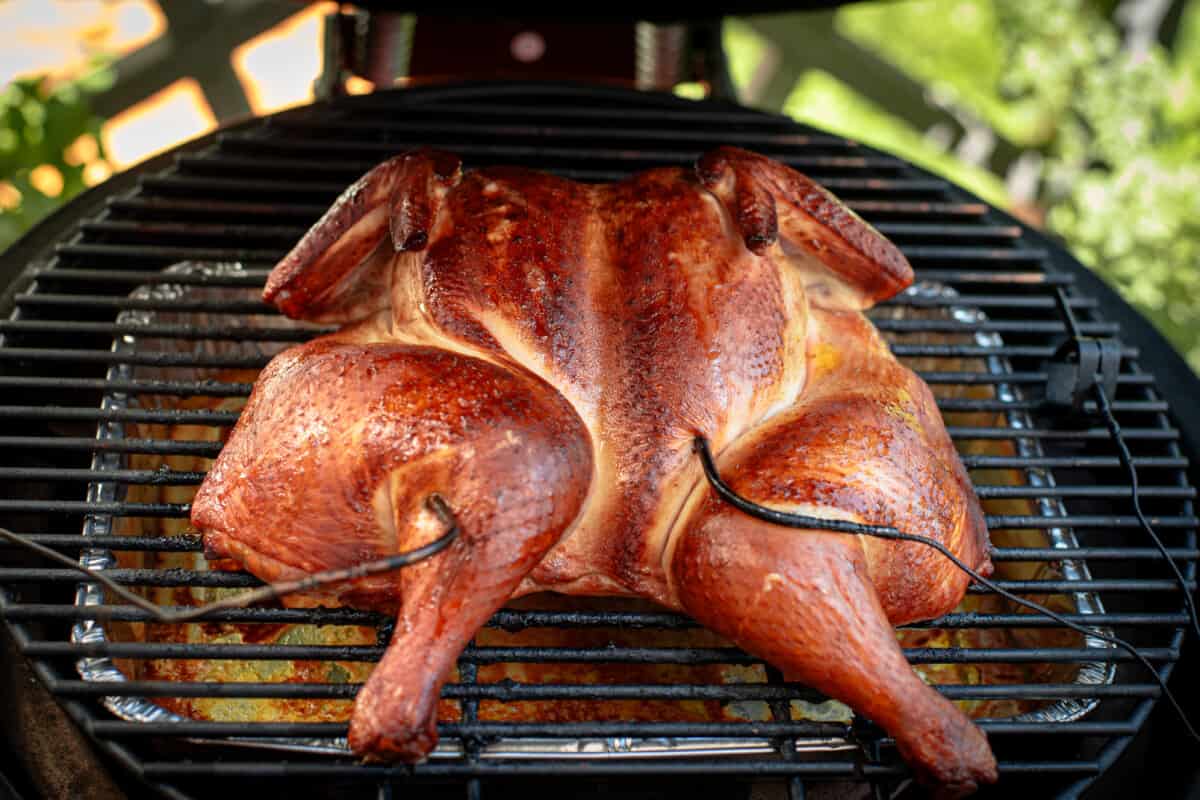
What works for me is starting my cooking at 430 °F (220 °C) for the first 15 minutes and then turning the temperature down to 350 °F (180 °C) for the remainder of the cooking. If using a charcoal grill or a pellet grill (which I typically do), then I either close down the vents to reduce the temperature after 8 to 10 minutes, as it takes a while for the temperature to drop. Or I remove the chicken for a few minutes while the temperature decreases.
The skin and layer of fat under it protect the meat from the high heat, so don’t worry about the chicken drying out.
Leave Your Chicken Alone on the Grill
We fuss because we care! Many grillers have a bad habit of constantly poking, prodding, flipping, and moving meat around the grill. But leave your chicken alone for the best crispy skin.
It’s always a good idea to just leave chicken be and let it do its thing. The more you move it, the more likely you are to wrinkle or tear it and interfere with the crisping process. Wrinkles and tears can retain moisture, and moisture is the enemy of crispy skin.
Use your eyes, your intuition, and your thermometer to know when it’s the right time to handle your chicken. And check our guide for more details on how long to grill chicken.
Just remember: cook to temperature, not to look or time! When your instant read thermometer reads 165 °F, it’s safe to eat.
Do Not Wrap When Resting, Or Only Tent Very Loosely
Resting meat after it’s off the grill allows time for carryover cooking to finish, for the temperature to stabilize across the whole meat, and for protein strands to loosen up. During this time, moisture inside the chicken redistributes more evenly throughout the meat, so when you cut into it, it doesn’t lose its flavorful juices.
So, most people know to rest their chicken after it’s cooked. But most people also tent it in foil. However, tenting foil over chicken keeps the moisture inside, causing condensation to form on the inside of the foil that is close to the skin, which in turn can turn the skin soggy.
Therefore, I prefer not to tent my chicken in foil when resting. You can if you wish to, but be sure to do so very loosely, allowing some of the heat and steam to escape to stop this from happening.
Additional Tips You Might Want to Try
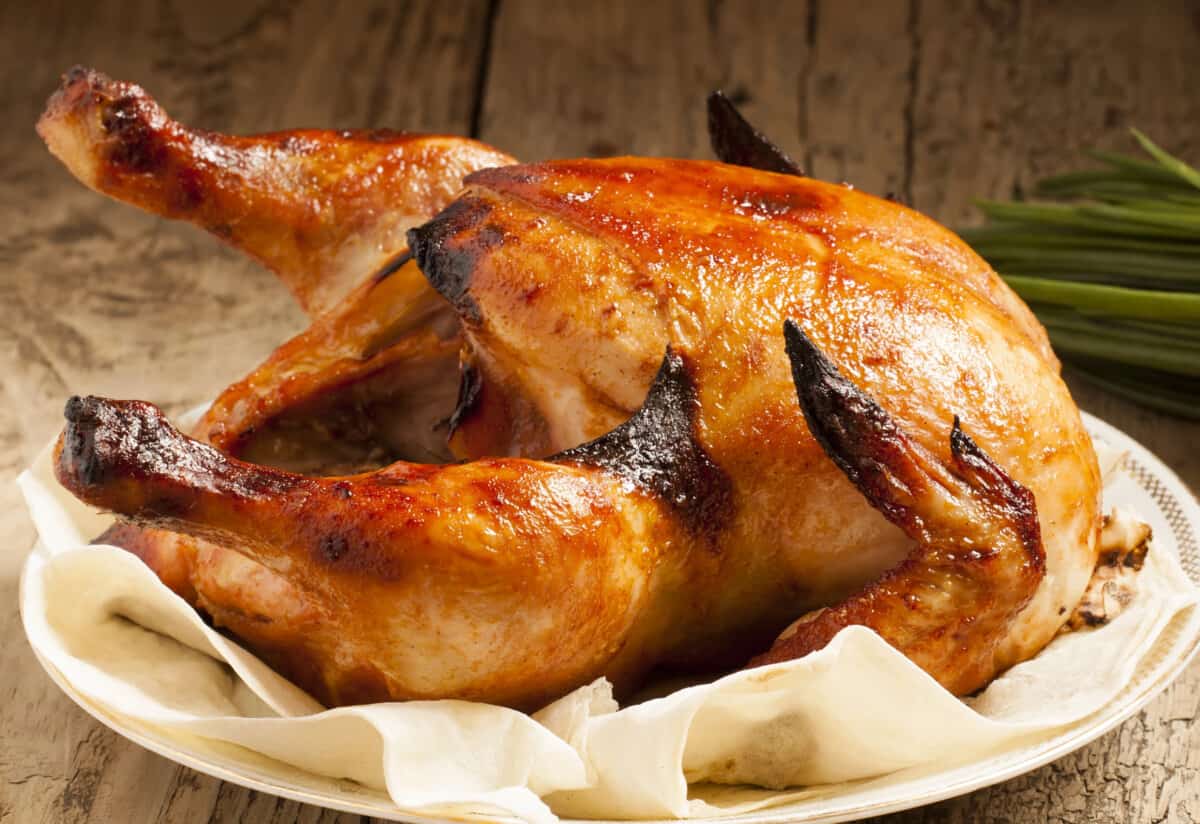
Here are some additional tips I have learned over the years. They do work, I just find them unnecessary if I follow the process I have outlined above. You might wish to try them though? If you do, let me know how you get on in the comments below.
Searing and Separating
Here’s an interesting technique worth trying. We tend to keep chicken away from direct heat because we’re so afraid of burning it or drying out the meat. But, a carefully monitored sear may be exactly what you need to crisp up the skin.
Start by super-heating your grill before placing the chicken on the grate. Don’t place it directly above the flames, though; either turn off a burner and put it there, or shove aside some charcoal and plunk it down. This reduces the chance of flare-ups from dripping juices.
Sear each side for 3-4 minutes and then move it to a true indirect heat zone to continue cooking. After a few minutes, carefully remove the skin with tongs and lay it directly on the grate, either in that same “cool” zone or even further from the flame.
Once the chicken is ready, remove it from the grill, but keep cooking the skin. Once it’s golden and crispy, remove it from the grate and drape it over your chicken.
Separate and Poke Method
I probably made that name up, but it’s descriptive, at least.
I originally saw this technique on a Facebook group, added as advice to a question on getting crispy chicken skin.
Under the skin of a chicken, there’s a layer of fat. Fat adds moisture as it renders, so we love it for juicy steaks. We don’t love it for soggy chicken skin.
Carefully work a knife between the skin and the meat to separate the two, but without tearing the skin or actually removing it. Then, poke some holes here and there with a fork.
As the chicken cooks, the fat will render as usual. However, between the holes and the separation, most of the fluid will leak out. This should help the skin crisp up nicely. It’s not an easy technique, so be sure of your knife skills before taking it on. It is all too easy to rip and tear the skin…don’t ask me how I know!
Baking Powder For the Win
You’ve probably got a box of baking powder in the pantry, right? Time to put it to use!
Baking powder is mildly alkaline, according to the wise people at Epicurious. Thanks to that property, it will cause proteins to contract, kind of like the boiling water.
So, if you add baking powder to your salt or rub and let the chicken sit in the fridge to dry, the baking powder will tighten as the salt extracts.
I have tried this technique and it really does work.
What to Avoid When Aiming for Crispy Chicken Skin
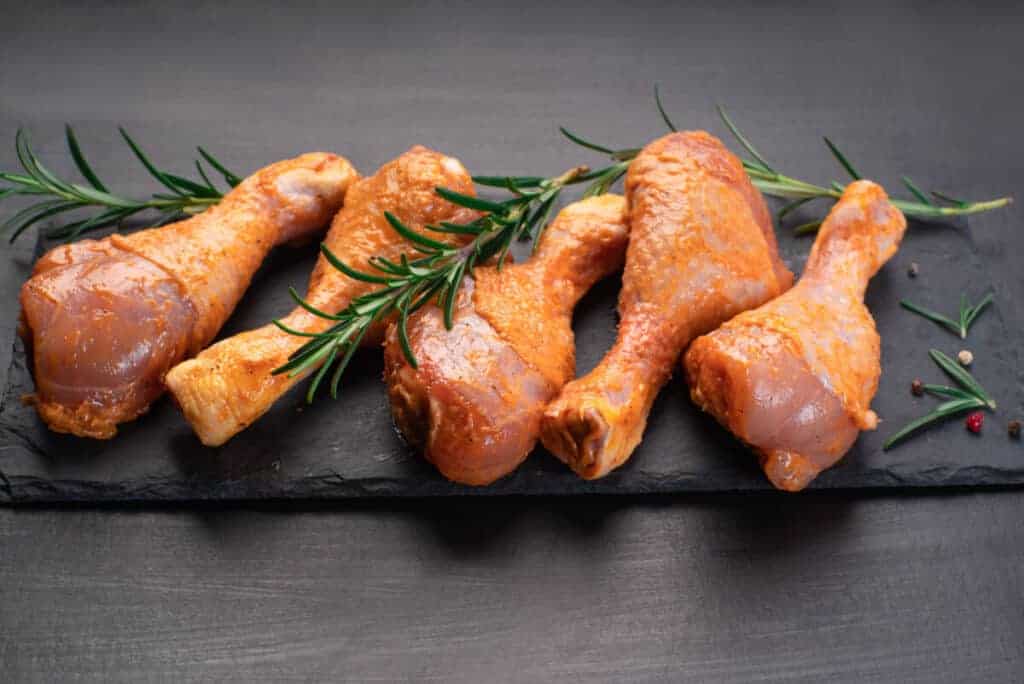
So what are the no-nos when it comes to crispy chicken skin? Here’s a not-to-do list for you:
Miss the Marinade
Yes, a good dunk in a marinade adds a lot of flavor to any meat. But, with chicken, it’s a recipe for soggy skin. Save it for skinless cuts.
Bypass the Baste
Applying a baste too early will add moisture to the skin before it has a chance to get crispy. If you’re going to baste, add it just minutes before you’re ready to take it off the grill.
Save the Sauce
As with a baste, that yummy BBQ sauce will add moisture you don’t want. It’s like putting lotion on dry skin.
Instead, either use it as a dip, or apply it just as you’re about to remove the chicken from the grill, so it has a minute or so to char a bit.
Of course, I can’t imagine chicken wings without sauce! So what I do is apply it in the seconds just before serving, so the skin is still crispy and has little time to go soggy before people eat it.
Skip the Smoker
What? Do not smoke your chicken? SACRILEGE!
Smoked chicken is fantastic. But sadly, it’s never crispy. Smokers are great for making tough meats edible by rendering fats slowly at low temperatures and keeping as much moisture in the meat as possible, sometimes even adding water to the cook chamber via a water pan.
For crisp skin, you need high temperatures and the shortest possible cook times. You can still add some smoking wood to flavor your chicken, just do so at higher temperatures in your gas or charcoal grill.
Or if you do smoke your chicken, follow the ‘stretch, salt, dry in the fridge overnight’ techniques, then smoke it, and finish with a blast on a high heat grill to do the best you can with the skin. It won’t be the best crispiness you can get, but it’s still absolutely delicious!
Conclusion
Of all these techniques, what’s the best way to get crispy chicken skin? It’s obviously the process I laid out at the start, which is a combination of several.
You don’t have to follow my process though. Try mixing and matching different methods until you get the skin to the level of crispiness you most enjoy. As so often happens in BBQ, there’s no one-size-fits-all answer. There are just guidelines, tips, and a chance for you to experiment!
As always, your questions and comments are welcome, just like you’re welcome to share this and any article from the site with friends. Speaking of friends, come join the crowd on our social channels — you’ll find links on this page.
Thanks for reading, and I wish you well with your next batch of birds on the barbecue!



Most thorough resource on crispy skin! You can also smoke roast a chicken (less smokey, more crispy) and also with the poke method be sure to pierce the skin only not the flesh so poke it at an angle. I’ve combined all these methods for rock hard skin 😂😂 and juicy chicken on a rotisserie. Yet to perfect on a Weber because it just takes so much effort and time!! Thanks, a lot for this article
Thanks, Saud, I’m glad you found it useful 🙂
Thank you for these tips! My husband regularly spatchcocks chicken to roast on the big green egg, and we are constantly fighting for that crispy skin! Drying in the fridge for two days seems to work well, but I’d like to try the other ideas as well. Especially poking and tightening the skin. Sounds funny just thinking about it! Thanks, again!
Do let us know what you think of the results!
Have a bunch of skin on breasts and thighs in the fridge covered with rock salt and baking powder. What do I do in the morning? Get rid of the salt and use boiling water to wash off the baking powder?
Hi David. For the best results, you leave the baking powder on the skin while it’s cooking.