
There is so much to learn about grilling that there’s no way we could condense our best grilling tips all into a Top Ten list, or even a Top Twenty.
So, welcome to the Internet’s most epic repository of grilling tips. 31 in total! I’ve made sure not to include any garbage and highly suspect tips, so you’re not wasting your time here. When it comes to grilling, only the best will do for us and our readers.
So, what new knowledge will you discover today?
In this article, I cover general grilling tips that will apply to you no matter what type of grill you cook with, whether gas grilling or charcoal grilling.
If you don’t find what you’re looking for here, I’ve got a whopping collection of more specialized tips articles coming out that I will link to from here as I post them.
I have draft articles ready for tips on grilling on charcoal grills, on gas grills, BBQ tips for how to BBQ low n slow, tips for grilling fish, and so on. So do pop back to see these as I release them.
Hopefully, though, this is a useful page and one you’ll want to bookmark and check back on again and again.
Jump to:
- 1 Read Your Owner’s Manual — Get to Know Your Grill
- 2 Be Fire Safety Aware! — Keep Your Grill Away From Your Home
- 3 Burn Off Your New Grill Before Using it the First Time
- 4 Let the Grill Warm up Before Putting on Your Food
- 5 Cook at the Right Temperature for the Cut
- 6 Know Your Cooking Temperatures
- 7 No Built-in Thermometer? Guesstimate With Your Hand
- 8 Always Cook on Clean Grill Grates
- 9 No Grill Brush? Use Scrunched up Foil
- 10 Oil Your Grates to Help Prevent Food Sticking
- 11 Also, Oil Your Food
- 12 Never Use Cooking Spray Inside Your Grill
- 13 Use Metal or Silicone-Coated Utensils, Never Plastic
- 14 Consider the Dimensions of Your Grill Before You Buy a Large Cut
- 15 Set Up for High and Low Two-Zone Cooking
- 16 Direct vs. Indirect Cooking
- 17 Weather Can Affect Grill Heat and Cooking Times
- 18 Lid Up or Down? What Would you do in the Kitchen?
- 19 Tenderize Tough Cuts of Meat Before You Cook
- 20 Season More Than You Think!
- 21 Begin With the Cuts That Take the Longest to Cook
- 22 Leave Space Between Cuts on the Grill
- 23 Allow Food to Come up to Room Temp? Or Grill Straight from the Fridge?
- 24 Don’t Over-Handle Your Meat
- 25 Use 2 Skewers in Each Kebab to Make Them Easier to Turn
- 26 How to Get That Perfect Instagrammable Sear
- 27 Cooking Finishes Based On Temperature, Not Time, Look and Feel
- 28 Remove Food From Your Grill 5 F to 10 F Under Target Temperature
- 29 Spatulas are for Flipping, Not Flattening
- 30 Invest in a Good Grill Basket or Grill Mats
- 31 Only Add Sauce at The End of Cooking
- 32 Let Your Meat Rest After Cooking
- 33 Conclusion
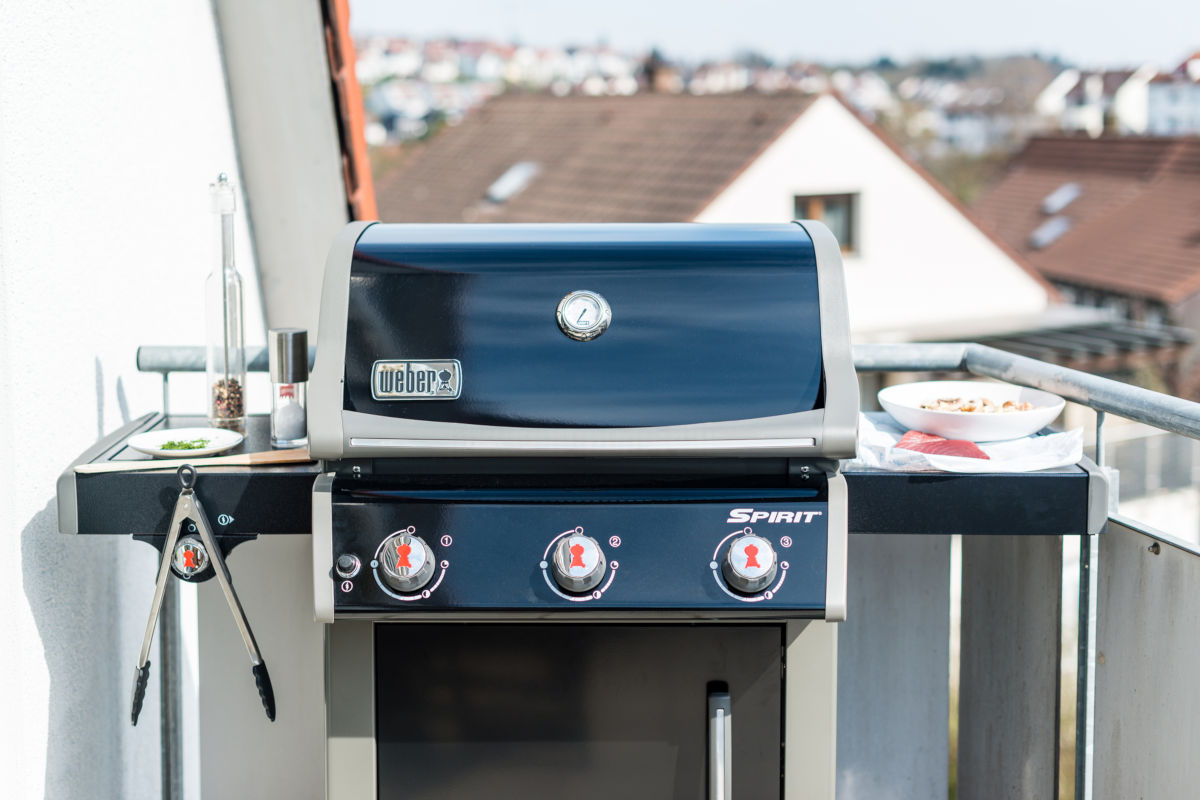
Read Your Owner’s Manual — Get to Know Your Grill

You can read all the how-tos and reviews you want (and we encourage you to!), but there is no substitute for reading the manual for your actual grill.
Inside you’ll learn lots of useful information, including operating instructions and safety tips that are specific to your grill.
The manufacturers may have a unique tip or trick to maximize the results you can achieve on your particular model, a tip that you may not find anywhere else.
The only way to find out is to read it!
Be Fire Safety Aware! — Keep Your Grill Away From Your Home

Grills do occasionally flare up and can even catch fire. It’s rare, but if it does happen to you, you want to make sure your house cannot go up with it!
All homes are made of at least some flammable materials, so a grill flare-up close to your home can very easily turn into a house fire!
You should also be mindful of not placing your grill underneath closely hanging branches as a flare-up will easily set light to a tree, and such fires can spread quickly.
Finally, things such as garden furniture, gazebos, decorations, border plants, and pot plants, can readily catch fire so you want to keep your grill away from these too.
Essentially, anything that can catch fire, you should keep your grill away from, because you never when disaster may strike.
Sound advice that we should all pay attention to!
Burn Off Your New Grill Before Using it the First Time

There’s nothing quite like the anticipation of that first session after assembling your new barbecue! But, it’s imperative to give it a trial run first. We do this for three reasons:
- To familiarize ourselves with how the grill works
- To ensure everything is working properly
- To burn off chemicals and debris leftover from the manufacturing process
Commonly known as ‘seasoning your new grill‘, you want to let it run at maximum heat for about 30 minutes with the lid down. Then, lift the lid and continue for another 5 minutes.
After this, brush off any debris that may be on the grates, and then, after it’s cooled, clean out the bottom with a cloth or a shop vacuum.
Let the Grill Warm up Before Putting on Your Food

Yes, an open flame is hot right away, but it takes some time to heat up the grates, the grill walls and lid, and even the air under the lid.
If you put your food in right away, the temperature will fall dramatically, and you will not be cooking at the temperature you think you will. All timings and ultimately, your results will suffer.
Your grill has likely been sitting around unused for days, weeks, or months too. So having a good warm-up time will kill any bacteria that have gathered.
So for safe and even cooking, no matter if you’re searing or roasting, give the grill a good 20 minutes heat-up time before you start cooking.
Cook at the Right Temperature for the Cut
Far too many grillers turn on the grill, set the knobs to high or open up all the vents, and cook everything at the same heat level — scorching hot.
That’s fine for thin cuts that cook through in minutes, like lamb and pork chops, burgers, hot dogs, and so on. It’s also ok for steaks, which really don’t even need much more than a good sear.
Where you want to take it easy is with large cuts and delicate cuts. Dial back the heat to medium for chicken, veggies, and fish. The big guys, like whole poultry and roasts, need lots of low, indirect heat to cook all the way evenly through without burning.
Know Your Cooking Temperatures

Recipes sometimes give an actual temperature, but other times they merely state: Cook on low, or grill on high, etc.
These are the temperatures you want to aim for:
- Low heat — 250-275 °F
- Medium-low heat — 300 °F
- Medium heat — 350 °F
- Medium-High — 400-450 °F
- High — 500-650 °F
- Cremation — 650+ °F
No Built-in Thermometer? Guesstimate With Your Hand

It’s not as accurate as using a digital thermometer, but, in a pinch, you can make a reasonable estimate as to the grill temperature by hovering a hand over the heat.
Hold your hand about 5 inches above the grill and start counting seconds. Feel free to use your favorite 4-syllable word or phrase — we prefer, “1 barbecue sauce, 2 barbecue sauce…”
Count until you have to pull your hand away.
Here’s a rough conversion of seconds to Fahrenheit:
- 11 – 14 equals 225 – 250 °F
- 9 – 10 equals 275 – 300 °F
- 6 – 8 equals 325 – 350 °F
- 4 – 5 equals 375 – 400 °F
- 2 – 3 equals over 450 °F
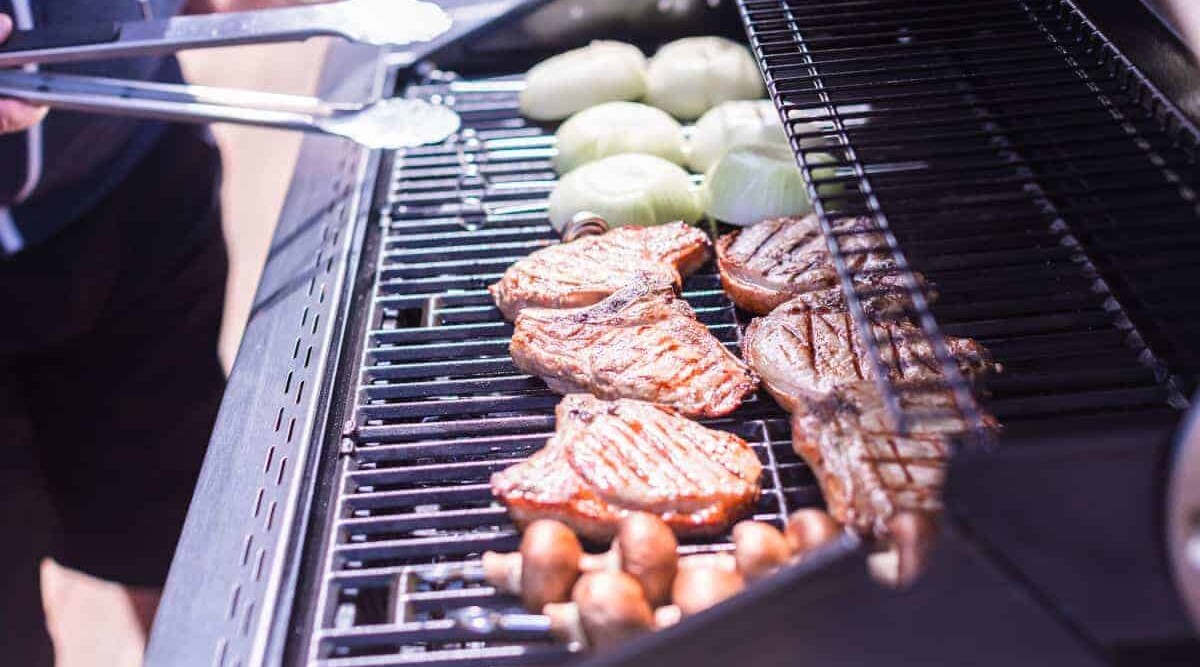
Always Cook on Clean Grill Grates
Many people do not clean their grates, claiming that it’s all ‘extra flavor.’ Please ignore this!
Dirty grates are covered in old, dirty carbonized food and sauces, may be harboring bacteria, and regardless that burned old food will taste acrid, bitter, and horrible. So please clean your grates before cooking.
Not only are clean grates more hygienic, and do not blacken and spoil the look of the food, but they are also far more non-stick.
So after your grill clean up, give them a good going over with a grill brush or scraper.
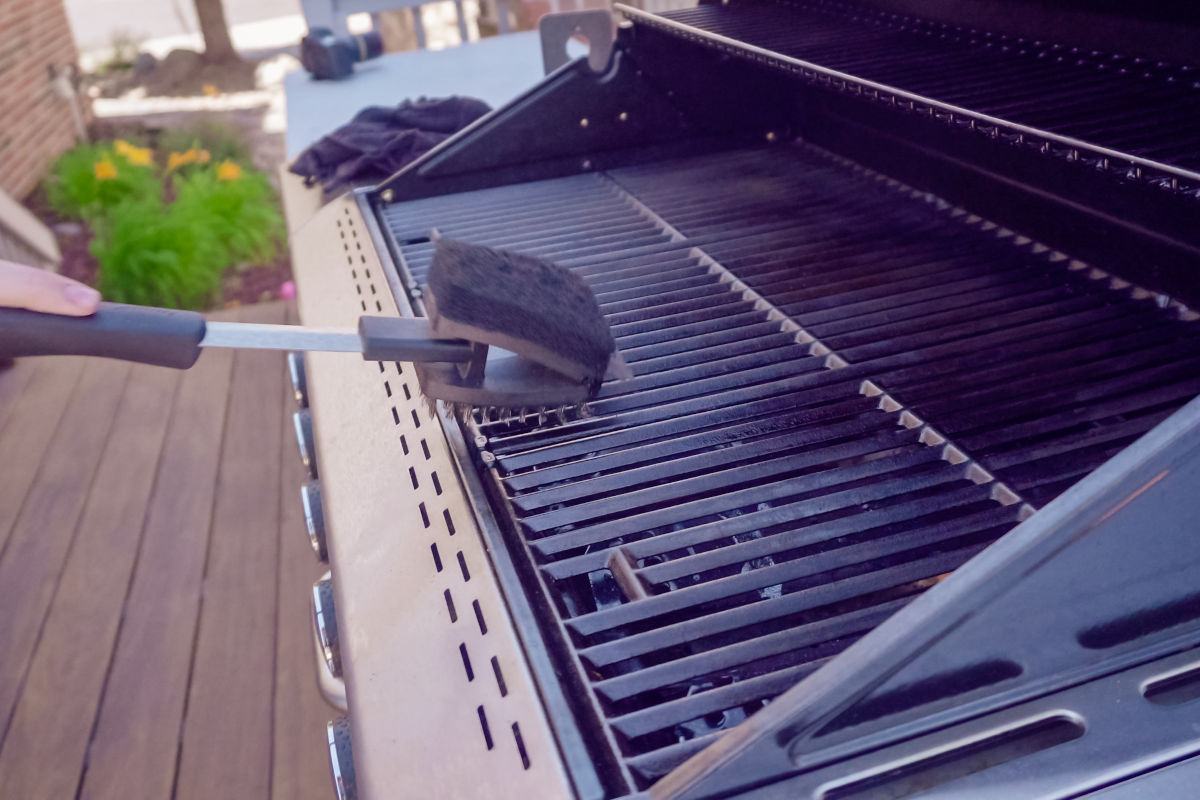
No Grill Brush? Use Scrunched up Foil
If you do not have a grill brush, a popular tip I saw on better home and gardens is to scrub your grill grates with scrunched up aluminum foil.
Simply screw up a ball of aluminum foil until the size of an orange, and then using your grill tongs, scrub away at your warm grates.
I’ve used this tip many times, and it works very well indeed!
Oil Your Grates to Help Prevent Food Sticking

Chicken, pork, fish, and vegetables have a habit of sticking to hot grates. The easiest way to prevent that is to coat the grates with cooking oil.
Pour some in a small bowl and then fold a paper towel over several times. With the grate already warmed up, grab the paper towel with your tongs and dip it lightly in the oil.
Wipe the oil over the grill grate, do this several times to get a good coating. Don’t soak the paper towel, or it will drip and cause a flare-up.
Also, Oil Your Food

Oiling your grates is an excellent first step to non-sticking food, but it’s often not enough because the oil bakes on and loses some of its lubricating properties.
Therefore, lightly oil any food you wish to grill before placing on the grates. Just a small wipe with a pastry brush dipped into oil will be sufficient. A very light coating is all that’s needed.
Never Use Cooking Spray Inside Your Grill

It can be tempting to spray your grates, instead of wiping them. And this might seem like the fastest way to prevent food from sticking, but it’s actually the fastest way to create a fireball when the greasy spray hits the open flames.
Even if the grill is off, the over spray will ignite wherever it lands inside your grill if it’s hot, or when the grill is next turned on.
If you absolutely must use a spray, remove the grates from the grill, spray them well away from the flames, and do not reapply.
Use Metal or Silicone-Coated Utensils, Never Plastic
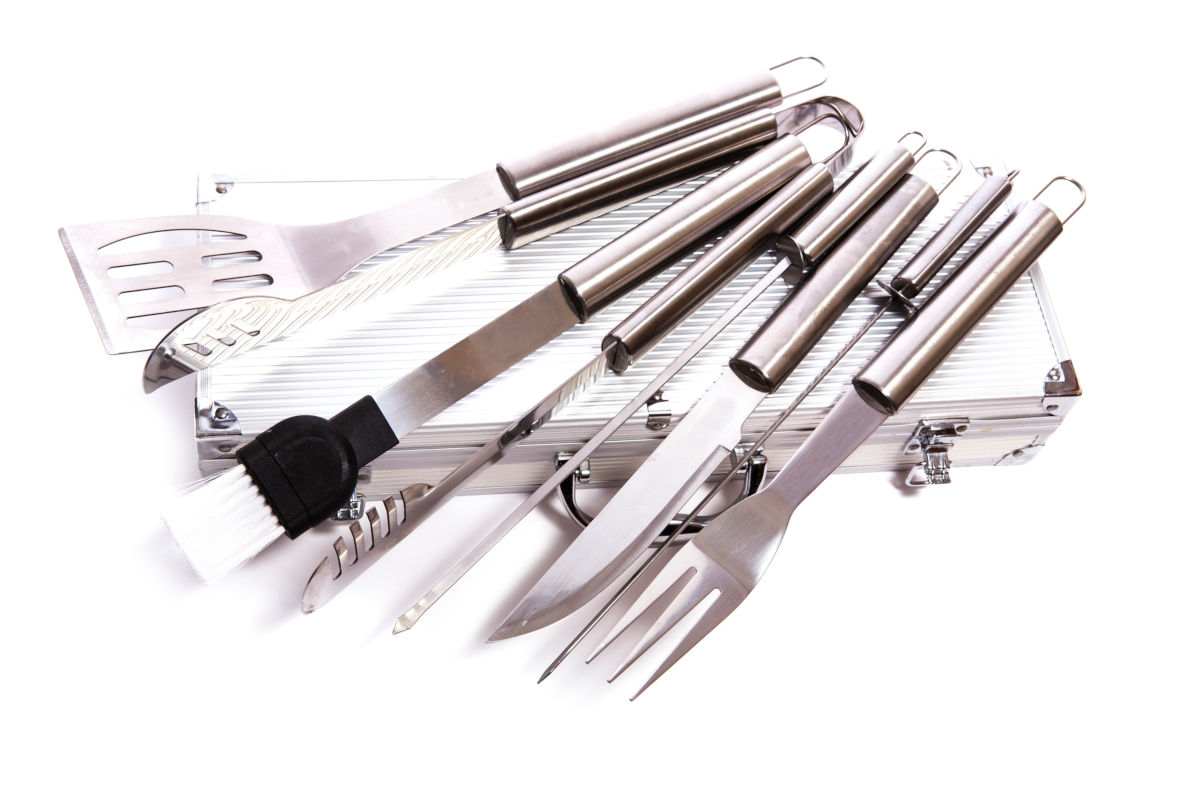
Leave your plastic utensils in the kitchen, and buy purpose-made metal or silicone-coated tools and utensils for your barbecue.
Plastic won’t hold up to the intense heat of a grill, and you do not want melted plastic on your grates or in your food.
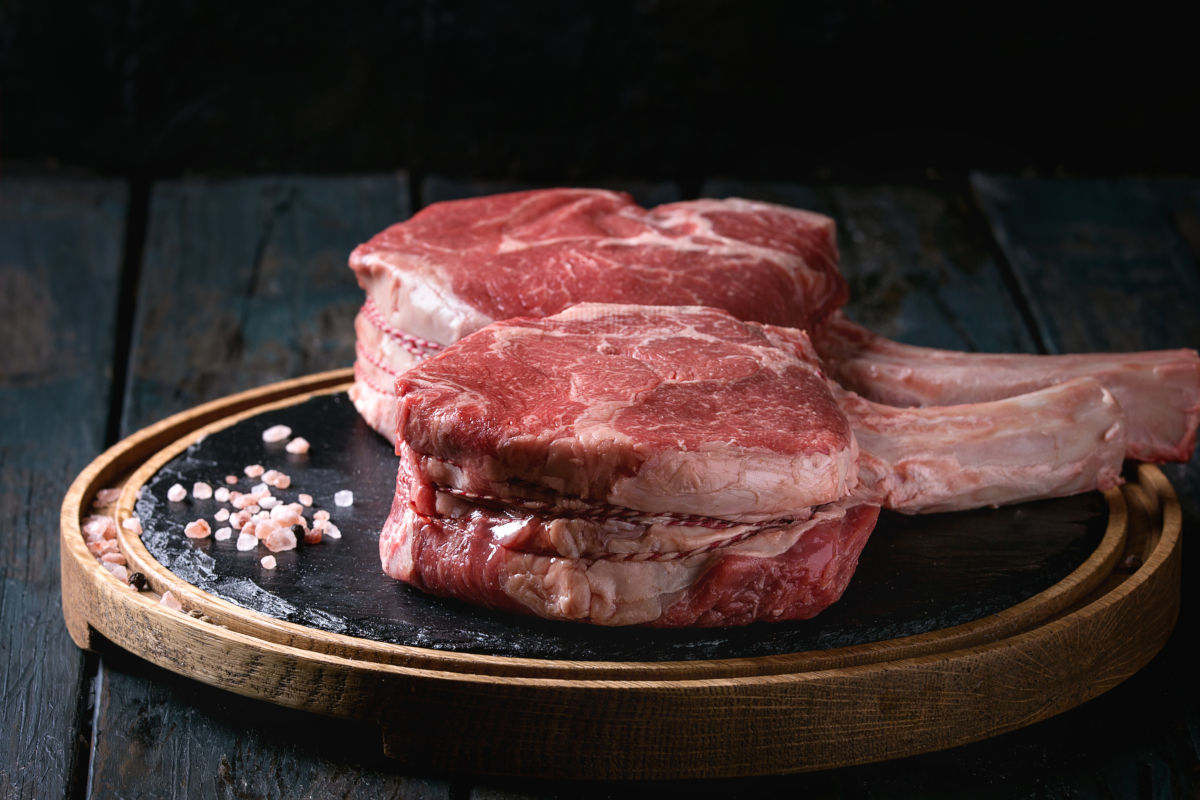
Consider the Dimensions of Your Grill Before You Buy a Large Cut

Buying a massive cut of meat, like a shoulder or roast, is no good if you don’t have enough room under your lid.
Efficient air circulation is essential to even cooking. That means meat cannot touch the underside of the lid, or the side or back panels.
This may sound obvious, but I’ve seen this mistake made many times. Either buying meats that are too big or simply piling too much into the grill, so it touches the lid.
Set Up for High and Low Two-Zone Cooking

Two-zone cooking is where you have 2 different heat zones, one high and one low. A high heat zone directly over the flames for searing, and another second zone away from the flames that is much cooler, a place to cook slower without burning, or to move food to as a ‘safety zone’ to prevent burning.
With a gas grill, simply have one or more of your burners as high as they will go, and one or more on a low or medium setting.
On a charcoal grill, either bank up all the coals to one side, so you have a ‘half-and-half’ hot and cool zones, or have the lit coals in the middle, so the outer edges are a cooler cooking area.
If something starts to burn, move it to the cool zone. Or if something needs a good, high heat sear to finish, you have that set up too.
Ultimate heat control!
Direct vs. Indirect Cooking
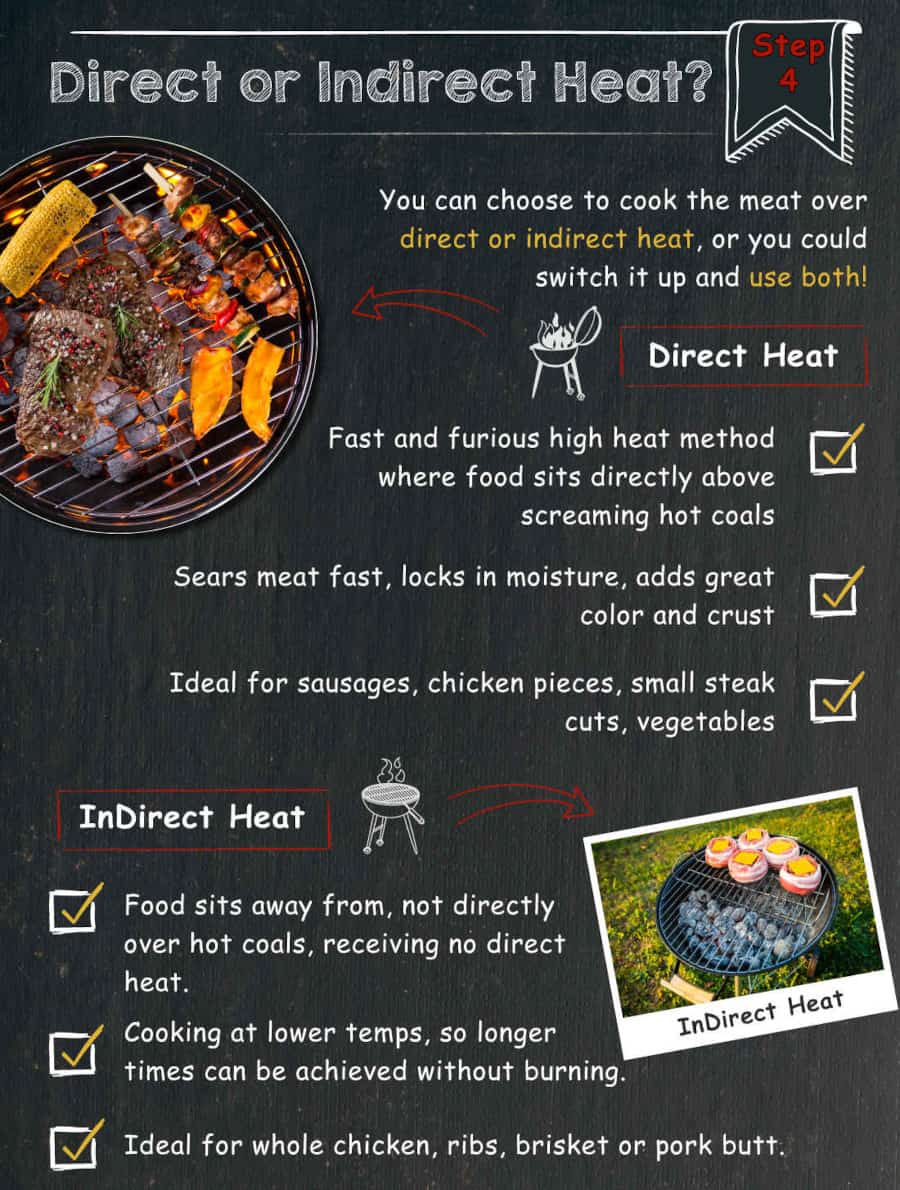
Direct heat cooking is over the flames. Indirect heat grilling is away from the flames, in a much cooler part of your grill.
Which style should you use?
10 to 15 minutes a good ballpark figure for the maximum you want to cook with direct heat. Anything longer than this you should cook indirect, to prevent burning or completely drying out the meat.
Weather Can Affect Grill Heat and Cooking Times

No matter how thermally secure your grill may be, the exterior conditions will affect what’s going on inside.
Allow extra time for grilling on cold days, and keep a closer eye when it’s hot out as temperature sin your grill can soar.
Also, while wind blowing into a charcoal grill will stoke the fire and raise the temperature, it will have the opposite effect on a gas grill.
Lid Up or Down? What Would you do in the Kitchen?
The saying goes, “If you’re looking, you ain’t cooking.” That’s 100% true when it comes to large cuts that need circulating hot air to cook gradually.
In the house, you’d put them in the oven; therefore, you should close the lid and let them cook.
Thin, fast-cooking foods (under ¾-inch thick) like steaks and burgers, you’d likely cook in a frying pan indoors. So, for outdoor cooking, you can leave the lid up.
So the rule of thumb is:
Anything you’d cook in an oven with the door closed should be grilled with the lid closed. Anything you cook on the hob in a frying pan, you can leave the lid open.
Tenderize Tough Cuts of Meat Before You Cook

If you’ve decided to save money by being less expensive cuts, you may find them tough and difficult to chew, especially after cooking.
So tenderize your meat before grilling. You can pound it, score it, tenderize with a marinade, or by wet brining.
With tender meat, you’ll have a far more enjoyable eating experience.
Season More Than You Think!

Like it or not, salt enhances flavor, bringing out umami, savory flavors, and raising foods to new levels of tasty enjoyment.
One thing many cooks fail to do is season — or salt — their food enough.
As Jillee from onegoodthing.com says:
“Big, thick steaks need a lot of seasoning, so be sure to cover them liberally with salt, pepper and any rub before grilling. A good rule of thumb for home cooks is to salt the meat twice as much as you think is needed.”
You’ll be surprised how much better things taste if you add a little more salt than you’re used to. Don’t do it every day on every dish, but now and then when grilling is fine.
Begin With the Cuts That Take the Longest to Cook

Think about what you’re making and start with pieces that need extra time.
You don’t want to start with, for example, hot dogs and then have them sitting there drying out while you’re waiting for a roast.
Of course, if you’re grilling up some appetizers, start with them and get them served while the mains are going on the grate.
Leave Space Between Cuts on the Grill

Crowding your grill with meat forces the cuts to compete for heat, can shield some surfaces from direct heat, and may even cause steaming between touching surfaces. This can all lead to uneven cooking.
Cuts don’t need a lot of real estate; just leave about a minimum of an inch of clear space around each cut for the best results.
Allow Food to Come up to Room Temp? Or Grill Straight from the Fridge?
You will hear many cooks say to remove your meat from the fridge and allow it to come up to room temperature before it hits your grill. However, this isn’t always the best advice.
Yes, for some medium-sized cuts, it can be good to allow an hour for them to rise in temp, potentially resulting in more even cooking, and not a dried outside before the insides are cooked.
However…
For really big cuts, it can take many hours to get to room temp. It’s just not worth leaving out for half an hour before cooking. It has no effect.
And for some smaller cuts like steak which you want to serve medium-rare, a cold center actually helps you to sear the outside longer for a beautiful crust, while not overcooking the center. So go straight from fridge to grill.
Don’t Over-Handle Your Meat

It’s very tempting to keep flipping thinner cuts to keep them from burning. But, if you have your temperature zones the way you want them, there’s no reason to keep checking and keep flipping.
All this manipulation can result in loss of moisture, ending with drier food.
Many cuts will only need one flip and others two or three at most. Just be patient and let heat and time do their work.
Use 2 Skewers in Each Kebab to Make Them Easier to Turn

Kabobs are fun to make, quick and easy to grill, and pretty good eating. But they are sometimes difficult to turn, with some bits flapping about, and spinning on the skewer after some grilling time.
A hat tip to Jillee at OneGoodThing.com again for this tip:
“…insert two skewers to make them more structurally sound and easier to grasp with tongs and flip over.”
All food will remain together, turn at the same time, and with far greater ease with this tip.
How to Get That Perfect Instagrammable Sear

Want that gorgeous diamond pattern seared into your steaks? It’s not magic; it’s just timing and geometry.
Put the steak on a piping hot grill for about 90 seconds and then rotate it 45 degrees and leave it for an additional 90 seconds or so.
Flip it over and repeat on the opposite side before moving to indirect heat or a lower-temperature zone to finish.
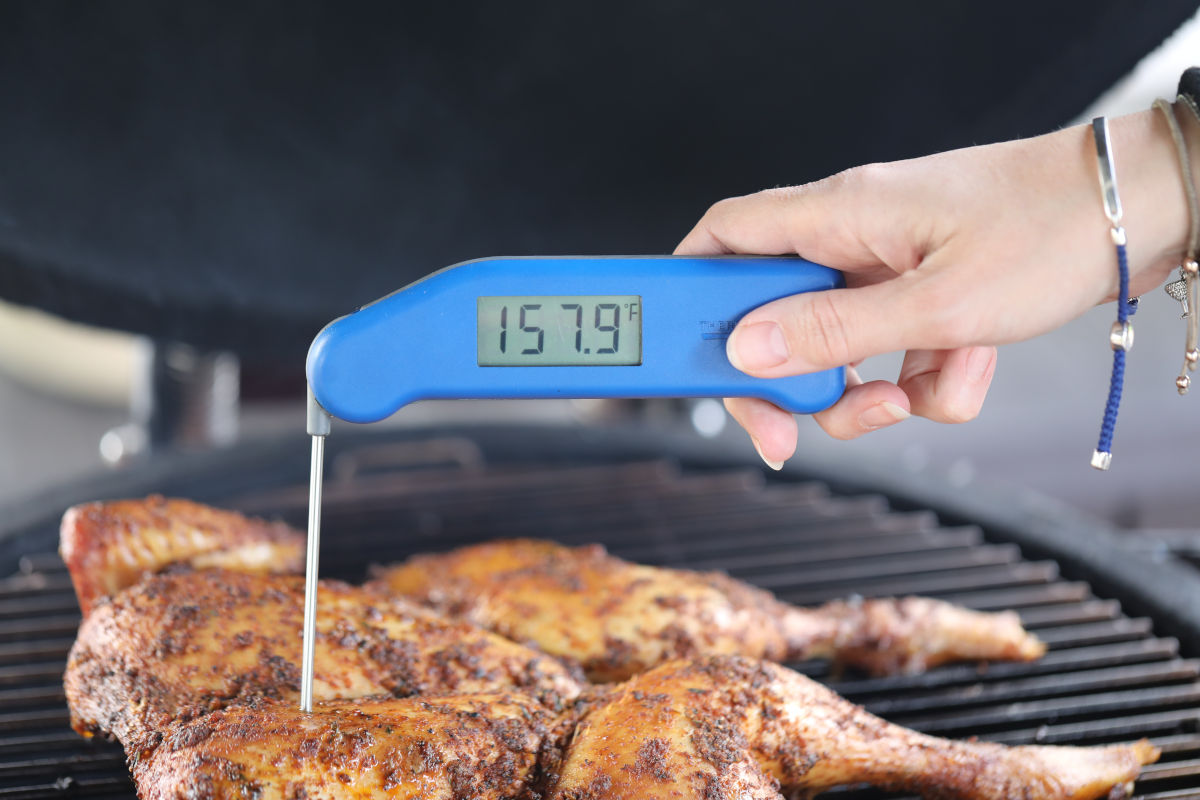
Cooking Finishes Based On Temperature, Not Time, Look and Feel

As Obi-Wan wisely told us, “Your eyes can deceive you; don’t trust them.”
If you want to be a grilling Jedi, you can’t just rely on your instincts and senses to determine if food is ready to eat. And timing things isn’t much better as so many variables can affect how long a cook takes.
Only a Digital smoker or grill thermometer can tell you with accuracy if your meat is ready and correct to a safe temperature.
Remove Food From Your Grill 5 F to 10 F Under Target Temperature
Food continues to cook after being removed from the grill, due to what’s known as carry over cooking.
So remove food 5 degrees Fahrenheit before your target temperature and doneness level, it will rise during the rest to be perfect.
If you take your food off the grill at exactly the finished temp you want to achieve, it will then overcook a few degrees while resting.
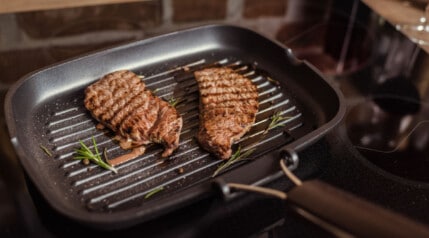
Spatulas are for Flipping, Not Flattening

We don’t know how this became a thing, but lots of people flatten their burger patties, steaks, and pork chops with a spatula while they’re on the grill.
Maybe it’s that mouth-watering sizzling sound it makes that’s just hard to resist?
Well, all you’re accomplishing is forcing the tasty fats and natural juices out of the meat and into the barbecue where it’s no good to anyone, resulting in a drier, less delicious end product.
There is only one time you should flatten food on your grill, and that’s for ‘smash burgers.’ But that’s for another article.
Invest in a Good Grill Basket or Grill Mats

If you’re going to cook delicate bits of fish, small prawns, tofu, or small pieces of vegetables, they very often fall through the grates.
To solve this issue, you have two choices:
- Invest in a good grill mat to provide a solid cooking surface. Or…
- Invest in a good grill basket to keep everything tightly together and easy to turn.
Either of these solutions will allow you to cook smaller delicate items with no fear of losing them through your grates.
Only Add Sauce at The End of Cooking

BBQ sauces and glazes have high sugar content, and sugar can quite quickly burn and become bitter.
Therefore, only glaze or add sauce to your ribs — or anything for that matter — for the last half hour of cooking at low heat, or the last few minutes of cooking at high heat.
You only want to add it, so it has enough time to cook through, and set onto the meat while avoiding any chance of burning.
Let Your Meat Rest After Cooking

For maximum flavor and juiciness, allow your cooked meat to rest after cooking under a loose tent of foil.
5 minutes for a steak or chop, half-hour or more for a large roasting joint.
What happens during resting, is some of the internal moisture redistributes evenly throughout the meat, so all parts are of the same moisture and quality. It also prevents a tiny amount of juices lost when slicing. But hey, every little helps!
Use loosely tented aluminum foil, because you do not want the tasty, browned Maillard crust you have formed on the outside to go soggy.
Conclusion
I hope you found enough new knowledge in this collection of grilling tips to keep you busy — and more successful — at the barbecue or grill for a long time to come.
What new tidbit did you turn up to help elevate your grilling game? Did we somehow miss your #1 tip? Share it with us below, and maybe we’ll include it in an update!
And do check out our companion guide to the most common and easily avoidable grilling mistakes people make. It’s just as useful.
Thanks for reading and helping us be one of the go-to resources for barbecue on the ‘net.


0 Comments