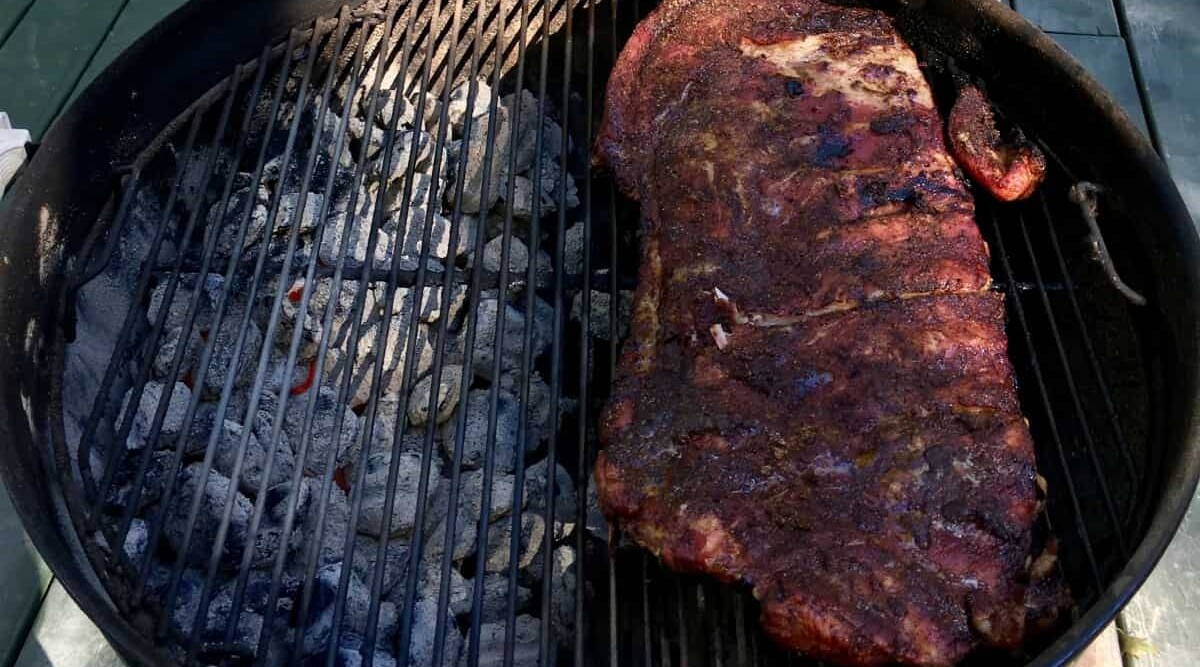
In this post, I’ll explain what indirect grilling is, how to set up your grill for indirect grilling and why this method is the best and most effective way to cook larger pieces of meat, without risk of burning them.
Christmas 2008 was a pivotal moment in my grilling life. With a loud bang and some colorful sparks, the oven was kaput. And there was no other option but to shovel our way to the grill and finish our 10 lb holiday prime rib out there. It was a tense moment.
At that time, I wasn’t experienced in cooking large roasts over indirect heat. And now I had eleven anxious, hungry family members watching me at work.
But now I can tell you with confidence that I wouldn’t cook a large joint of meat any other way. Indirect grilling is the only way to go. Just as well, since we never did replace that oven.
So if you’re one of many excellent grillers who regularly fires up the pit for steaks, chicken pieces, veggies, and burgers, you need to keep reading, cos this is only half the grilling story.
Jump to:
- 1 What is Indirect Grilling?
- 2 How to Grill Using Indirect Heat
- 3 Pro Tips
- 4 Pros & Cons of Indirect Grilling
- 5 Why Would I Use Indirect Grilling Instead of My Kitchen Oven?
- 6 Meat ‘n Heat: The Importance of Temperature
- 7 When Should I Use Indirect Grilling and with Which Meats?
- 8 What, No Bark?
- 9 Final Thoughts
What is Indirect Grilling?
Flames, fire, sizzle, and sear.
This is what grilling is for most people, and it sure does get excellent results. But turn that heat down, close the lid, set a timer, then you can coax out some fantastic deep rich flavor from big — even tough — joints of meat, while still keeping them moist and tender.
That’s the magic of indirect heat.
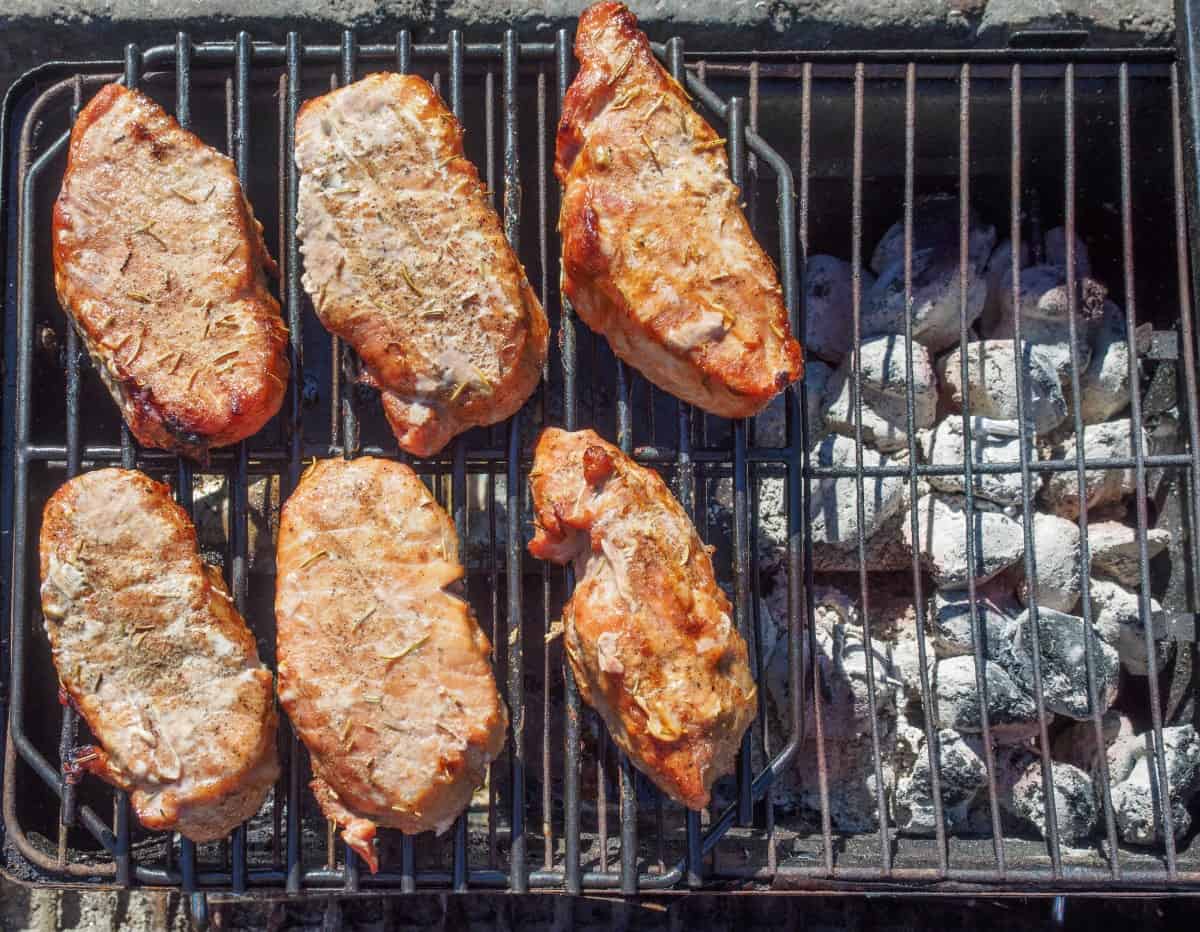
Indirect grilling means setting your heat to the side of your meat, not directly underneath it.
It’s about slow-cooking on a low temperature using convection heat, just like in a conventional oven. But I can tell you no conventional oven is going to give you the beautiful chargrilled smoky flavor of a grill. Sorry, ovens.
How to Grill Using Indirect Heat
Whether you’re using a gas or charcoal grill, indirect heat is easy to set up and within reach of all to master.
As always when cooking meat, give it an hour outside the refrigerator to come to room temperature, season well, oil the grate and then follow these simple steps:
Indirect Grilling on a Gas Grill
- Set a grill thermometer inside the grill and in the meat itself.
- Turn on only one or two burners as follows:
| Number of Burners | Configuration |
|---|---|
| 2-burner grill | Turn on one, leave the other off. |
| 3-burner grill | Turn on either the left or the right burner, leave the other two off. |
| 4-burner grill | Turn on far right and far left burners. Leave center burners off. |
| 5-burner grill | Turn on two burners either to the left or the right. Leave other burners off. |
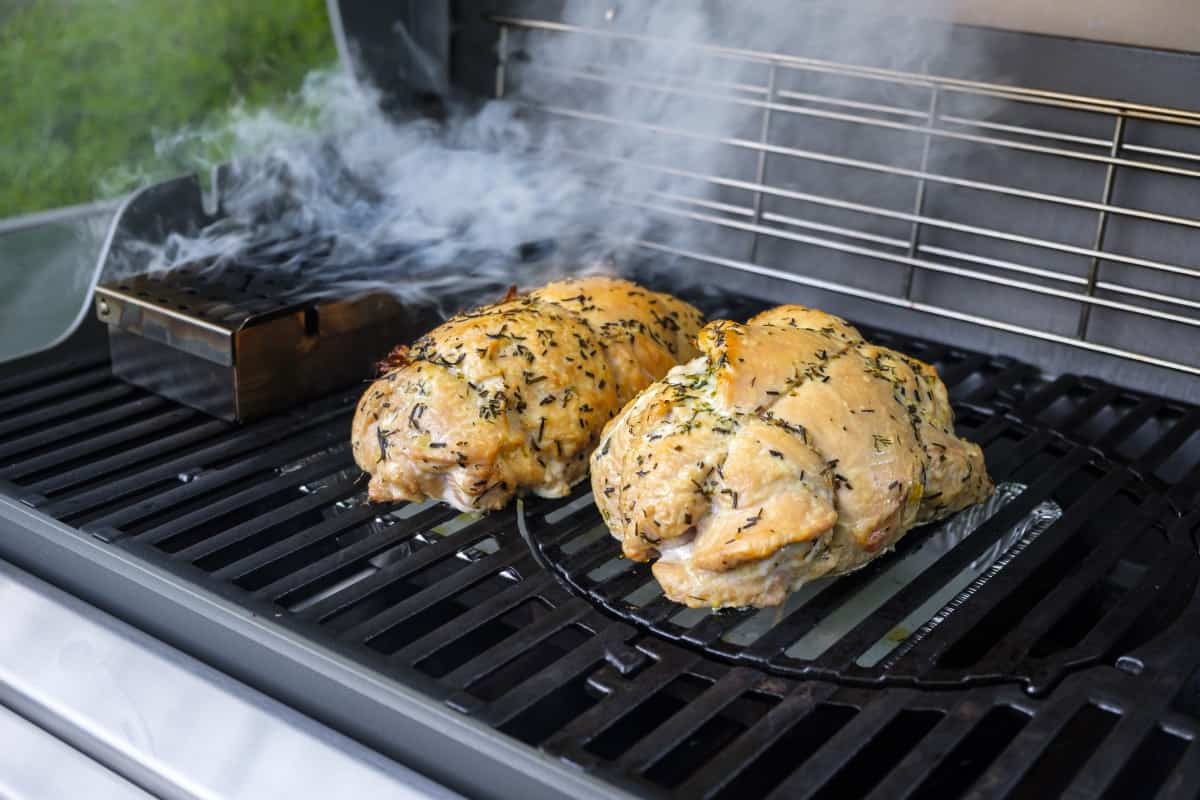
- When the temperature inside the grill is in your target cooking range (225 °F if smoking), set your seasoned meat over the burners that are off and close the lid.
- Add a wood chip burner box full of wood chips over the lit burners if you wish to add smoke.
Grilling Indirect With a Charcoal Grill
- Heat coals using a charcoal chimney (more details in our guide on how to use a charcoal chimney). When they turn white and ashy after 20 or so minutes, they’re ready.
- Pour the hot coals carefully onto the charcoal grate.
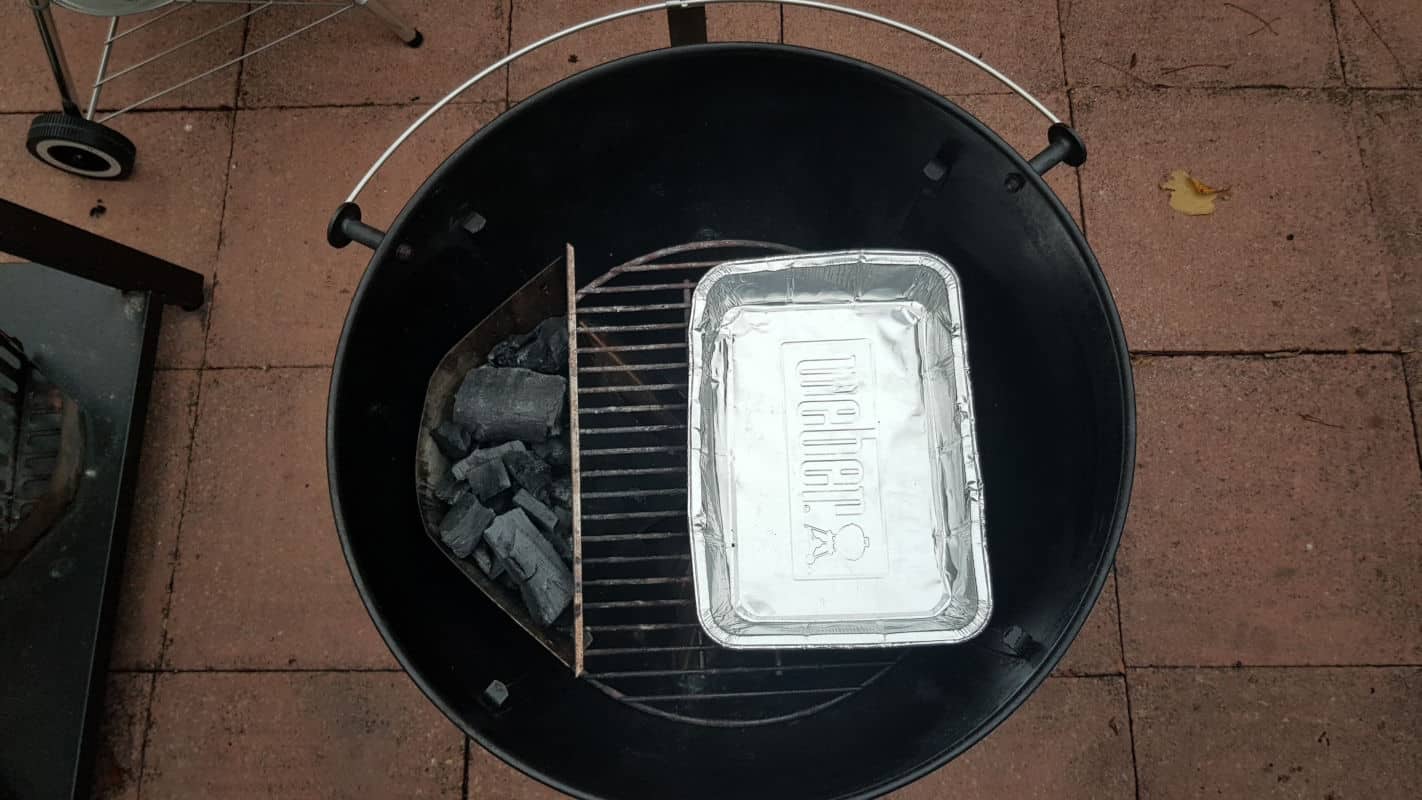
- Using grill mitts or gloves, and long-handled tongs, spread the briquettes evenly over no more than one half of the charcoal grate, though preferably bank them all to one side. Then replace the cooking grate over them.
- Close the lid, open all vents and let the grill preheat for about 10 minutes until the temperature inside the grill is in the range of 225 to 250 °F (see above under “With a Gas Grill” for more info on grill thermometers).
- Close down your vents to stop the temperature climbing and running away. A good starting point is the bottom vent halfway, and the top vent a 1/4 open (3/4 closed.) Leave the grill 15 minutes and see where the temperature settles. If above your target, tweak the top vent further closed, if not hot enough, tweak it further open.
- Add your seasoned meat with a thermometer inserted in the thickest part. Make sure if there is A MINIMUM of a couple of inches gap — though the more, the better — between the meat and the coals as you look at it from above (no meat directly over the coals.)
- Keep an eye on the temperature. Too many promising cookouts have fizzled out when the fire was allowed to die out. For best results, add briquettes every hour or as needed to maintain a steady temperature. You may need to experiment with partially closing the lid vents to reduce the temperature inside the grill, or open them to raise it. Leave the bottom vent 1/2 open or the fire will go out!
Check out this short step-by-step video from Weber on how to set up for and use indirect heat with a charcoal grill. And don’t forget to check out my extensive guide on how to use a charcoal grill.
Pro Tips
Lid closed — no peeking! Every time you raise the lid, the temperature is lowered, making the cooking time longer. This is especially important when grilling at low temperatures.
Thermometer. Thermometer. Judging the doneness of a large cut is hard. You don’t know what’s going on inches down into the meaty goodness and you for sure don’t want to keep sticking a knife in there to find out…letting all those wonderful juices escape. Plus, in the grilling world, under-done is just as undesirable as over-done. So get it right. Experts agree that you should use a thermometer every time you fire up the pit!
Add a drip pan under the meat with a little water, beer, juice or wine in it. Not only will this help add moisture to the cooking zone — so the meat won’t dry out — keep the grill clean and prevent flare-ups, but also, as fat and juices melt off the meat, you will have a killer pan sauce for serving with!
Add smoke. Whether using gas or charcoal, adding smoke will crank up flavor to a whole new level.
Rest the meat for at least 30 minutes to allow juices to disperse. Loosely tent with foil to keep warm.
Pros & Cons of Indirect Grilling
What We Like
- Enhanced deeper flavor with smoky, chargrilled goodness.
- Frees up the kitchen oven for other dishes.
- Keep the heat out of the kitchen on hot days.
- No need to turn meat because indirect grilling uses closed convection heat.
What Could be Improved
- Need to really babysit that temperature, especially with a charcoal grill to ensure the fire doesn’t die down or get too hot. This takes regular checking, tweaking vents and topping up with charcoal as needed.
- Takes a long time. Requires some advance planning.
Why Would I Use Indirect Grilling Instead of My Kitchen Oven?
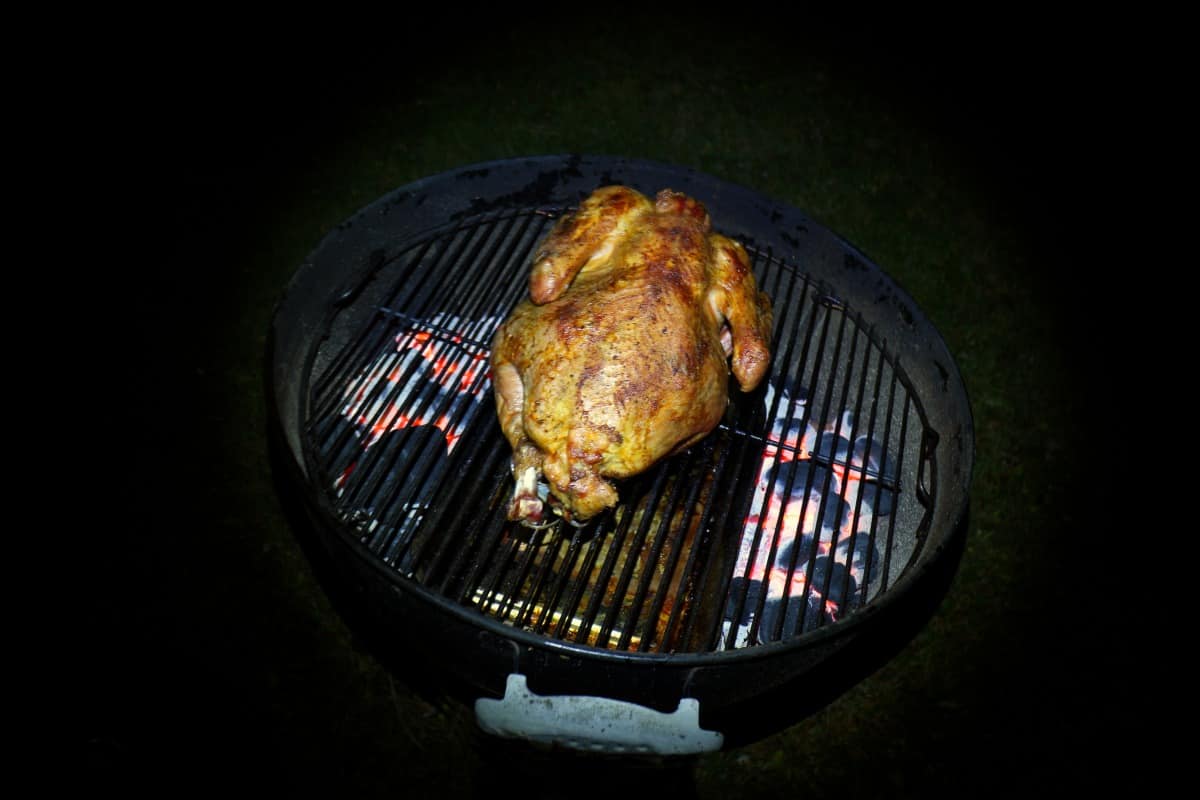
Well, the flavor is the hands-down best answer to this. Chargrilled, wood smoked, seared and succulent. A kitchen oven just can’t compete with the grill here.
But let’s talk about summer heat. When you’re closing blinds, running fans and pouring iced drinks to stay cool, the last thing you want is the oven pouring heat into the house! But the grill? Perfect. It’s already hot outside, so add a little smoke and fire and take the party outside.
How about the holidays? The typical kitchen oven is pushed to its limit during the holidays. Take it to the grill instead!
While the grill is cooking your roast to beautiful smoky perfection, the oven is free for pies, side dishes and all the other holiday trimmings.
Meat ‘n Heat: The Importance of Temperature
Grillers like to talk about “taming the flame,” but controlling temperature and understanding how different temperatures affect meat is equally important.
Different stuff happens at different temperatures:
- Caramelization
- Fat rendering
- Collagen melting
Were you paying attention in high school chem? Refresh your memory here with some fascinating insights into the science of cooking.
The bottom line is that high heat (like around 500 °F) is perfect for quick cooking, and searing steaks, small chicken pieces, vegetables and meaty fish like swordfish and tuna. But high heat for too long will destroy the proteins in larger cuts and roasts, shrinking them into tough leather.
While low heat over time will melt collagen which leads to more tender juicy meat.
The best grilling results come from watching and controlling the temperature inside the grill as well as in the meat itself. This is especially important for low ‘n’ slow cooking which takes time. Turn your back, and you risk the temperature dropping or the fire burning out which add up to a late dinner and grumpy diners.
So what’s the best way to know the temperature inside your grill? Personally, I don’t like to trust the built-in temperature gauge that many grills have. These are often inaccurate and misleading.
Here are some thermometers I like a lot because they have two probes, one for the meat and one to monitor the actual temperature inside the grill. They also have a remote device, so you can check the temperature from your armchair, and an alarm to let you know when cooking is done.
When Should I Use Indirect Grilling and with Which Meats?
OK, we’re back to the old favorite size matters here.
Set a large roast over high heat, and it will be burnt on the outside before it’s cooked on the inside. Big, weighty meats…anything over 2” thick…require slow cooking over low indirect heat. Rotisserie is also perfect over indirect heat.
Large cuts of meat can be tough. And the magic of indirect grilling is that the low, slow heat will melt the collagen that challenges our jaw muscles if cooked wrong, and transform it into melty juicy goodness.
Large cuts that work best with indirect grilling are:
- Pork butt, roast or shoulder
- Brisket
- Ribs
- Whole turkey
- Leg of lamb
- Prime rib
Here’s a quick glance at the time and temperature needed for indirect grilling these favorite cuts:
| Type of Meat | Internal Temp | Grill Temp | Cook Time |
|---|---|---|---|
| pork butt, roast or shoulder | 160 °F (for pulled pork, 190–205 °F) | 215–225 °F | 3 ½–4 hours, up to 7 or 8 hours for pulled pork |
| brisket | 195–205 °F | 225–250 °F | 10–12 hours |
| ribs | 180–190 °F | 225 °F | 3–5 hours |
| whole turkey | 160 °F | 350 °F | 2 ½–3 hours |
| lamb | 145 °F | 300 °F | 1 ¼–1 ¾ hours |
| prime rib | 130–135 °F | 215–225 °F | 3 ½–4 hours |
What, No Bark?
If there’s one thing that gives us chills at our grills, it’s the thought of serving up a soft gray piece of meat. Horrors!
We grill because we love that crackling seared caramelized crust — bark as it’s known by grillmeisters — on our roasts and sometimes low and slow cooking will not achieve this.
The solution is reverse searing. Once the meat is finished cooking and has reached correct internal temperature, take it off, loosely wrap in foil to let it rest and go crank up the grill to super-hot.
Then set the meat back over direct high heat — right above the heat source — just for a couple of minutes per side, no more. This will give you that perfectly seared, Maillard reaction encrusted bark while not affecting the tenderly slowly cooked inside the meat.
Final Thoughts
If you’re new to indirect grilling, it’s time to go low. Low on temperature. Long on time. Big on flavor.
For one, it’s super easy. You already have everything you need: your grill, a hunk of meat, this post. And when you take that first bite of tender, mouthwatering meaty magic, you’ll know it’s time for the kitchen oven to take a long vacation.
Fact is, I have to thank my oven for flunking out on me that Christmas because it marked the beginning of a new and beautiful relationship with my grill using indirect heat!
How about you? With the tips and directions in this post, you are ready to take your grilling to a whole new level. Let us know how it goes.
Happy grilling!



Can we use lump wood charcoal or does this burn up too fast?
You can use it yes, definitely. I use natural lump wood charcoal for like 95% of my grilling, and only briquettes very occasionally if I use my WSM for a minion, or to do a charcoal snake in my kettle. But yes, almost always I use lump charcoal…for grilling medium to high heat, direct or indirect, low n slow smoking in my kamados, etc.