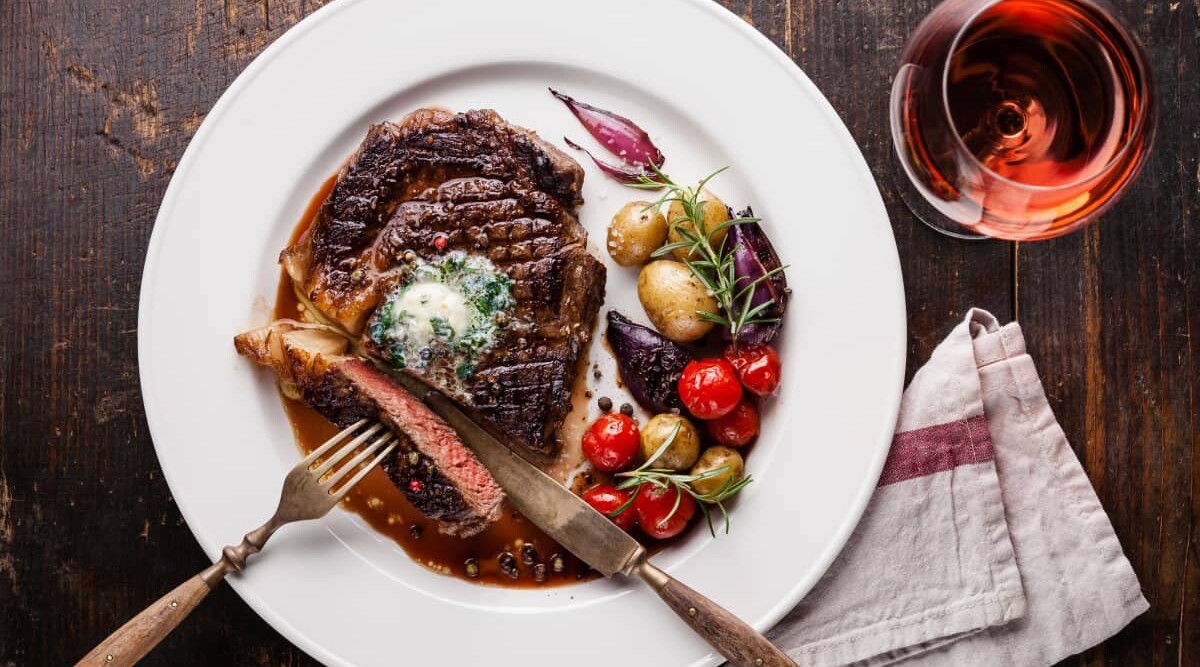
My favorite quotes about leftovers — and to be honest, there aren’t many — have to be from George Carlin’s legendary sketch, “Icebox Man.” I could recite it to you verbatim from start to finish, but instead, I’ll just share this one insightful snippet:
“Leftovers give you two separate good feelings. When you first put them away, you feel really intelligent: ‘I’m saving food!’ And then, after a month, when hair is growing out of them, and you throw them away, you feel really intelligent: ‘I’m saving my life!’”
To help you avoid that second feeling, we’re going to teach you how to reheat your leftover steak for optimal flavor and tenderness, PLUS hit you with tips on how and how long to store it.
We’ve got the safety angle covered — food poisoning is no comedy sketch — and we share five ways to reheat your steak, starting with our method of choice, including complete instructions and equipment lists.
Ready to make leftover steak something to enjoy again? Let’s get to it.
Contents (Jump to Topic)
The Top Issue With Reheating Steaks is Drying Them Out
One of the critical factors we all look for in a grilled steak is juiciness, especially those of us who love blue steak, rare, or medium-rare. Seeing those juices spilling out, feeling the tenderness in our mouths — nothing else compares!
But, it’s all too easy to lose that moisture when you over-cook your steak. Of course, if you’re into medium well or well done, that’s less of an issue.
The fact is, though, when you combine heat and moisture, moisture always loses, evaporating away into the air, taking all the delicious goodness with it.
So, how do we reheat steak with minimal moisture loss?
Take Your Time to Retain Moisture
Patience is a virtue, they say, and that applies to reheating steak.
Though the key to grilling a delicious steak is scorching heat applied for a short period, reheating an already cooked steak to perfection is best done slowly at a much lower temperature.
Safety in Mind — Temps to Aim for
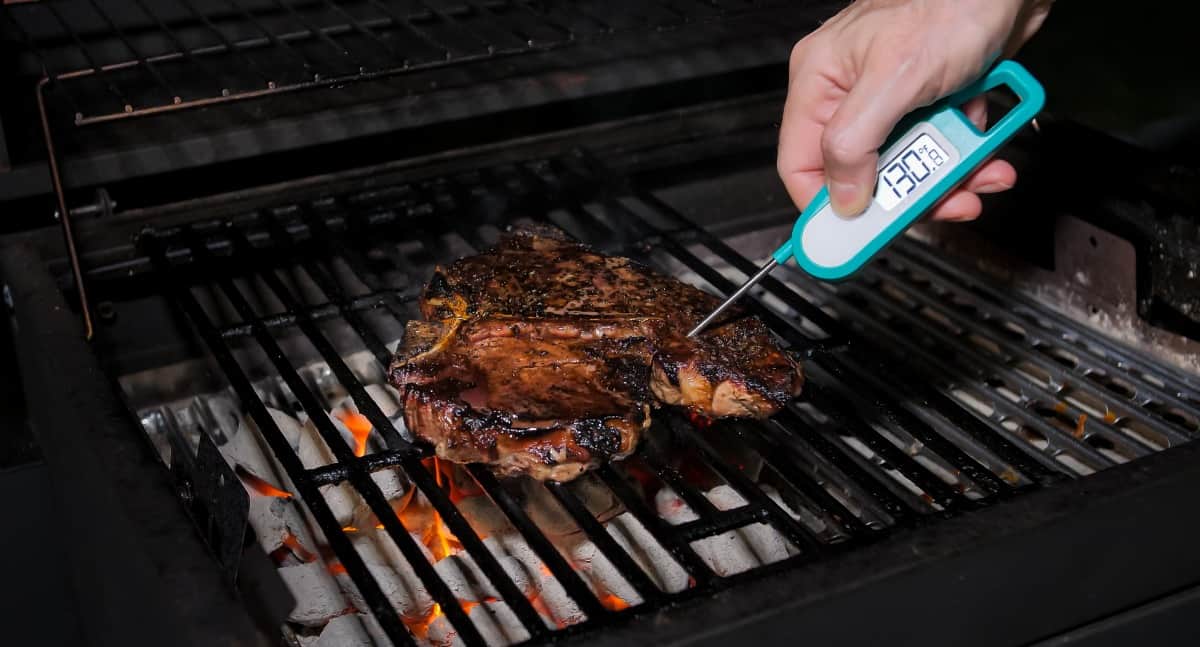
We also can’t forget about food safety. Cooking food to minimum safe temperatures guarantees it’s safe to consume at that moment because it kills off bacteria that may be harmful to us.
In the case of steak, those bacteria exist only on the exterior surface of the meat; they cannot penetrate the fibrous muscle tissue. Therefore, once the surface is hot enough to neutralize the microscopic pests, your steak is safe to eat.
That’s why we can enjoy, for example, a strip loin that’s seared and sizzling with a flavorful crust but bright red and “cool” on the inside, as low as 115 °F (46 °C).
But, bacteria can reappear if we allow the steak to re-enter the so-called “Danger Zone” between 40 °F and 140 °F. That’s why it’s essential to safely store your uneaten steak in the fridge or freezer before it has a chance to spend too much time in this range.
Then, to render your reheated steak safe to eat again, you need to bring the surface back up to the safe zone above 140 °F. Again, the internal temperature isn’t important for safety, just the external temperature. Mind you, no one wants to eat a steak that’s cold on the inside.
This brings us back to our earlier problem — how to heat both the interior AND exterior to safe and palatable temperatures with minimal compromise on flavor and tenderness.
Here’s the best solution.
The Best Method for Reheating a Steak: Oven Then Sear
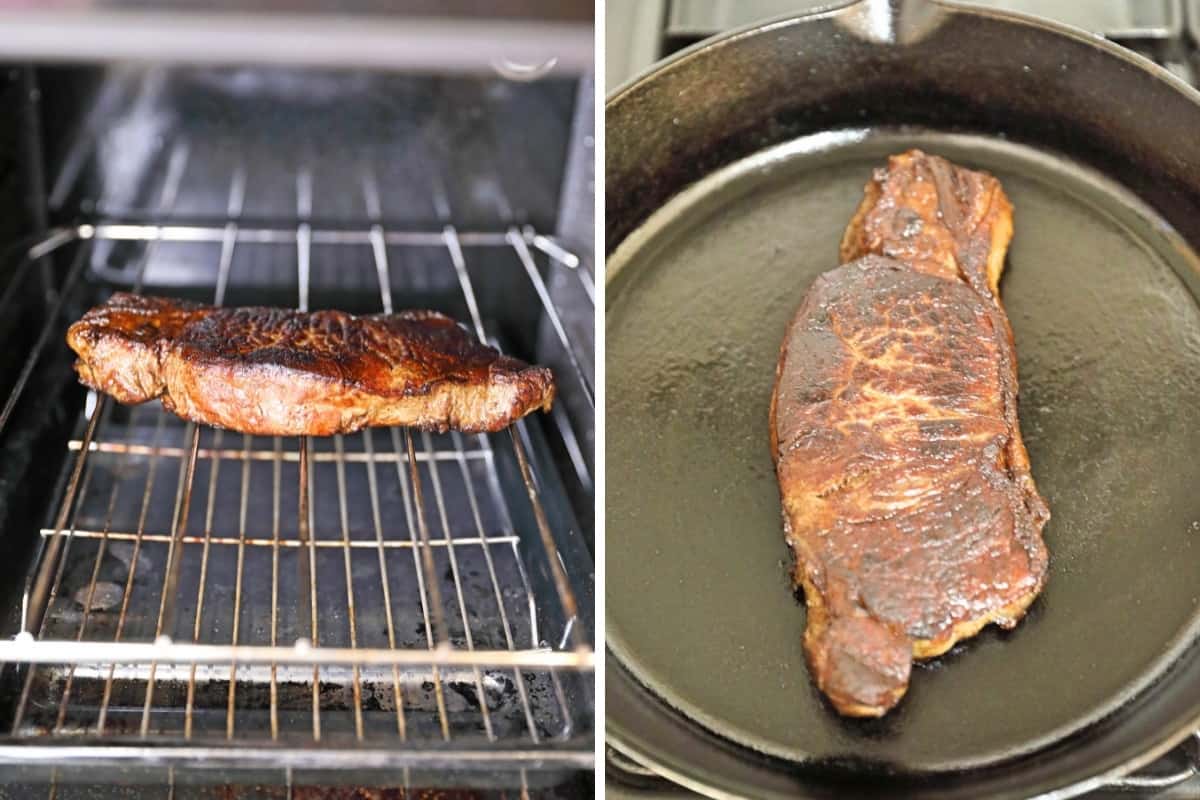
For the slow acquisition of heat, it isn’t easy to top your good old kitchen oven. Yeah, it’s not as romantic as your barbecue, but it’s reliable and straightforward — and you already gave the steak chargrilled flavor the first time around.
In a sense, this technique is a lot like the reverse sear method for grilling steak.
If your steak is frozen, defrost it first. For tips on that, please read our article How to Defrost Steak.
Now, preheat your oven to 250 °F. If you have a convection oven, use that setting for more even heating, but be aware this may shorten the time required.
Place a wire cooling rack on a baking sheet and place the steak on the rack. This allows the warm oven air to move freely about the steak and reheat it evenly. If you don’t have a wire cooling rack, a broiling pan is better than nothing.
NOTE: Do NOT re-season or salt the steak; you can’t afford the moisture loss, and the flavor is already there.
When the oven gets up to temperature, slide your steak inside on the middle rack. If you have a wireless digital grilling thermometer, now’s a good time to use it!
Our target internal temperature is 115 °F, so you’ll need to check that at some point. Expect this to take around 20 to 30 minutes, depending on how large and thick your steak is. Be vigilant and don’t blow past your target.
As your steak warms up in the oven, prepare a frying pan or skillet on the stove top. Get it searing hot using high heat. Add a small amount of olive or vegetable oil or butter just as your steak is ready to come out of the oven.
Transfer the steak from the wire rack to the pan and let it sizzle! Flip after 60 to 90 seconds to keep from burning your steak.
One session per side should be enough, but if it’s not, keep searing until the internal temperature matches your doneness preference, just as you would on the grill. No matter how rare that might be, rest assured, between the time in the oven and the time in the pan, the exterior of your steak will be perfectly safe for consumption.
There you have it! This is our most preferred method for reheating steak. But, we hear you ask, are there other ways? Yes, there are!
Alternative Ways to Reheat a Steak
While the oven & sear method is our choice for reheating steak, here are some other methods to try if you like experimenting or don’t have access to an oven and a stove at the same time.
By the way, it’s helpful with all these methods to allow your steak to sit on the counter for up to 30 minutes to come up to room temperature. It won’t be in the Danger Zone long enough to be harmful, and it will reheat more evenly and quickly.
Oven Only
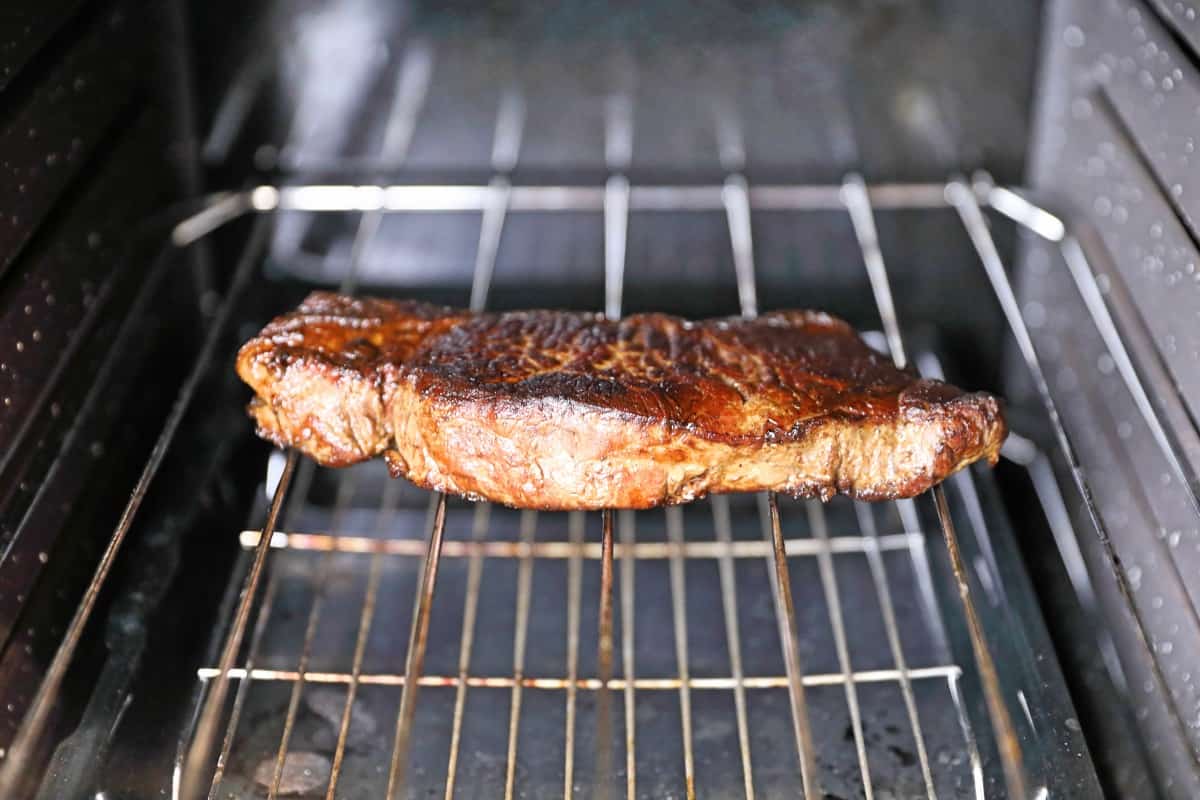
No pans available? Then your next best bet is to just go with the oven. It’s still got all the benefits of slowly reheating at a low temperature.
- Wire cooling rack
- Baking sheet
- Digital instant-read meat thermometer
Approximately 20 to 30 minutes, depending on steak size and desired doneness.
- Preheat oven to 250 °F. Select “convection” mode, if available.
- Place a wire cooling rack on a baking sheet.
- When the oven is ready, put your steak on the wire rack and place it into the oven on the middle rack.
- Check internal temperature periodically.
- Remove from the oven once your desired doneness level is reached.
Pros
- This is the simplest method for reheating steak
- There’s no flipping involved.
- You only need to keep tabs on the internal temperature.
- Clean-up is minimal
- Your entire stove top is open for other business.
Cons
- While your steak will retain most of its moisture and come out good and juicy, you’ll lose much of that nice seared crust you once had.
- If you’re slicing the steak into thin strips for fajitas, sandwiches, or a salad, the above may not be a big deal.
Pan on a Stove Top
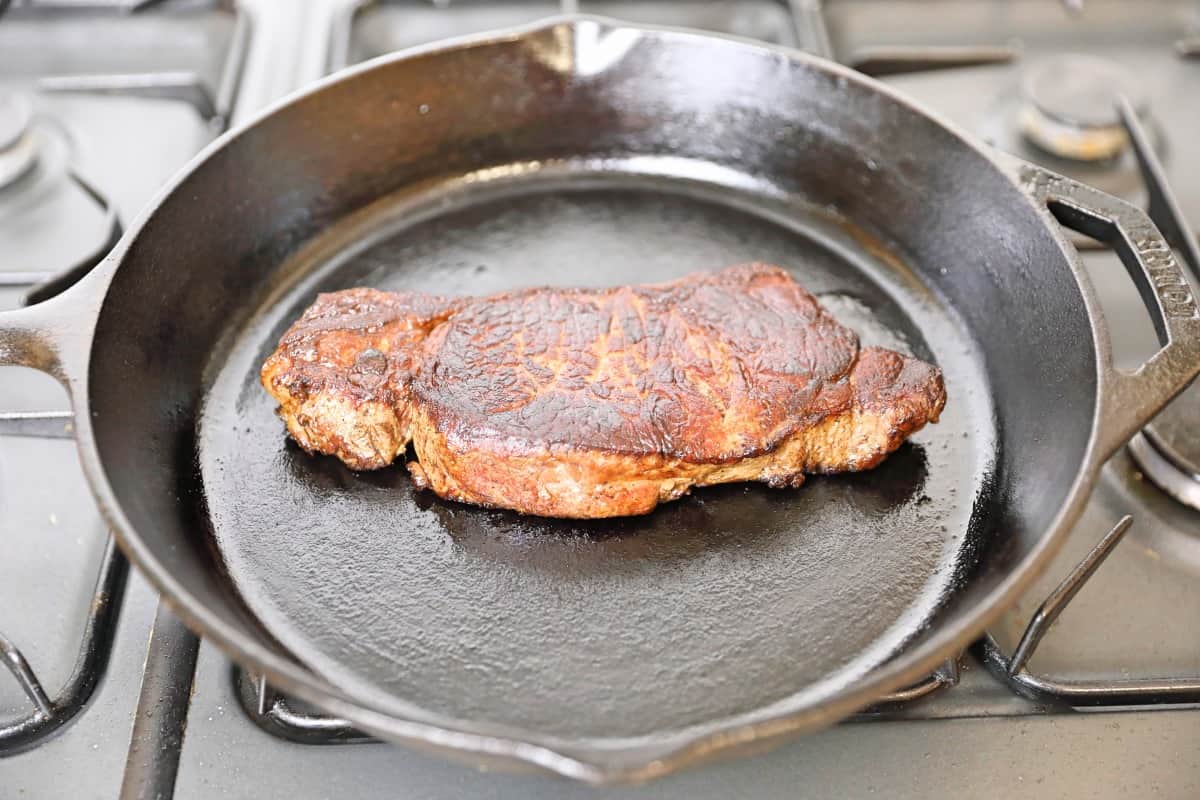
Maybe your oven is occupied, maybe you’ve got a bachelor pad with no oven, or maybe you’re camping with only a hob or camp stove available? No problem! This method requires more babysitting on your part, but it’s totally doable.
- Skillet or frying pan
- Digital thermometer
- Spatula
- Olive or vegetable oil or butter
About 4 to 5 minutes cooking time for medium rare, but will vary by thickness.
- Preheat your pan over medium-high heat.
- Add a tablespoon of olive oil or a small pat of butter.
- Once the pan is sizzling, add your steak. (If you have a leave-in digital probe thermometer, insert it through the side of the steak and into the center first.)
- Flip the steak every 60 seconds to prevent burning. Continue flipping until the internal temperature gets to the doneness level you’re after.
Pros
- This method leaves your oven free for other duties.
- This requires a minimum of equipment.
- It’s also very fast, so if you just can’t wait to eat, or you’re in a time crunch, this might be the best way to go.
Cons
- If you like your steak anywhere from medium to well-done, you’ll have to do a lot of flipping to prevent the outside from burning before the middle heats through.
- Because the temperature in the pan is so high (medium-high is in the 375 °F to 449 °F (190 °C – 232 °C) range), you’ll lose more moisture than you would using the oven to do most of the reheating.
Sous Vide
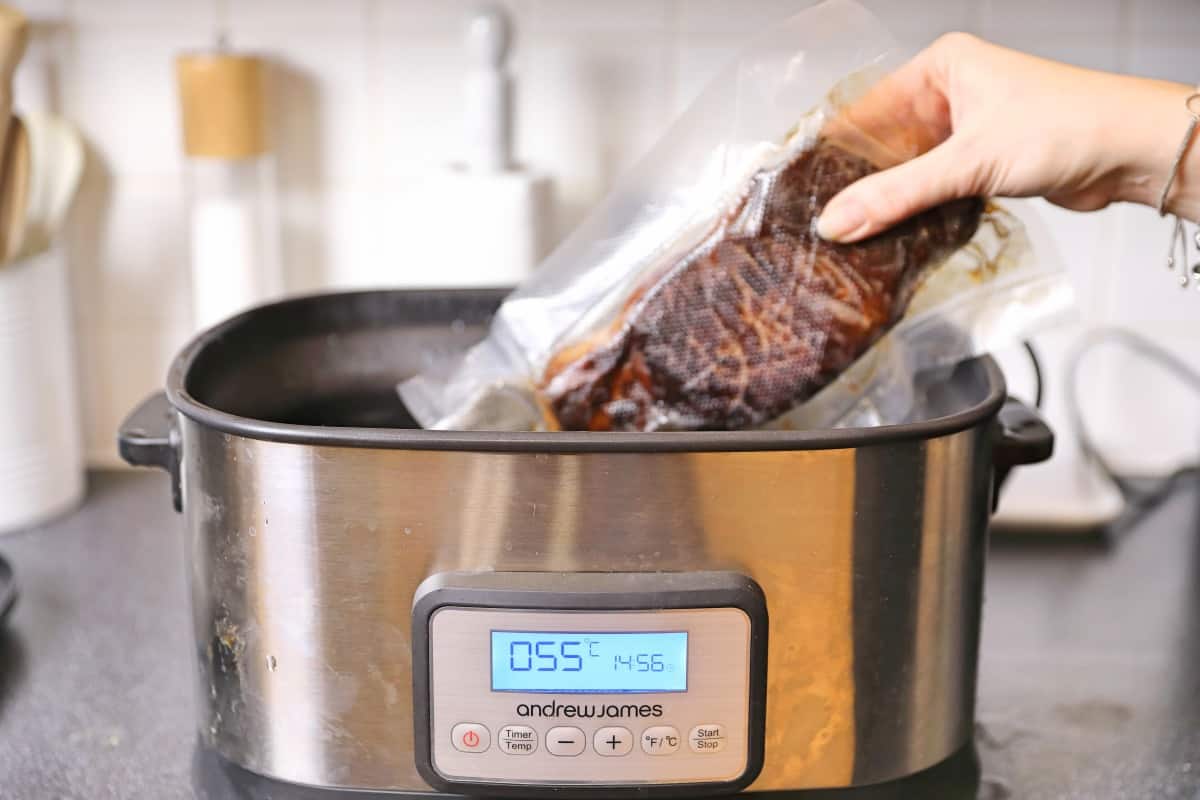
This trendy French technique (it translates to “under vacuum”) uses a warm water bath to gently and gradually cook food in a sealed bag. It also works for reheating steak, as it turns out.
- Large pot
- Digital thermometer
- Waterproof sealed zipper-style bag (unless your steak is already vacuum-packed or was stored in such a bag)
- Binder-style clips (one for thermometer and one for each steak you’re reheating)
OR
- A sous vide machine
OR
- A large waterproof container
- An immersion circulator
Approximately 5 minutes, once the water is up to temperature. It will vary slightly by steak thickness.
If you own a sous vide machine or an immersion circulator, refer to your manual for operation instructions and reheat your steak to the desired doneness temperature.
For the DIY version:
- Fill with water a pot large enough to submerge your steak or steaks.
- Place it on the stovetop.
- Use a binder clip clamped onto the rim of the pot to secure a digital thermometer so that the end of the probe is in the water. (You could dip thermometer by hand and skip the clip, but since maintaining temperature is key to this method, we recommend having a constant readout.)
- Turn the burner on to low heat and bring the water up to 130 °F (54 °C).
- As the water heats, seal your steak inside a waterproof bag if it isn’t already in one. If it’s vacuum-packed, leave it as is.
- When the water is up to temperature, using another binder clip, clip the top of the bag to the rim of the pot so that the steak is completely submerged.
- Adding the cold steak will drop the water temperature, so you may need to adjust the heat level.
- Monitor your water temperature to keep it within a couple of degrees of 130 °F (54 °C).
- Remove steak from water and check internal temperature for doneness.
- If desired, sear the steak in a hot pan to finish.
Tip: No less an authority than Martha Stewart suggests leaving the bag open at the top. If you do so, be very careful not to splash water into the bag. However, this does make it easy to monitor your steak with a leave-in digital probe thermometer.
Pros
- This is a gentle way to reheat a steak, having no contact with any hot surface during the process.
- With the temperature held at 130 °F, it’s pretty simple to keep your steak rare to medium rare, if that’s how it was initially prepared.
Cons
- There’s a lot of set-up and preparation required for sous vide, and you have to be right on top of the water situation, making adjustments to keep the temperature steady if you don’t own specialized equipment.
- If the water temperature gets away from you, you may overcook your steak.
- Any leaks in your bag could lead to a soggy steak, and that’s just gross.
Microwave
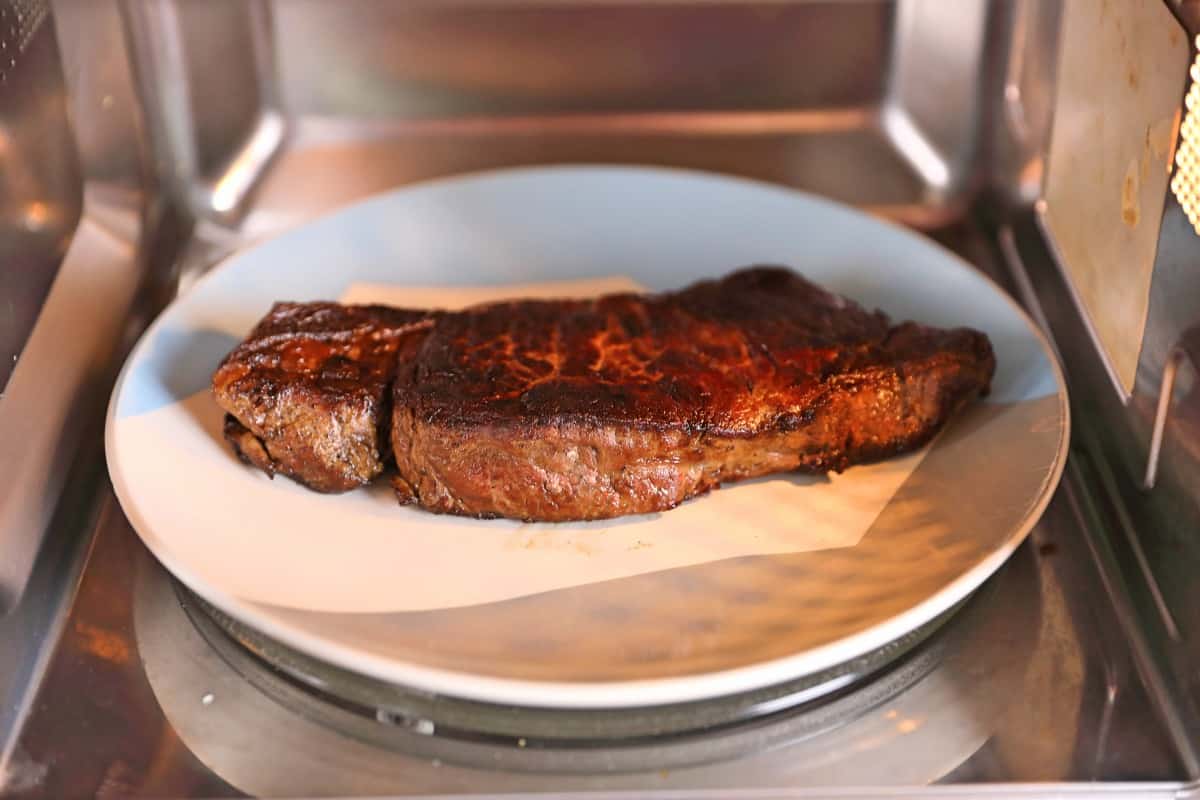
This is definitely not our preferred method, which is why it’s last on the list. But, if there’s no other choice, it’s better than not eating steak at all.
- Microwave-safe plate
- Paper towel
- Digital thermometer
Up to 2 minutes, depending on steak size.
- Place your steak, uncovered, on the plate.
- Unless a well marbled or fatty steak like a ribeye, slightly dampen a paper towel and lay it over the steak loosely. This will help keep the steak moist. (Microwaves are notorious for drying out food.)
- Set power to medium or 50%.
- Reheat for 30 seconds, then flip.
- Repeat step 4.
- Check your steak’s internal temperature with a digital thermometer to see if it’s at your preferred doneness.
- Repeat steps 4 and 5 as needed to get it up to temperature.
Some people suggest using plastic wrap, but I’m not a fan of plastic in the microwave, personally. Others suggest heating the steak in a shallow dish with a bit of beef broth for moisture, but I’m not sure why you’d need to add beef flavor to beef.
Pros
- This is by far the fastest and simplest method to reheat a steak.
Cons
- It’s far too easy to overcook and dry out your steak in the microwave.
- While your steak will be warm, the texture and taste just won’t be the same.
Tips on Storing Leftover Steak
A poorly stored leftover steak will not reheat well, no matter how expertly done. So, to help future you enjoy tasty leftovers, here are some tips for putting away your cooked but uneaten steak.
In the Fridge
First, be sure to get your leftover steak to the fridge within two hours of coming off the grill. That’s the safest way to ensure it hasn’t spent too long in the Danger Zone — leave that to Tom Cruise.
Of course, you can’t just slide your plate into the fridge and hope for the best. To preserve the moisture and flavor, you’ll need to cover it to prevent your steak from drying out or taking on flavors from other items in the fridge.
The easiest solutions are vacuum packed, zipper-locking plastic bags or sealable plastic containers. Try to force as much air out as possible before refrigerating.
Other options include wrapping in heavy-duty aluminum foil or plastic wrap. Be sure to wrap the steak tightly to keep out any air and lock moisture in. Plastic wrap is notorious for not sealing tightly and foil tears easily when something else rubs against it, so be careful if you choose either material.
Cooked steak should last 4 to 5 days in the fridge if it’s properly stored. Always inspect your steak for any signs it’s gone bad before reheating, including mold, odd colors, or a bad smell.
In the Freezer
For longer-term storage, the freezer is your best bet. As with the fridge, the time from grill to icebox should be under two hours for safety reasons.
The number one choice for freezing is a vacuum-sealed pouch. If you eat a lot of meat, one of these machines is well worth the modest investment. They’ll keep your steaks and other meats in tip-top shape longer than anything else, you can safely thaw whatever’s inside without opening the seal, and you can even cook or reheat sous vide style.
After that, zipper bags and resealable containers are the best options available to you. If you go with bags, be sure to purchase bags made for freezers; they’re thicker and usually have more robust zip systems to protect your steak better. Plastic containers should also be of good quality; cheap plastic or those containers your mom bought in the 70s may become brittle and crack in the freezing temperatures.
Heavy aluminum foil may also be used, but with the same warnings about wrapping very tight and being cautious about accidental tears. I personally don’t recommend plastic wrap for the freezer; it’s just too unreliable for long periods.
Before freezing your steaks, pat the surface dry and make sure your container is dry, too. Any moisture trapped inside with your steak will hasten the onset of freezer burn, which ruins the texture and taste.
Cooked steak will be at the best possible quality for up to 3 months in the freezer. Past that, it will stay safe almost indefinitely, but you’ll notice a drop-off in taste and mouthfeel.
Final Thoughts
Now, I won’t ask who’s excited to eat some leftover steak, cos it’s always best right off the grill. But, knowing how to reheat steak the right way should at least make you less hesitant to save leftovers for an easy meal another day.
If you have any techniques of your own you’d like to share, we’re all ears! Send them through our contact form or reach out on social. It’s always awesome to hear from our readers and learn a few new tricks.
Thanks for reading and for letting us help you live your best carnivore life.




You should certainly add the “air fryer” as another method for reheating steak (works great on leftover smoked ribs also). Mine come out tasting just like they came off the smoker.
Thanks, Joe. I have the Ninja Woodfire with air-fryer capabilities, I’ve made a note to give it a go.