I like to read. A lot. For that reason, my first encounters with many words have been in a literary sense. So, I’d get to know such and such a word only in the way it’s used in the book, entirely oblivious to any broader or alternative usage. Searing is one such word.
If you’ve ever read a story in which a character is shot, then you’ve probably come across “searing,” too. The character almost always seems to describe a “searing pain” at the point of entry.
Sounds excruciating, doesn’t it? I’ve never been shot, myself, but the description is suitably graphic and probably accurate.
But what is searing when it comes to grilling?
In this article, we’re going to take an in depth look at searing. We’ll cover what it is, why we do it, the best ways to go about it on your grill or in your kitchen and most importantly, how it’s going to make our meat oh so very tasty!
Jump to:
- 1 What is Searing — A Definition
- 2 Searing is Not Burning!
- 3 Why Would I Want to Sear My Meat?
- 4 To Seal in the Juices? — So the Germans Would Have Us Believe
- 5 The Truth (and Science) Behind Searing Meat Before Roasting or Cooking
- 6 Thank a Frenchman Today!
- 7 Has Browning Bamboozled our Brains?
- 8 How Do I Sear Meat?
- 9 General Tips for Searing
- 10 How to Sear Meat on a Grill
- 11 Searing Meat in a Pan
- 12 Searing Meat in the Oven
- 13 The Final Sear
What is Searing — A Definition
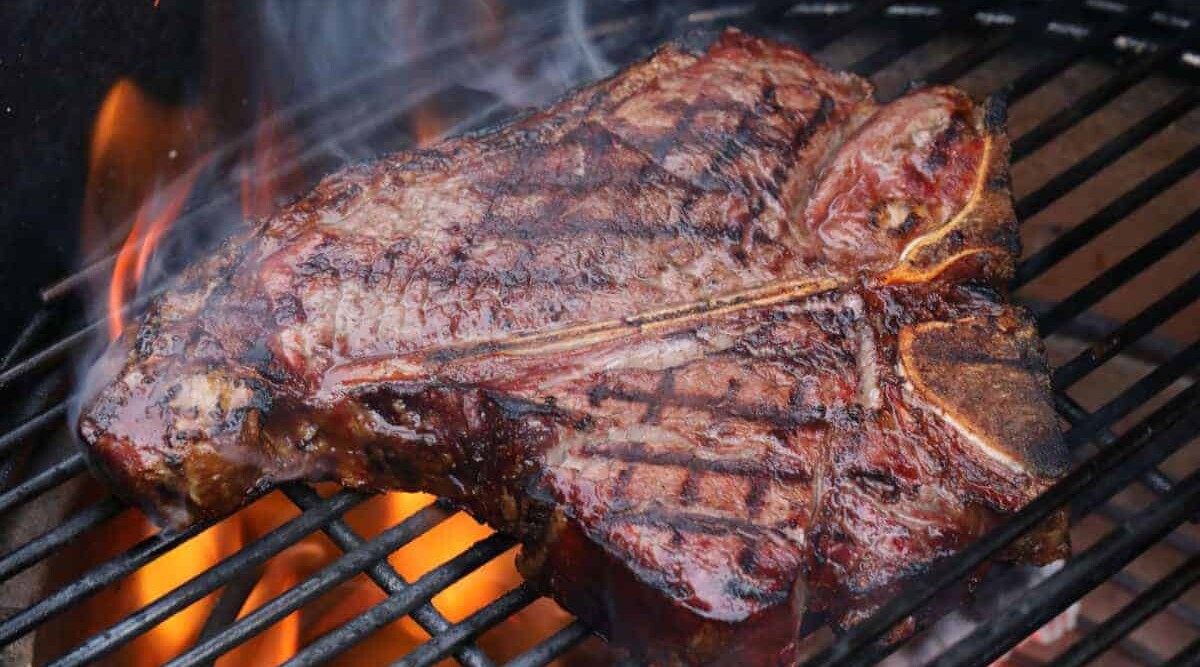
To sear something is to burn or scorch it, with very sudden and intense heat.
A bullet is traveling at a high rate of speed, typically faster than the speed of sound. Metal moving at that speed will burn skin on contact. Not pleasant! (and that’s enough of the ‘searing bullet’ talk, I promise!)
For our purposes, searing is a wonderful technique that any person serious about cooking quality meat should strive to master.
It’s the same principle as above; apply the meat to a very hot surface for a short period. But why?
Because it imparts a glorious aroma and extra layer of flavor due the Maillard reaction, as the outside of the meat is browned, creating a very visually appealing piece of food. More on this later.
Searing is Not Burning!
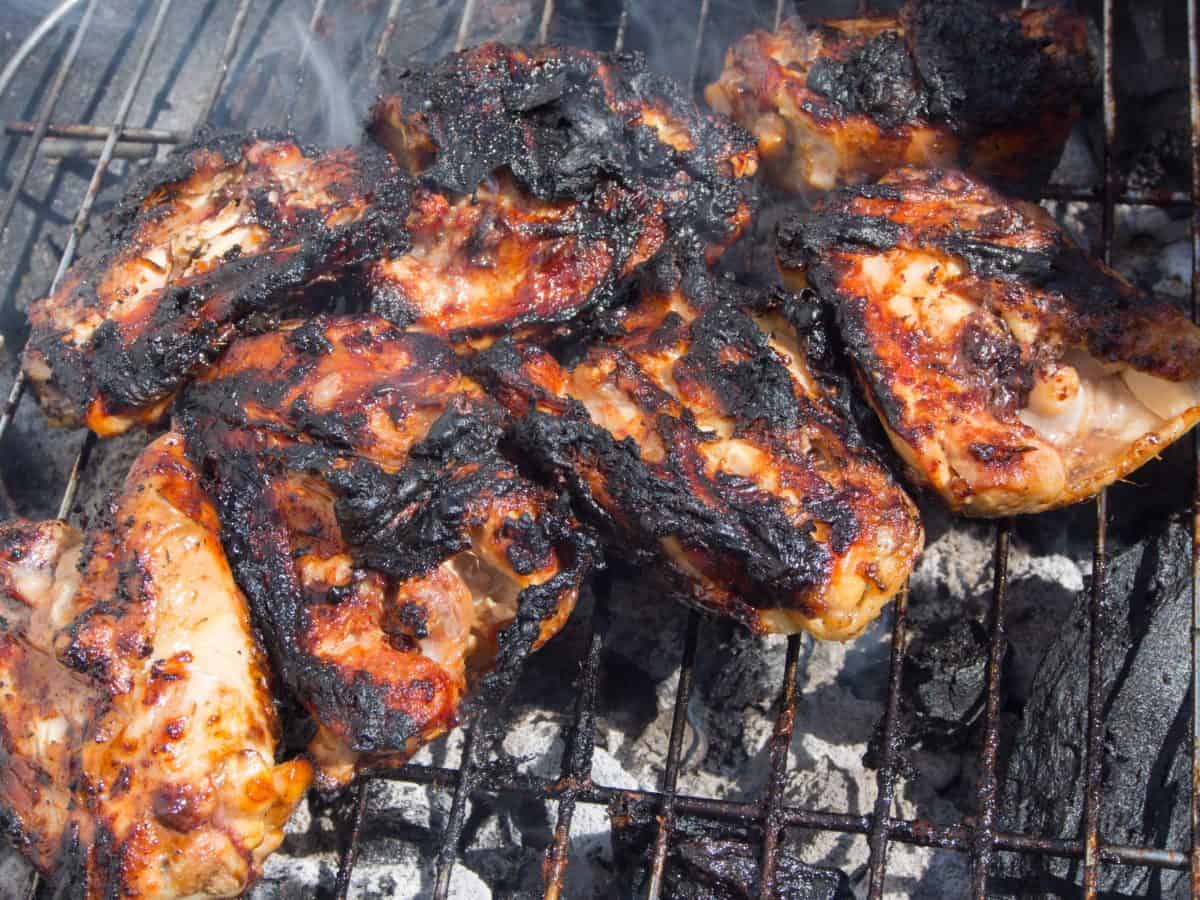
Well, it sounds like burning, doesn’t it? In a sense, it is really, but it’s a controlled burn, not the kind of burn that makes a brisket indistinguishable from a briquette. Think of it as a brief and intense period of cooking.
The idea is to very quickly cook the exterior of the meat, before finishing the inside more slowly until the desired level of doneness is reached.
Now, there are those who enjoy the taste of charred meat; it certainly creates a very intense flavor profile. If you’re one of them, you’ll want to sear a little longer than average. In fact, you may want to go Chicago-style, but that’s a whole other topic for another article.
Unlike, say, broiling or roasting, searing involves a blast of high heat for a short time, rather than cooking for an extended period at a constant temperature.
Why Would I Want to Sear My Meat?
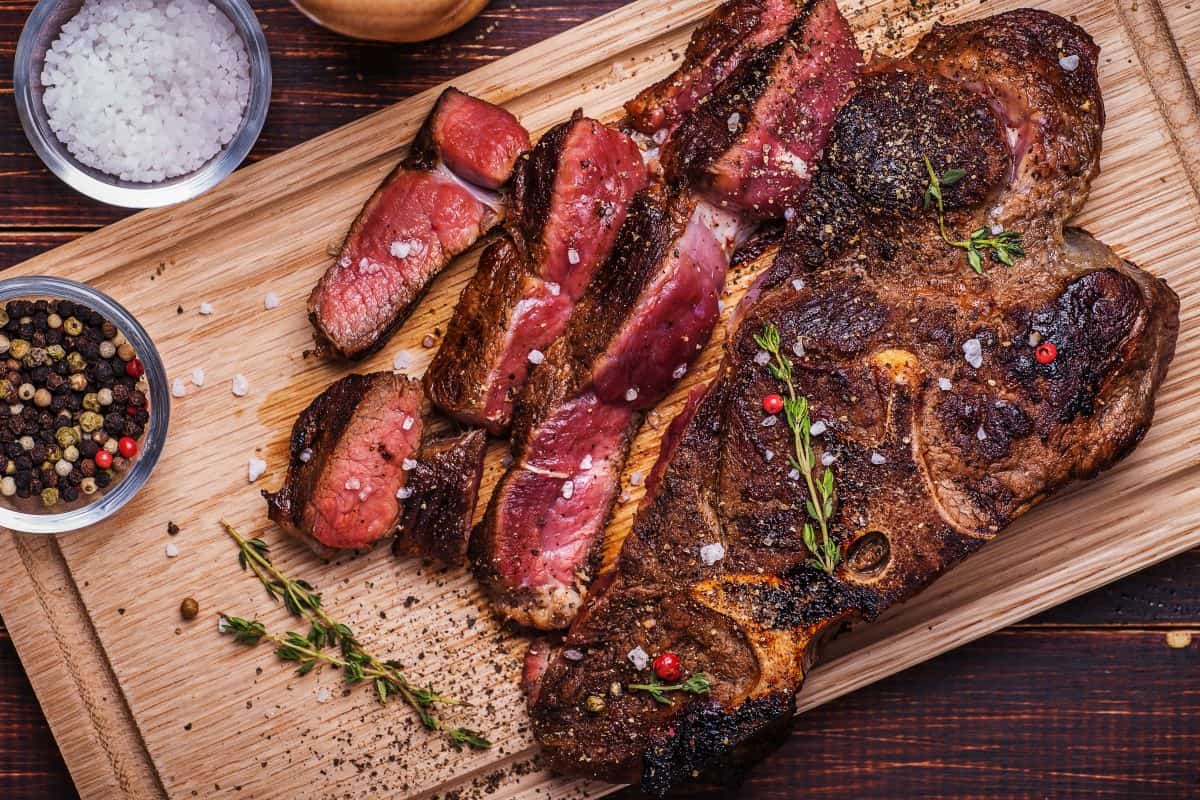
Intentionally burning something seems counterintuitive, but not only will you enhance the flavor of your meat, but you’ll also impress your guests with your professional technique!
The purpose of searing meat is to impart a more complex combination of texture and flavor, but what is actually happening has long been misunderstood by many.
To Seal in the Juices? — So the Germans Would Have Us Believe
Maybe you’ve heard people talking about “locking in the flavor,” or, “sealing in the juices” as if searing created an invisible barrier to prevent moisture loss?
This misconception can be traced all the way back to a German chemist named Justus von Liebig. In 1847, he published a paper putting forth the hypothesis that high-temperature cooking would create a crust, and seal in the juices and moisture — and hence all the nutrients — inside the muscle tissue.
That hypothesis was first proven to be incorrect in 1930, by a study conducted at the University of Missouri. (That’s my kind of science!)
Moisture loss was shown to be moderately higher for seared meat than meat cooked at a constant temperature. Nevertheless, the myth persists, and many cooks and restaurants are still guilty of perpetuating this antiquated notion.
The Truth (and Science) Behind Searing Meat Before Roasting or Cooking
We’ve established the meat is not juicier after it’s seared. So why do cooks do it?
Not only does searing introduce an appealing flavor, but it also creates a complex pairing with the center of the meat.
The heart of the cut will be less cooked, and juicier than the seared exterior. Most mouths will relish the distinct, but complementary differences in texture and flavor.
Furthermore, searing the surface at high temperature causes the exterior of the meat to brown. Browning gives meat that appetizing color and lets the eyes and brain know the meat is cooked.
Thank a Frenchman Today!
Browning is an example of the “Maillard Process.” First described by the French chemist Louis-Camille Maillard, the process is a chemical reaction between reducing sugars and amino acids. The results of the process are commonly seen on things we eat nearly every day, including:
- Baked bread
- Cookies
- Fried onions
- Roasted marshmallows
- Coffee
- French fries
- Malted barley for whiskey, or beer
That is a fine list of comestibles!
If you want to show off your culinary knowledge to others, don’t confuse browning with caramelizing, which is a visually similar but chemically different process.
Caramelizing occurs at higher temperatures and involves pyrolysis, the decomposition of organic material due to high heat and lack of oxygen. (It sounds awful, but it’s delicious!)
For Maillard to happen, there must be protein and either carbs or sugar present.
Protein breaks down into amino acids at high temperatures and reacts with the carbohydrates or sugar. Foods that have less protein are less likely to brown in this way, but may caramelize. Many vegetables, for example, will caramelize, but not brown.
Has Browning Bamboozled our Brains?
It has been suggested that searing does not, in fact, enhance the flavor, but only makes the meat seem tastier.
Our brains have been conditioned to equate “brown” with “cooked,” and the enhanced aroma combined with the appealing color fool us into believing the meat tastes better when it’s presented this way.
While there may be something to this, I’m not inclined to believe searing is entirely smoke and mirrors. The same reaction occurs in so many forms of cooking, baking and brewing, and they’re all yummy, even when I can’t see them.
Ever had a cookie or a beer that tasted worse in the dark? I rest my case.
How Do I Sear Meat?
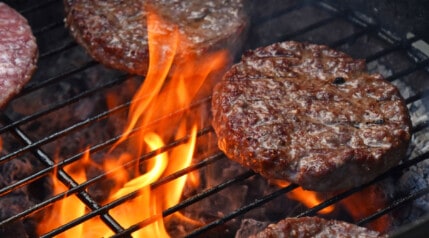
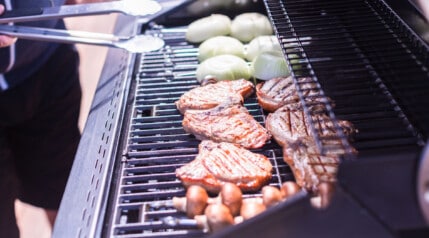
Meat can be seared in a pan, an oven, by cooking on a charcoal grill, or any high heat grill for that matter!
You cannot sear meat in a microwave because a microwave cooks by vibrating water molecules in food, which creates heat internally. The lack of external heat will prevent the browning process from occurring.
Here’s a quick look at pan searing beef, but the principles apply to all searing processes. (Personally, I think pan searing is best for seafood, which is more delicate than red meat, or even chicken.)
General Tips for Searing
No matter how you plan to sear your meat, there are a few basic tips for searing to remember that will help you achieve the best results. (Though the process is slightly different for the reverse sear method.)
Remove excess moisture — pat down meat with a paper towel to remove surface moisture to avoid steaming instead of browning.
- Either salt an hour before or more, or directly before searing, and not in between. Salt on meat for a short time pulls the moisture from inside the meat, and it doesn’t get time to re-absorb.
- Don’t add black pepper BEFORE searing, add it after. Black pepper burns at searing temperatures, carbonizes, and tastes very bitter. Other seasonings are ok before searing
- If using grease, avoid butter, olive oil, and other oils that smoke and burn at high temperature.
- Use tongs to avoid piercing the meat and releasing moisture.
- Use an iron to flatten irregular-shaped meat and create as much surface areas possible.
- Cast-iron and other thick, heavy pans that hold heat well work best for pan-searing.
How to Sear Meat on a Grill
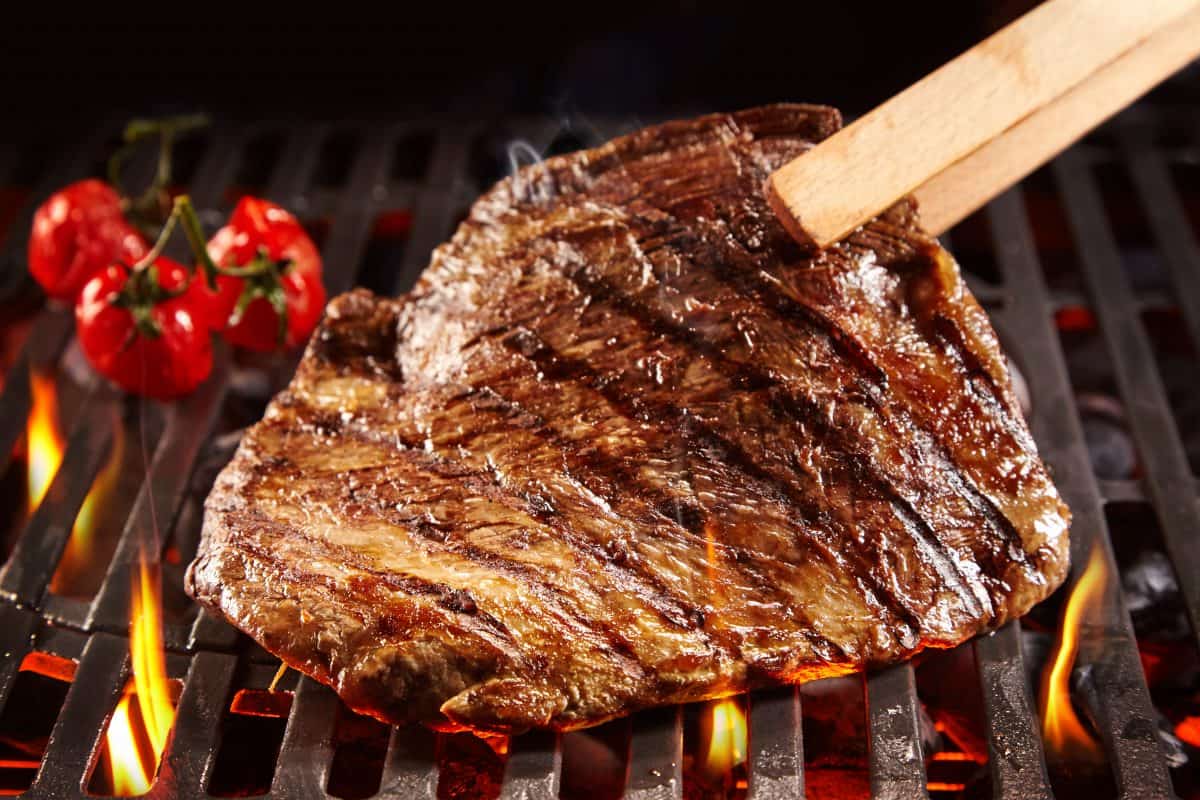
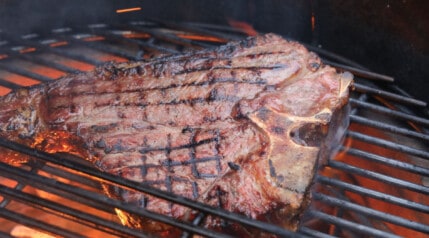
Searing meat on the grill is certainly my preferred method for preparing mouth-watering meat. There’s nothing quite like the taste and appearance of a cut of meat fresh off the barbecue!
So, without further ado, here’s what you need to know about searing like a seasoned pro.
- Preheat your grill for 20 to 30 minutes. This will bring the grates up to the optimal temperature (500F or more), and burn off any residue from the last grilling.
- Allow meat to come to room temperature to speed cooking, and reduce moisture-eliminating contraction on the grill. (Remember, meat is fibrous, and expands and contracts with temperature variations.)
- Apply meat to the grill, and leave it for 2-3 minutes with the lid off. (Times will vary according to the thickness of the)
- Flip the meat onto an unused section of the grill grates where the temperature is still high. Again, let it sit for 2-3 minutes and don’t touch it.
- Use an instant read thermometer to check to see if the meat is done (click here for how to use a digital meat thermometer properly). If so, remove it from the grill, and let it sit for a couple of minutes before serving.
- Thicker cuts will require additional cooking time to finish. Move the meat to an area away from direct heat, for indirect cooking NOT over the heat source until it comes up to the required internal temperature (as measured by a thermometer probe.)
Searing Meat in a Pan
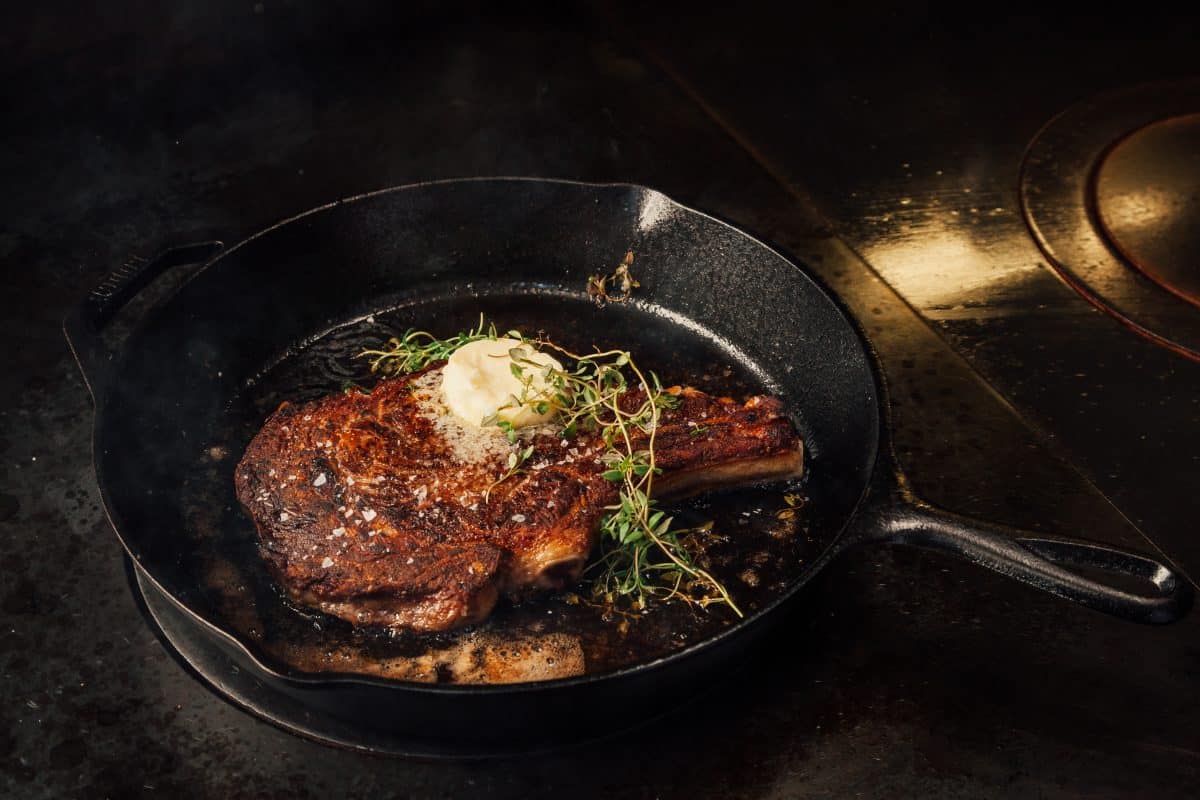
If the pan is your preferred place for preparing your meat (or if the weather is keeping you from the grill), you can sear quite nicely using a good-quality, heavy-duty pan.
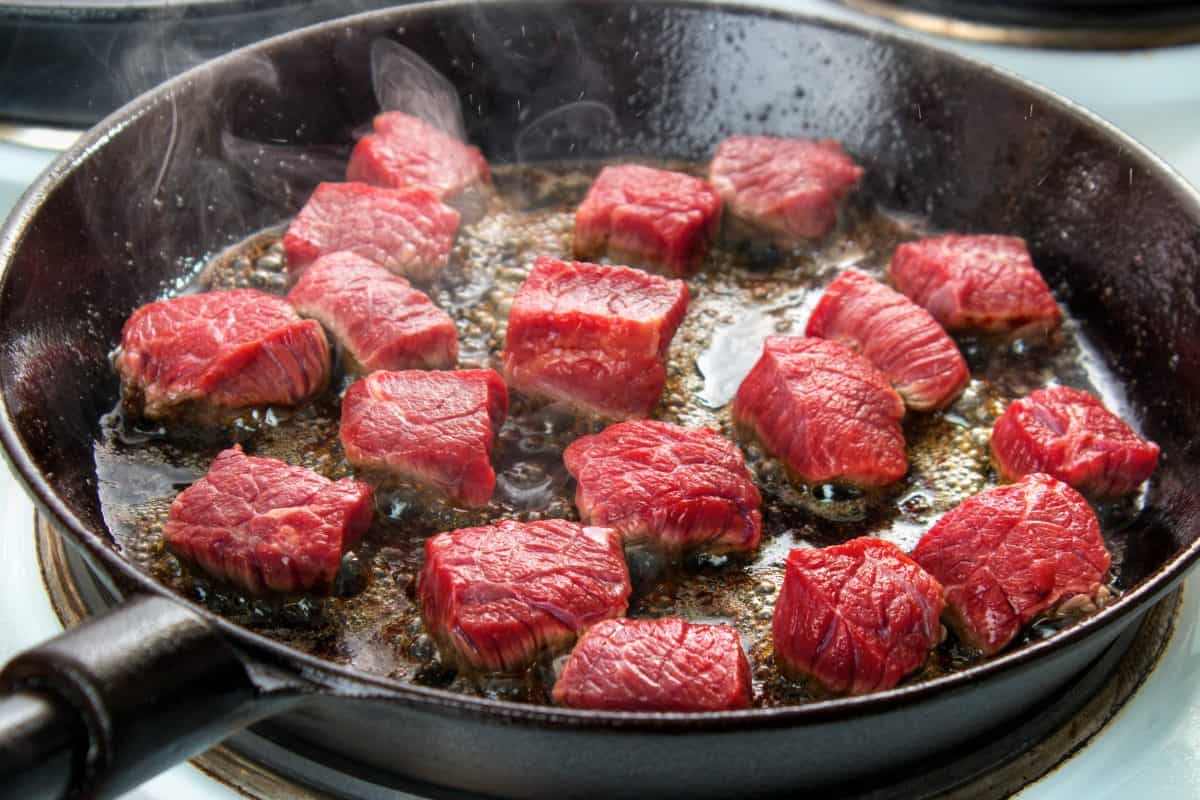
- Preheat the pan to a medium-high temperature; a few drops of water should dance on the pan when applied as a test.
- Use a small amount of oil, preferably peanut, canola, or another oil that tolerates high heat without burning. Alternatively, you can use shortening or tallow.
- Carefully lay meat in the pan to avoid splattering hot oil.
- If the pan is large enough (and the meat is small enough), try to keep the meat on one side of the pan. This will preserve a “hotspot” on the other side of the pan when you flip the meat
- Once the meat hits the pan, leave it alone! You can swirl the oil around to make sure the bottom is fully coated, but don’t move the meat.
- Wait a couple of minutes, and use tongs to lift the meat slightly to check the progress. You want to see good browning, perhaps a bit of a crust if there is marinade or seasoning. You don’t want to see any black.
- Once you’ve seared one side, carefully turn it over and do the other side. Large roasts may require propping up, or you can hold them up with tongs, in order to sear the ends and sides.
- When the searing is complete, continue cooking the meat on a lower temperature until the proper internal temperature is reached for the type of meat. This may mean moving to the oven, or another pan.
Searing Meat in the Oven
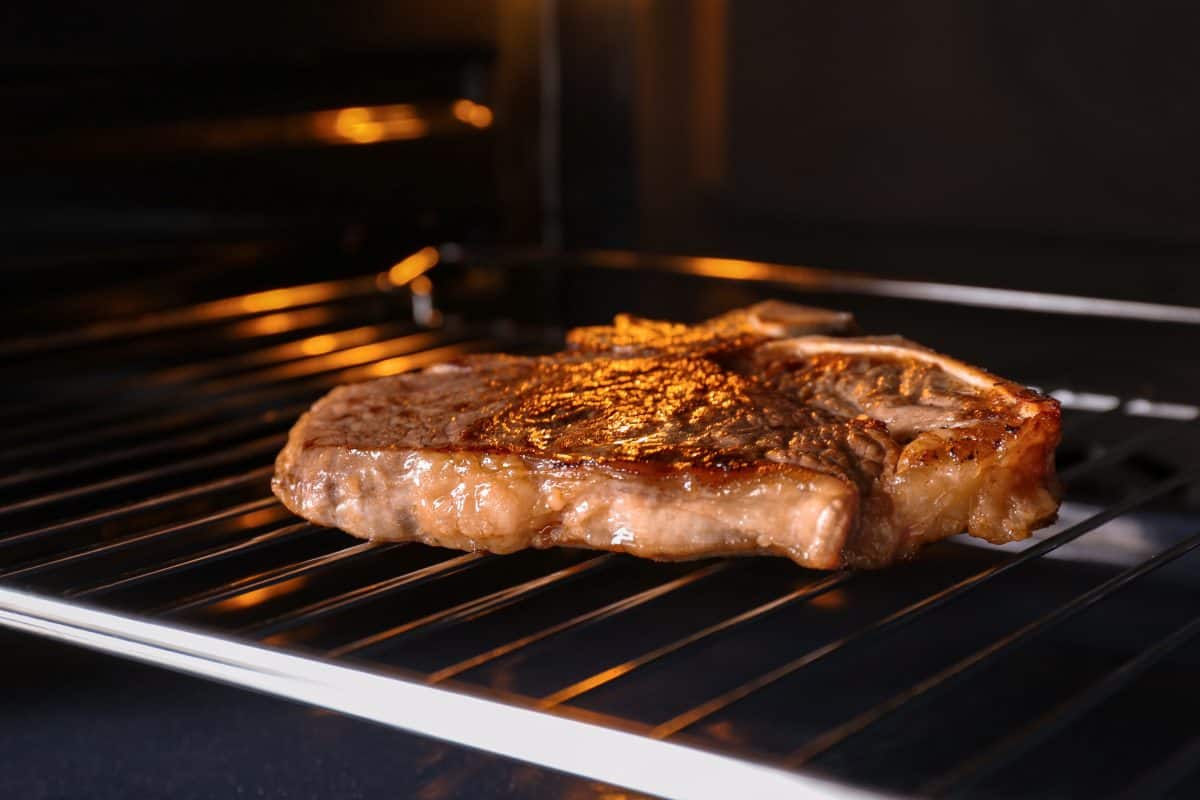
Yes, you can apparently sear in the oven, but this will take a little more time. I’m struggling to find a good reason for searing in the oven, but I’m coming up empty. Even if you don’t have a grill, you’ll still get good results with a skillet or pan.
If, for some reason you don’t own a good enough pan for high-heat cooking, I suppose you could give the oven a go.
I know you can sear slowly, A.K.A. roast, but searing a smaller cut like a steak? It would overcook the center before the outside has seared properly. There’s just not enough time. So I’m a little skeptical, myself, but here’s a link to everything you might possibly want to know about the subject.
Please let me know if you try it, and it actually yields results worthy of a true meat-lover!
The Final Sear
I first felt I’d mastered the grill when I figured out how to cook my meat all the way through without burning it. Turns out, I was just beginning my culinary journey!
Adding techniques like searing to my repertoire has dramatically enhanced the quality of my presentation and flavor.
Ironically, searing seems like the finishing touch for a perfectly cooked serving of meat, and yet it actually comes at the beginning. While not strictly necessary, once you’ve learned to properly sear your meat (and we’re talking steaks, chops, burgers, chicken, fish, scallops — you name it!), you’ll wonder why you never did it before.
If you have any additional tips you’d like to share with us, please do! While there are many practical guides to cooking, there is no substitute for personal experience, and the secrets we learn along the way.
Happy grilling!


Why are you saying to leave the lid open when you sear on the grill? If you close the lid, it keeps the heat and cooks faster, which is what you want, cooking hot and fast in the shortest possible time.
Hi Ernest,
I just read the article back, it’s perhaps not super clear in the ‘searing on the grill’ section, sorry. I will edit and improve it in a few days time.
I sometimes sear with the lid open, sometimes closed. If I want a super hot sear on a thin piece of meat like a steak or chop, for example, then I will do so with the lid off.
With thinner pieces of meat, it’s harder to get a good sear and crust on both sides without overcooking it if you have the lid on.
With the lid on, you not only cook with direct radiant heat from below, but you also cook with convection heat being applied to all sides and from above. This can mean the meat is cooked through before you’ve had any chance of searing the top.
By searing direct with the lid off (or open), you slow down any cooking from the sides and above, so you have more searing time, which means you have more time and opportunity to build a better Maillard crust and flavor before the internal temp gets too high.
For larger cuts, I would typically sear with the lid on, build the crust I’m looking for, and then move the meat over to the indirect side to finish.
By searing larger cuts with the lid on, that will afterward need to be cooked further indirectly, having the lid on enables me to control the heat much better. There’s less chance of the grill temperature running away from me due to having so much oxygen with the lid off.
Also, if the cut I’m grilling is large enough and does not need cooking quickly, having the lid on helps keep the flames down, so there’s less chance of burning while searing. Particularly important for fattier cuts.
Mark.
After you have seriously seared your steak or meat of any kind,throw it away,it is not any good any more,at this point you have ruined it and the money you spent on it. The only recourse you have at this point is go to the grocery store or meet market and purchase another steak or what ever meat you like and go back home and try this again. Cook your steaks and meats properly and enjoy your steak and life .enjoy your life
I strongly disagree as it adds A TON of flavor!