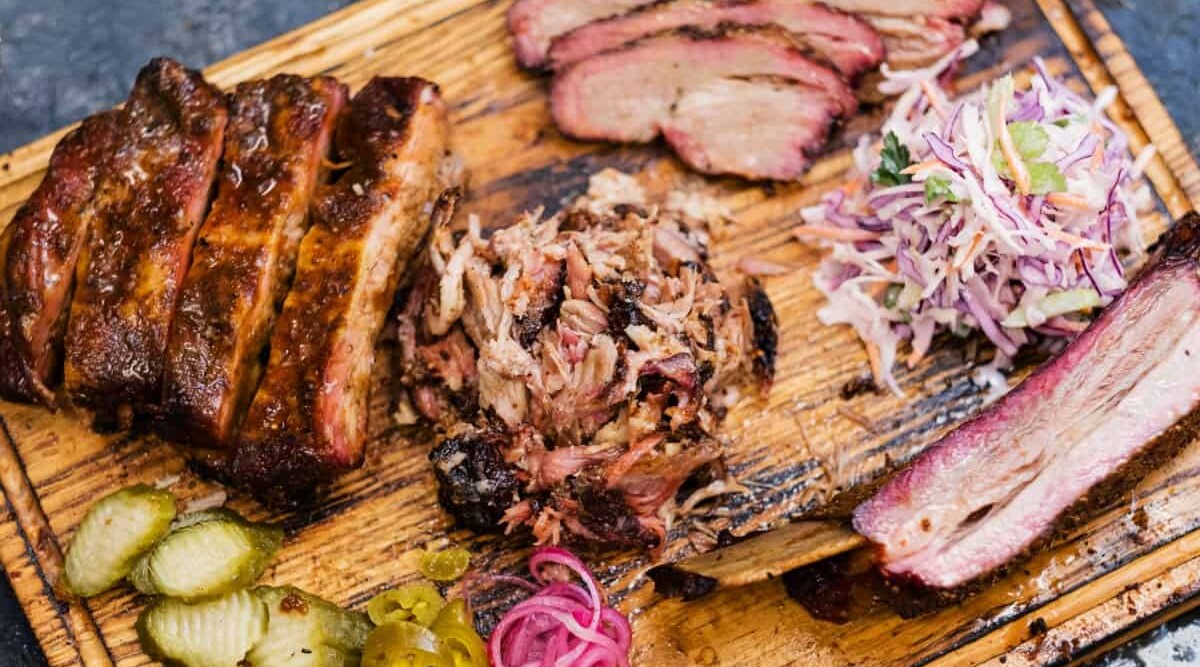
There are so many ‘commonly known’ facts, techniques, and tips for barbecuing, but a lot of the ‘everybody knows, this is how it goes’ wisdom has no science behind it, and many are simply BBQ myths just begging to be proven wrong.
‘Because that’s the way it’s done’ seems to be the basis of most of the following rules of thumb, so instead of trying to find the source of these pearls of wisdom, we’ll just attribute them to Bob. Then we’ll take Bob down using scientific facts.
So let’s get to it: Here are 32 commonly believed BBQ myths debunked.
Note: Sources are duly cited throughout the article to credible websites. A few times reference is made to Meathead Goldwyn’s excellent and highly recommended book: The Science of Barbequing and Grilling. Page numbers are noted.
Myth 1. Searing Seals in Juices
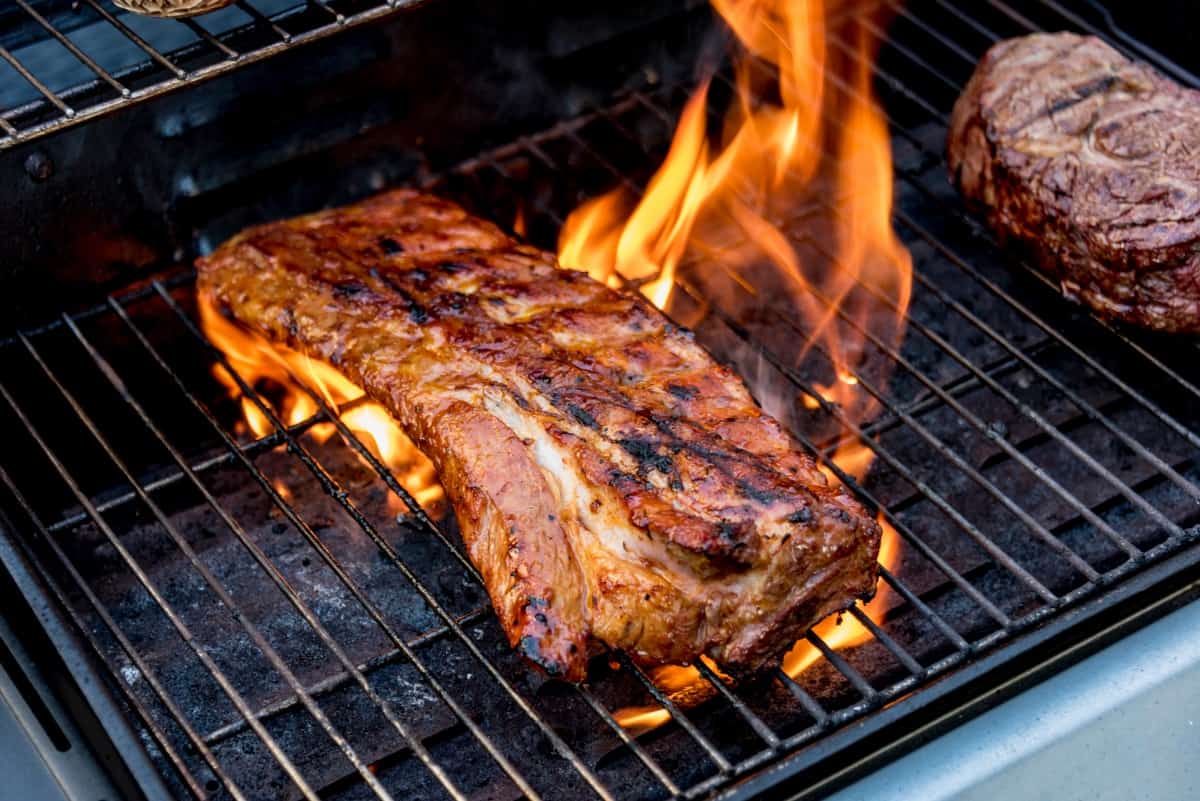
The number one myth that I hear and read from even the greatest celebrity chefs is that searing seals in juices. That the crust formed seals the pores of the meat, effectively preventing the juices from flowing out. This rationale has changed over time, but to this day you can find recipes with sear-to-seal-juices-in instructions.
The truth? This is just not the case!
Meathead cites Professor McGee, author of the seminal On Food and Cooking: The Science and Lore of the Kitchen:
The crust that forms on the surface of the meat is not waterproof, as any cook has experienced: the continuing sizzle of meat in the pan or oven or on the grill is the sound of moisture continually escaping and vaporizing.
FoodNetwork’s Alton Brown and SeriousEats.com’s Kenji Lopez-Alt both experimented with searing steaks and roasts, respectively, before and after cooking. In both experiments, the seared-first meats lost 1.68% more liquid than their counterparts.
America’s Test Kitchen sums it up:
The notion of sealing in juices is thus nothing but an old wives’ tale.
Searing is for the beautiful browning of meat through the Maillard process.
Myth 2. Red or Pink in the Meat Means it’s Underdone
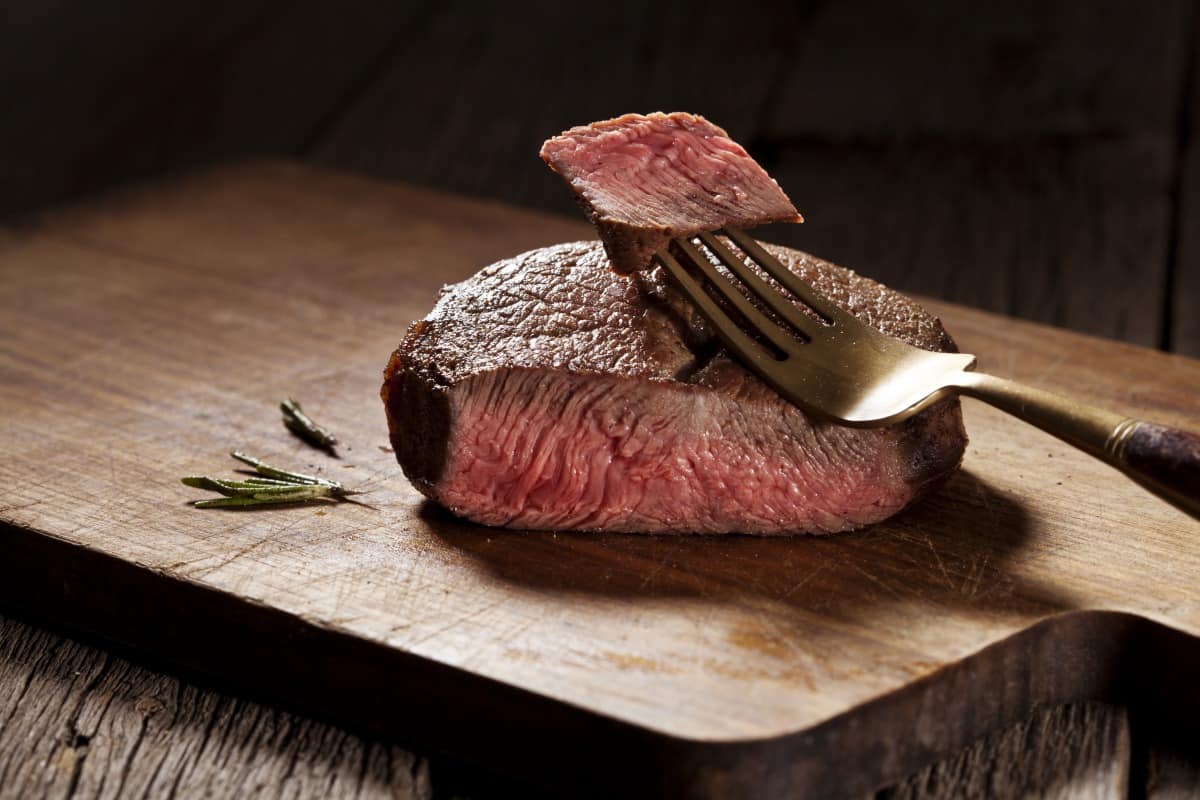
Because raw meat is pink or red, Bob says the meat is done when the color goes away. AKA the “Cook poultry until fluids run clear” myth.
The truth? Temperature is important, not the color!
Myoglobin, the liquified protein in meat, is pink. As far back as 1997, the USDA warned against going by color to determine doneness:
A 1995 study done by Kansas State University (Hunt et al., 1995) found that a sufficient number of ground beef patties were turning brown well before they reached 160 °F to make color an unreliable indicator of doneness. A consumer who believes a brown color always means a safe hamburger is taking a chance on foodborne illness.
It states ground beef can still have some pink reaching 160 °F due to cooking conditions, myoglobin, and the age of the animal. Cooking meat with nitrate-containing vegetables* will also color it pink.
According to the poultry industry, today’s marketed chickens are considerably younger and far more tender than they were years ago. Their bones have not yet matured and are still somewhat soft and porous. As a result, there can be seepage of bone marrow through the soft bone and into the surrounding meat. — Dr. Snyder of the Hospitality Institute of Technology and Management.
In other words, pink chicken isn’t necessarily uncooked chicken. Chickens are grown from egg to three pounds in under seven weeks, insufficient time for their bones to build up calcium.
You see purple bones (and sometimes meat) because the blood in the marrow at the center of the bone is more visible. The older the chicken, the more calcium their bones have, the less you’ll see pink or purple.
So, ignore the color, get a good digital probe thermometer, use it correctly and get your meat to the USDA-recommended temperature or doneness.
| May 2011, USDA Revised Recommended Cooking Temperatures | |
|---|---|
| round beef/pork/veal/lamb | 160 °F |
| Beef/lamb/veal chop, roast, steak | 145 °F |
| Poultry | 145 °F |
| Fin Fish | 145 °F |
| Shrimp | Flesh is pearly & opaque |
| Scallops | Flesh is milky white/opaque & firm |
*LiveStrong cites the book “Nutritional Sciences,” as naming lettuce, beets, carrots, green beans, spinach, parsley, cabbage, radishes, celery and collard greens as vegetables high in nitrates.
Myth 3. Red Liquid is Blood
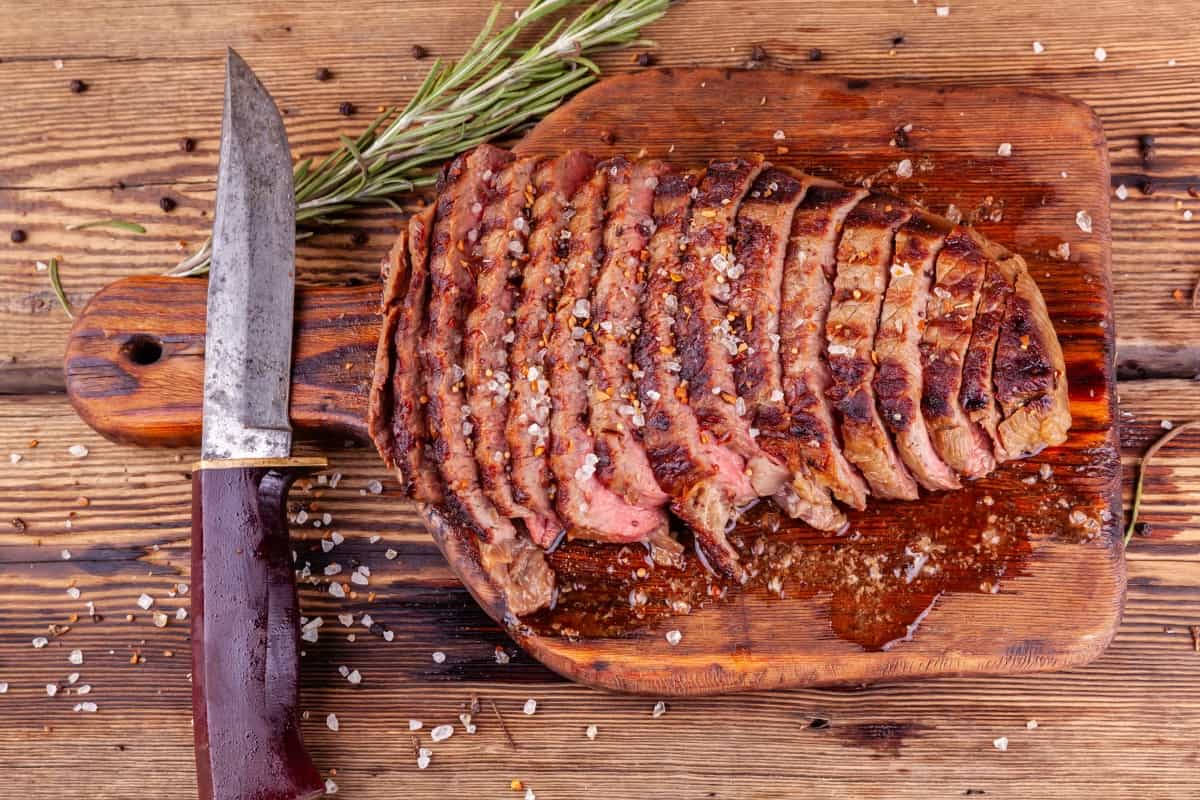
Some people abstain from blood for religious reasons. Others are just grossed out by the idea of eating blood like it’s soy sauce or gravy. Either way, it’s hard not to believe the myth that red liquid seeping out of uncooked meat is anything but blood.
The truth? Some protein is red.
The source of the red or pink seeping from raw meat is a muscle-fueling protein found in muscle fibers, called myoglobin.
Myoglobin gets its color from oxygen and iron taken from hemoglobin, a component of blood. Contact with water — and meat is 82% water — and this turns pink and is what you see flowing from cooked meats. Consider it nothing but meat juice, certainly not blood, and a perfectly normal and acceptable thing to see.
Myth 4. The Smoke Ring is a Sign of Skill and Flavor
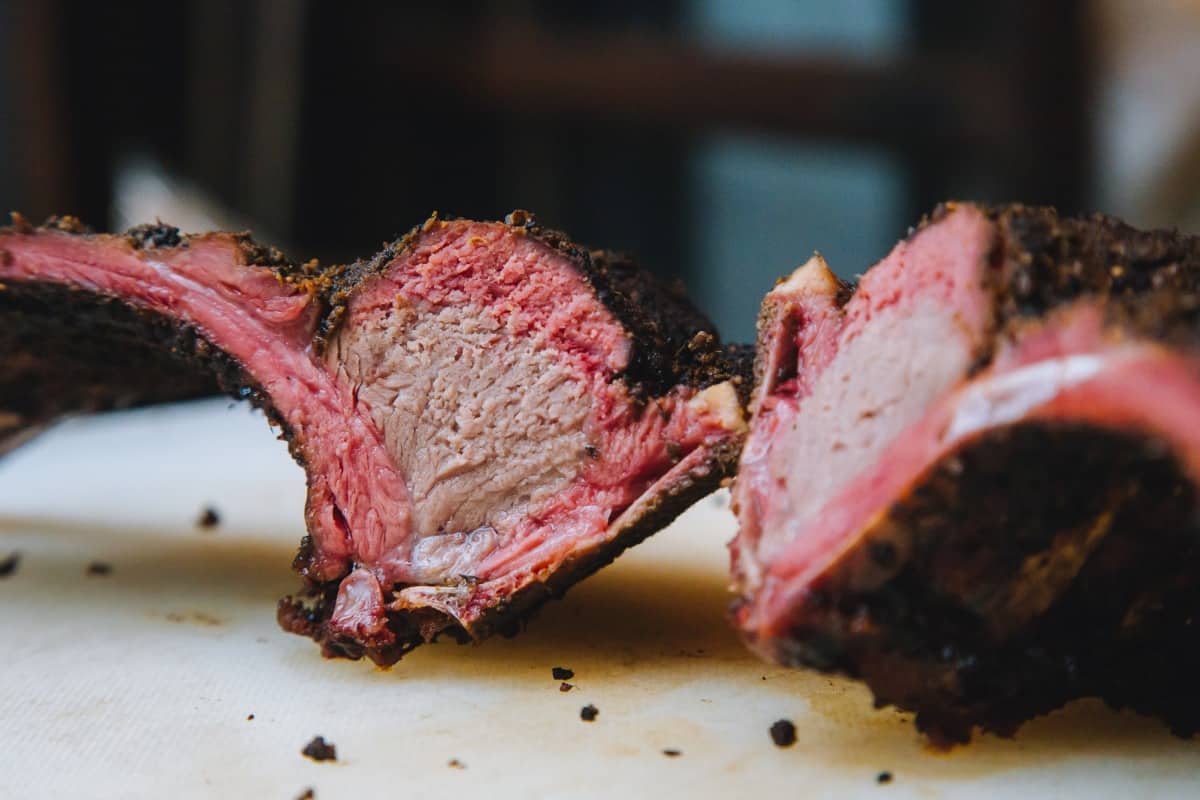
The smoke ring appears when a skillful griller puts all their power into creating the perfect combination of heat, spice, and mojo, says Bob.
The truth? It’s nothing but aesthetics!
If you bite off just the portion containing the smoke ring, know what you’ll taste? The same as what you’d taste elsewhere. Why? The smoke ring is the eye-appealing result of a cool chemical reaction, and nothing to do with smoke.
Wood produces gases, nitrous oxide (NO) and carbon monoxide (CO), which sink into the meat as it cooks. It keeps the myoglobin from turning into metmyoglobin, the ugly brown juice.
Instead of the meat being a combination of brown and gray colors, if the mix of humidity/moisture, temperature, and NO/CO are right, the myoglobin stays pink, and the highly prized smoke ring appears.
This can occur even if there’s absolutely no smoke present! And Professor Blonder says the smoke ring is dependent on syringol, guaiacol, and other aromatic compounds attaching to the meat through thermophoresis.
He tells of an experiment in which scientists scrubbed carbon from smoke using electrostatic filters (like what goes in your furnace to trap allergens and dust). In the experiment, despite the absence of the carbon, the smoke ring and the flavor were still there.
So you might get a smoke ring, and you might not. But rest assured it is not a sign of good barbecue, does nothing for the taste, and is definitely not a mark of good barbecue.
Myth 5. Get as Much Smoke Going as Possible
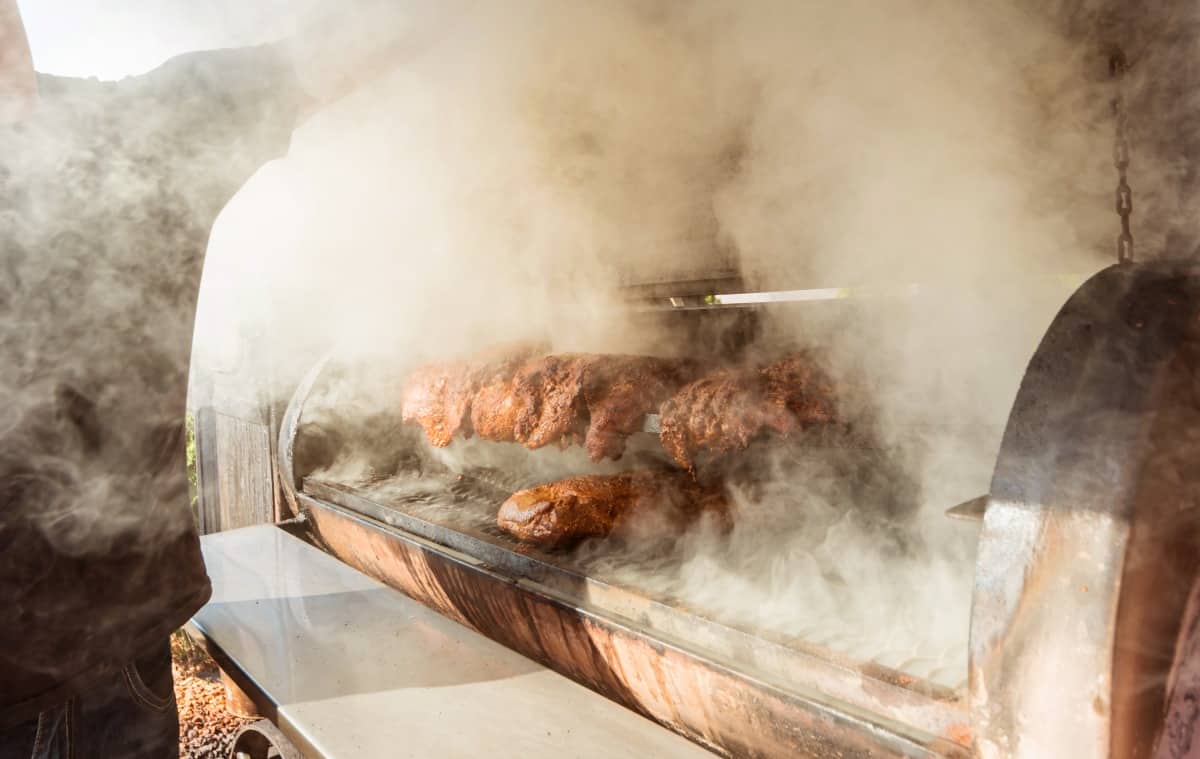
For a deep smoky flavor, fill the grill or smoker with smoke, Bob advises.
The truth? Thick smoke is acrid, you want a little blue smoke only.
Thick white smoke occurs when wood just starts burning. Heavy black or gray smoke occurs when the fire is starved of oxygen.
Both these types of smoke, either thick white or black, contain very heavy molecules that may be OK in small doses over very quick cooks, but over a long, low n slow cook, will impart a very bitter taste to food, very sooty and often likened to chewing on an ashtray.
The ideal smoke for low n slow cooks is often described as ‘thin blue smoke.’ This is smoke that contains particles that are so small, they barely reflect any light and so is almost invisible to the naked eye. But it’s still there and imparts a wonderful flavor.
So try to avoid, thick, heavy, billowing smoke. Good food this simply does not make. Check out our guide on how to get thin blue smoke for more detail.
Myth 6. Resting Meat After Grilling is an Absolute Necessity
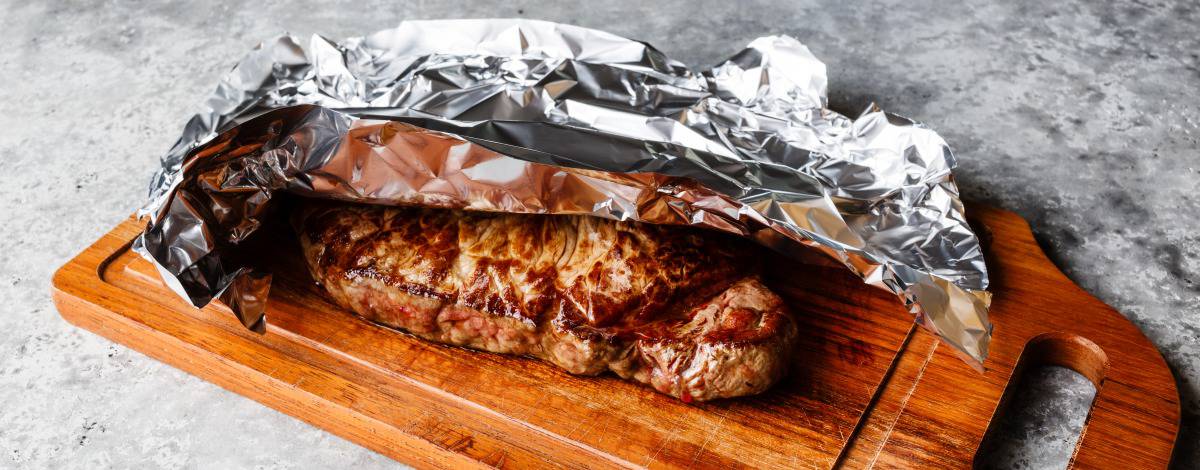
The folks at AmazingRibs put forth a couple of reasons for the meat resting myth, then promptly dispel them.
Pressure Theory: Muscle fibers are like teeny liquid-filled balloons which stretch when exposed to heat, causing the liquid to strain against the walls of the balloons. If cut before they can relax, the fluid will burst forth.
Reabsorption Theory: As the surface crusts over, the gray meat just below the surface overcooks. Allowing the meat to rest 30 or 40 minutes after coming off the fire gives juice in the center of the meat a chance to soak back into the dried out sub-surface of the meat.
Viscosity Theory: Resting allows the meat juice to cool, making it thicker and more likely to stay within the meat instead of leaking out when cut.
The truth? No, no, and no.
Dr. Antonio Mata states fibers are not balloons capable of holding fluid. Water is not trapped in the fibers nor can it be compressed. If water were somehow trapped, the gushing out part would happen when the balloons relaxed.
Good cooking techniques will minimize the gray area and create a great crust; this will go a lot further than letting the meat sit for minutes on end to get a little juice into the gray area.
Although they allow the viscosity theory may be true, there’s no science to support it. And, I might note, consider that sauces are usually made by adding something to the juice to thicken it.
Meathead lists five reasons you probably won’t want your perfectly done meat to sit for 30 minutes:
- It gets cold
- Carryover will cause the interior to overcook
- Fat congeals and tastes like wax
- Soggy crust
- Poultry skin goes rubbery
So generally speaking, don’t bother resting steaks and smaller cuts, though there is still reason to rest big joints cooked low n slow.
Full details of the science and busted myths of resting can be found here: The difference between resting and holding meat — amazingribs.com.
Myth 7. Soaking Wood in Flavorful Liquids Will Make Your Food Taste Better
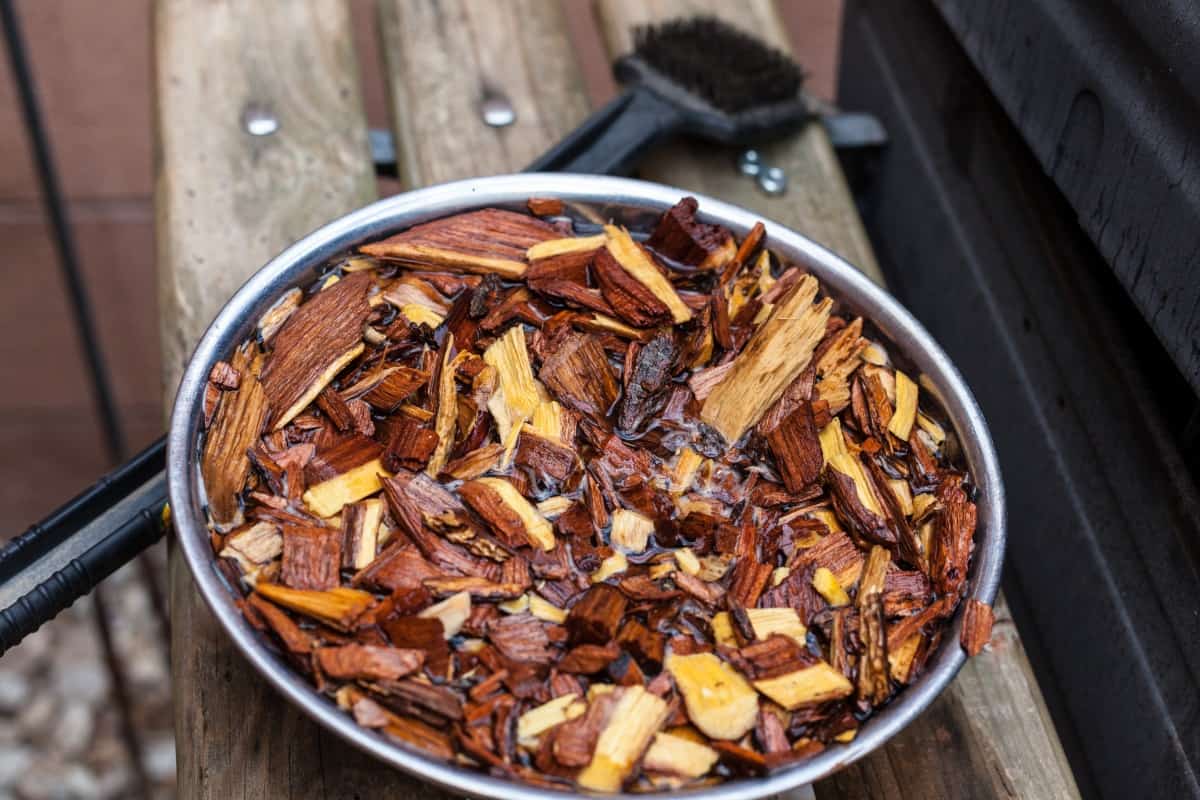
To add spicy notes, soak smoking wood in red wine. For light and fruity notes, use apple juice. Rum will add a nice caramel tone, advises the LA Times.
The truth? Maybe it wood — But really, no it won’t.
The barbecue pundits seem mostly silent on this one.
But since Meathead proved water barely gets below the surface no matter how long wood soaks, there will be so little in the way of liquid in the wood that it just isn’t realistic to think juice, or liquor-soaked wood will make any noticeable difference.
Myth 8. Beer Can Chicken — For Beer Tasting Birds
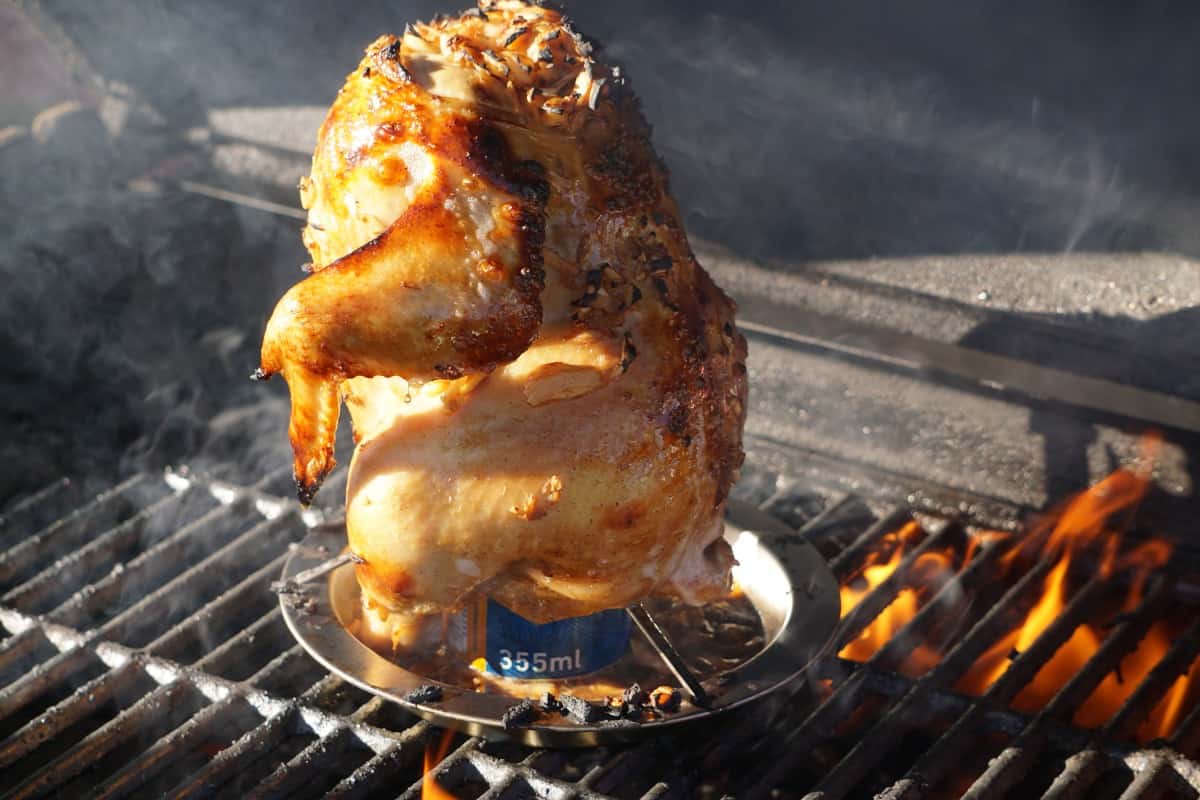
Propping a chicken on an open can of beer. As the beer heats, it begins to steam, sending beer-accented steam up and around the chicken, to impart a delicious flavor.
The truth? Sorry, you cannot get beer flavored steam this way.
While many enjoy the sight of a beer can chicken sitting at attention, in reality, there are serious dangers associated with this cooking method, never mind how fun it looks.
First, the skin and fat of the chicken act like an insulated coat which surrounds the can and keeps it cool. Yes, cool. In Meathead’s test, by the time the can’s temperature reached 130 °F, the outside of the chicken was 185 °F. Chicken is done at 165 °F. Just saying.
The beer can, snugly nestled in the cavity, blocks heated air from flowing through the bird. As a result, there is the very real danger the interior will not cook quickly enough to prevent bacteria from developing. Can you say salmonella? How about:
- Staphylococcus aureus?
- Campylobacter jejuni?
- Listeria monocytogenes?
- Escherichia coli?
The USDA explains what damage these unpleasant bacteria can inflict. Better to skip the novelty of cooking a chicken on a can than risk serving these unwanted ingredients.
The chicken-insulated can also prevents the beer from getting anywhere near hot enough to boil (212 °F). No boiling, no steam. No steam, no beery flavored chicken.
And call me paranoid, but how would I know if the ink used on the label or the can is food grade? What chemicals could leach from the metal and dye when the can gets to 165 °F? Safely removing a hot container containing very hot liquid is another safety concern.
If you want beer flavor, marinate or inject the beer to get the flavor you want. As for the can, recycle it after emptying its contents into your marinade, injector bottle, or down the hatch.
If you really like the standing chicken look, you can always buy a vertical chicken holder for making beer can chicken. Because Dr. Blonder’s experiment did find cooking a chicken vertically created an appealing, evenly cooked, and crisp chicken.
Myth 9. In Carryover , Expect a Temperature Rise of 5 To 10 °F
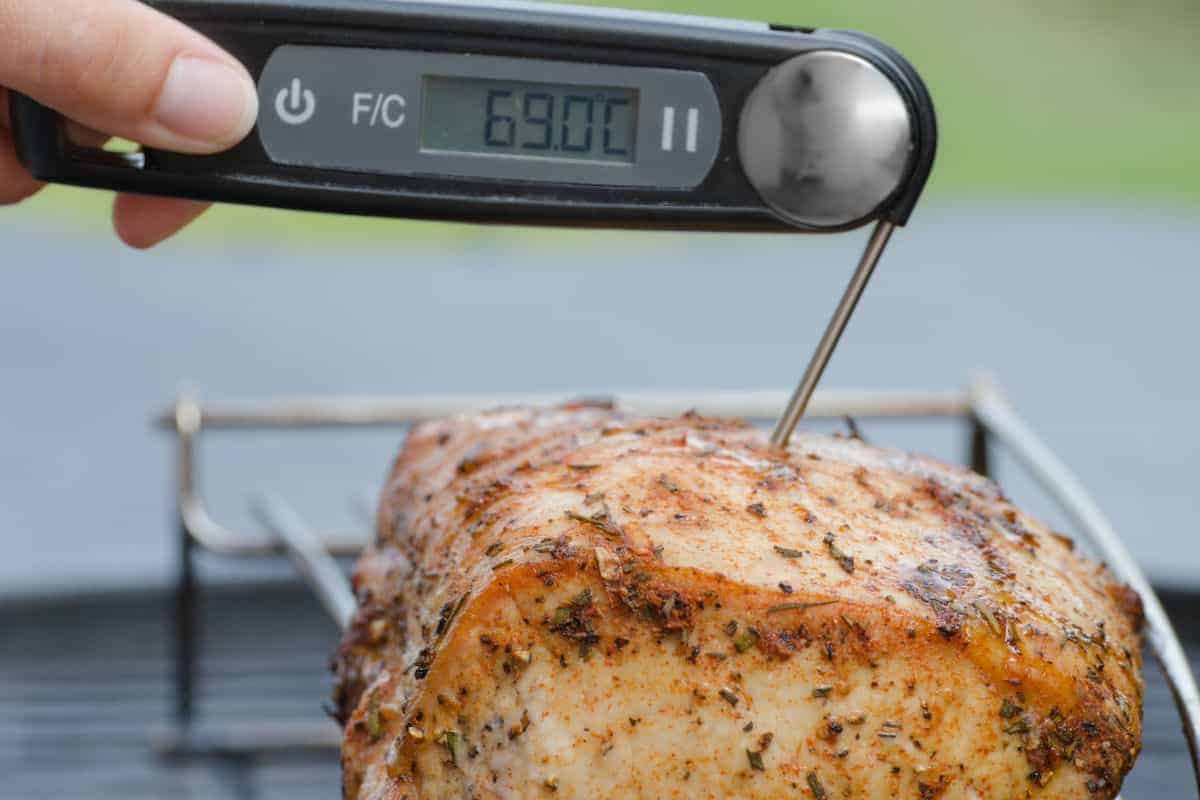
Meat cooks from the outside in. Due to carryover cooking it will continue cooking once the inside hits your target temperature, because the outside is hotter and the temperature evens out throughout the meat while resting or holding.
A good rule of thumb is to estimate an internal temperature rise of between 5 and 10 degrees once the meat is taken off the heat, says Bob.
The truth? Bad estimation, Bob.
Internal temperature can vary more than 10 degrees, depending on the thickness of the meat and the cooking temperature of the grill.
If you’re cooking low n slow at 225 °F, heat has more time to penetrate to the inside the meat, and the difference between the center and the outside won’t be so high. Then, yes, the inside may rise 5 degrees or so while resting.
However, if you’re cooking at, say, 400 °F, the outside of the meat can potentially be way, way hotter than the inside and in this case, while resting meat, the inside may increase in temp by as much as another 20 °F.
Covering for this in your barbecuing takes experience and tweaking over time after constant note-taking of meat thickness, cooking temperature, and careful testing of temps with a good instant read thermometer, both right after coming off the grill, and after a set time resting.
Myth 10. Breakdown of Connective Tissue Causes the Stall.
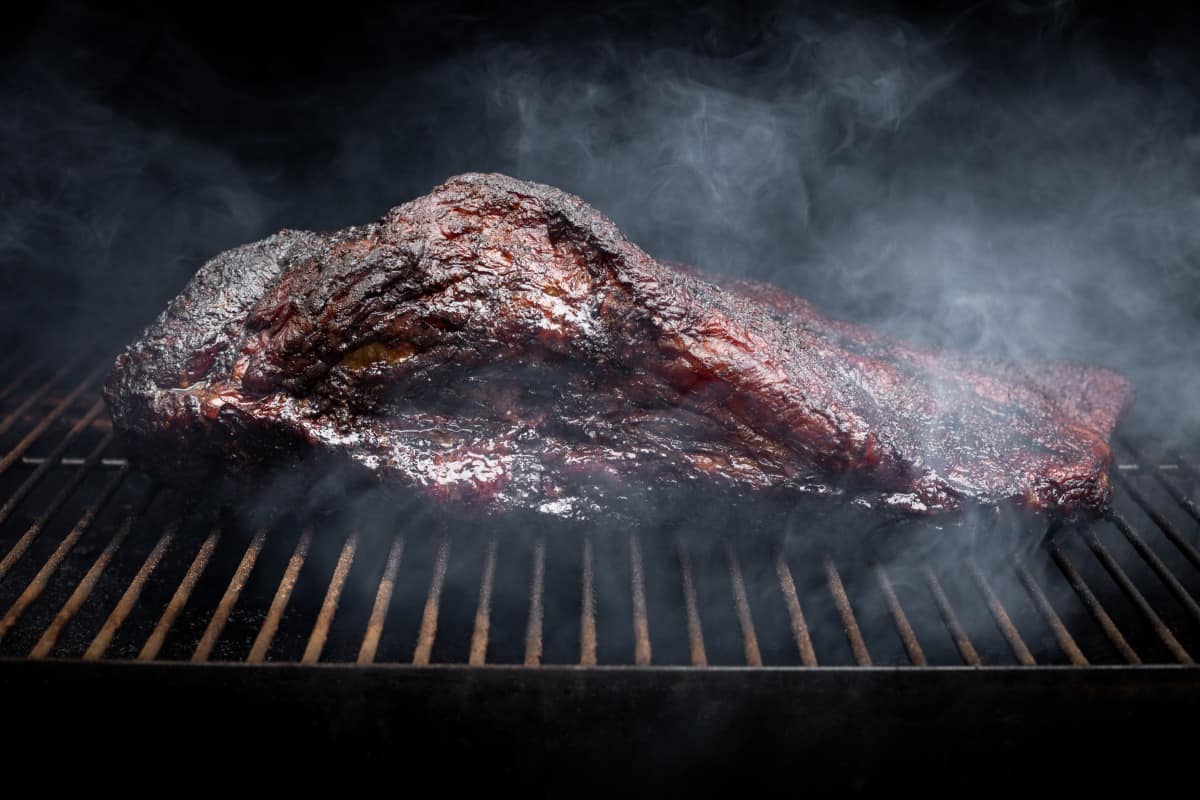
According to Bob, as meat cooks, it causes:
- The connective tissue to melt and collagen conversion—a reaction in which heat and water unwind collagen molecules into gelatin or
- The fat to render (melt) or
- General protein denaturing, which means the protein loses its structure and shape, like the way egg whites change from a clear viscous liquid to a soft opaque white solid when cooked.
However, this is pretty much untrue.
The truth? Liquid loss and evaporation slows things down.
These theories are briefly referenced then explained away at ChefSteps.com. So the fact is, evaporation is the cause of the temperature dropping or stalling for as much as a few hours.
The process is similar to the co0ling effect we feel while sweating. As moisture makes it’s way to the meats surface, it evaporates off, taking heat with it, hence having a cooling effect on the meat.
Professor Blonder on GenuisIdeas.com explains there are a few factors which cause the grill or smoker’s temperature to stop climbing during the cooking process:
- Forced evaporation — moving air keeps a humid bubble from forming around the meat, causing the rate of evaporation to slow
- Surface-to-volume ratio — larger pieces of meat naturally have more water to evaporate than smaller pieces, causing them to cool to a lower stall point
- Air velocity — the faster air moves over the meat, the faster the meat cools
The professor says by using foil to wrap meat in a water-tight packet, the evaporation process is blocked, causing the meat to self-braise and bypassing the stall period speeds cooking by 4 hours.
Kenji also did the wrap vs. unwrapped test. He grilled two pork butts, wrapped one in foil once it reached 165 °F, about 5 hours into their cooking time. The wrapped butt reached the final temperature (198 °F) five hours ahead of the unwrapped butt, thanks to increased humidity and preventing evaporation, which kept the meat’s temperature from dropping.
During a similar experiment, the folks at Camp Brisket found the wrapped brisket had a more “roast beefy” taste than the unwrapped brisket.
Myth 11. Bring Meat up to Room Temperature Before Cooking
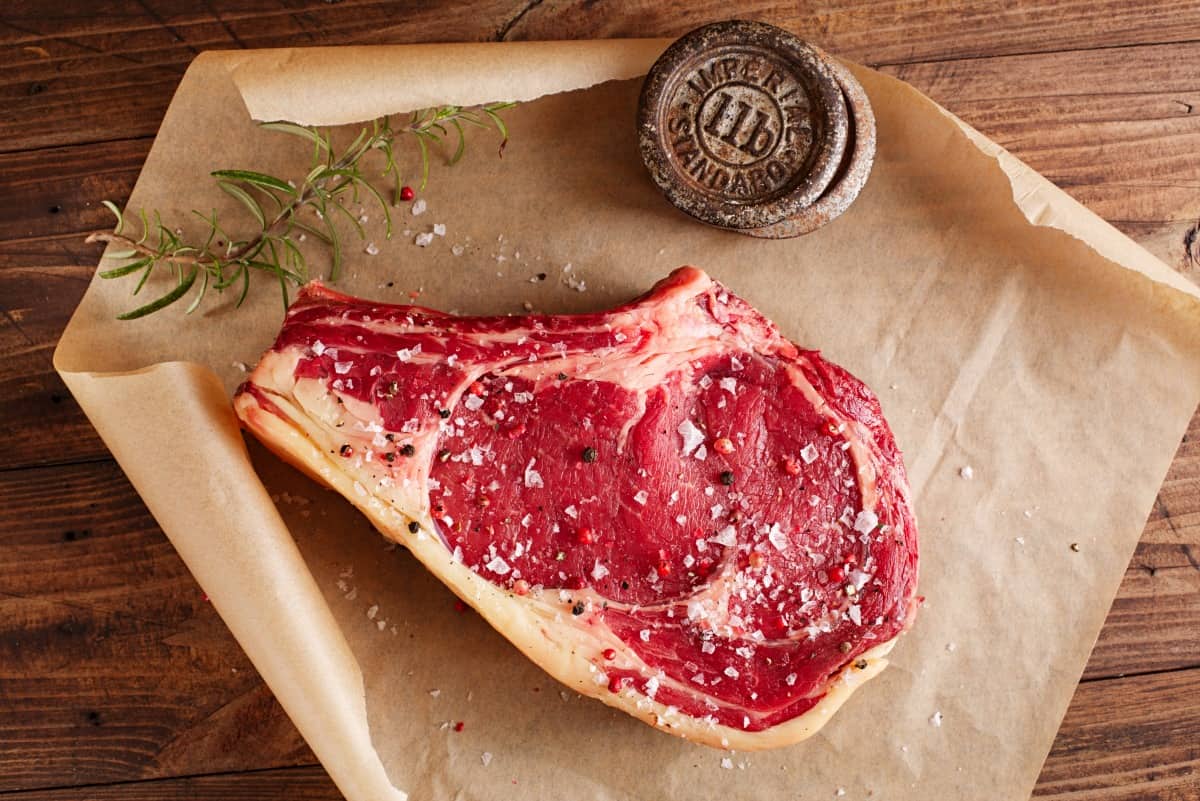
Putting cold meat on the grill will cause a temperature drop. The time it takes for the temperature to recover adds on to the meat’s cooking time.
To shorten the cook time and minimize the risk of overcooking the outside of the meat, Bob recommends taking the meat out of refrigeration for about an hour to come up to room temperature before cooking.
The truth? It’s unnecessary and unhealthy.
Thermophoresis describes the way smoke is drawn to cool surfaces, like steam to a mirror. In an experiment (pages 14 & 15), three beer cans were painted white, one empty and one ice-water filled can were placed in a smoker, the third can sat on a desk. After 30 minutes, the ice-filled can have a thicker coat of smoke than the empty can. This shows the role of cold in drawing moisture to surfaces, and the moisture attracts and helps smoke to stick.
Kenji at SeriousEats tested the theory that raising the temperature of the meat improved how evenly the meat cooks. He cut a steak in half, left one-half in the fridge and set the other out to reach room temperature.
The recommended warm-up time is 20 minutes; at the end of 2 HOURS, the steak half still wasn’t anywhere near room temperature or the finished cook temperature (and by then it had become the camping ground of many bacteria).
The FSIS recommends raw meat be kept at 40 °F for storage, and it should be cooked right after it’s taken out of refrigeration.
Kenji’s experiment ended with both halves of the steak searing, cooking evenly, and reaching 130 °F around the same time.
So, letting meat come up to room temp will decrease a meats ability to attract and hold smoke flavor, and will not cut the cooking time by any noticeable amount.
Myth 12. Membranes in Food Block Flavor Penetration.
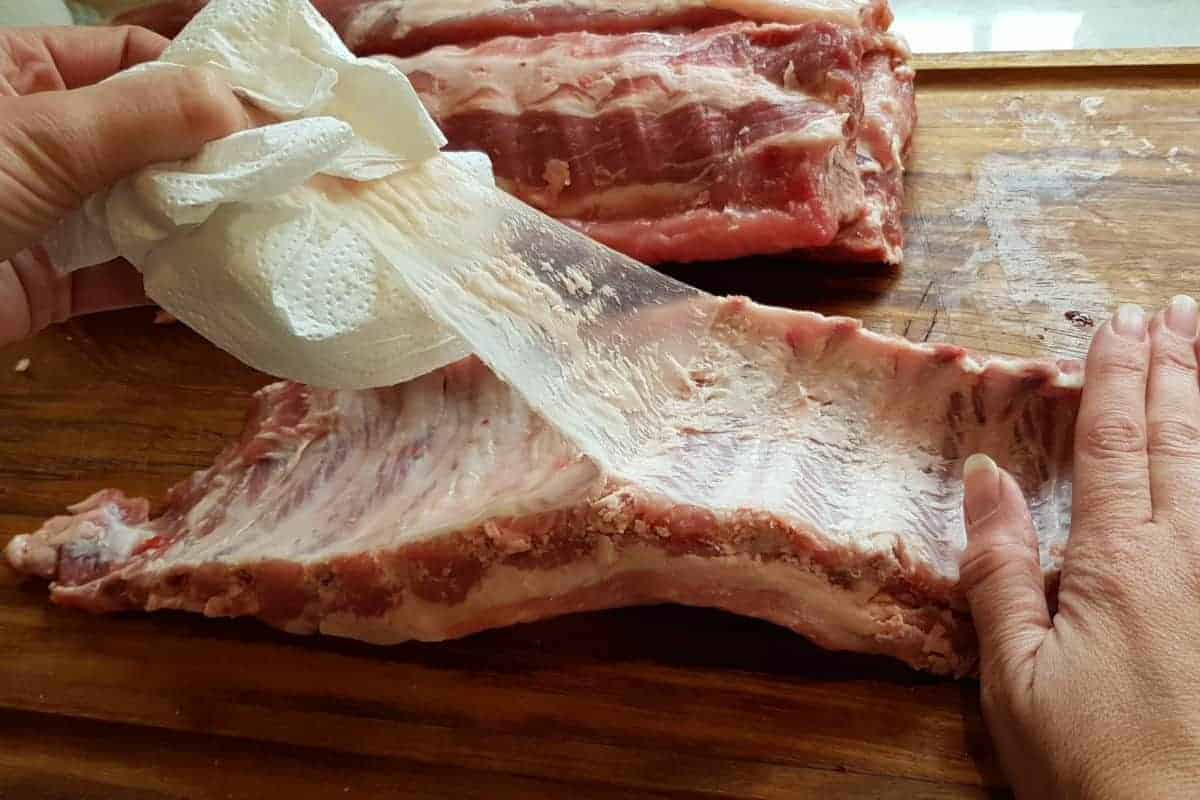
Bob says the layer across the back of the ribs is so dense, nothing can get through. So, peel it off.
The truth? It’s not that tough.
Amazingribs.com explains this latex-like lining, also called the ‘membrane’ of the ribs, can block some liquids, but it cannot stop vapors, smoke, and rub from getting through.
Although it’s a good idea to remove it as it’s tough, chewy and doesn’t exactly look good on the finished product, it’s a myth that it prevents penetration of flavor.
Myth 13. Leave Bones in to Enhance Flavor
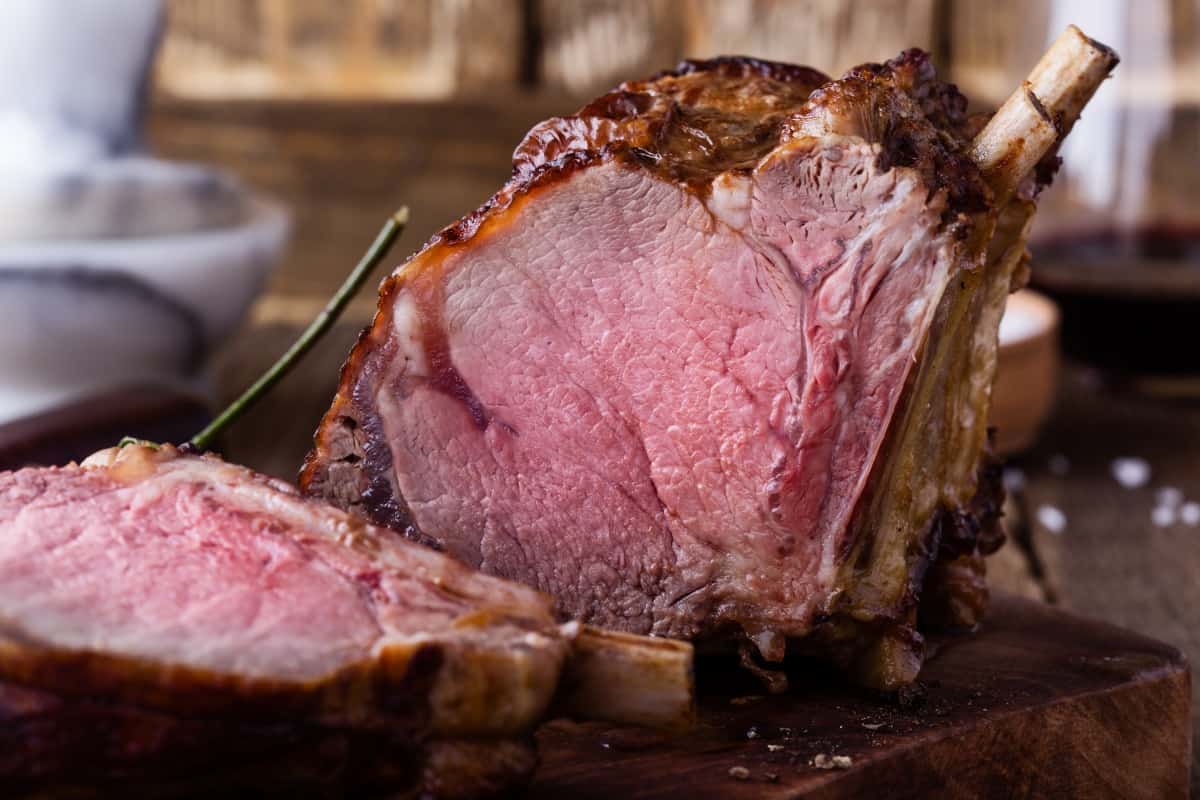
Leaving the bone in during cooking enhances the flavor, says Bob. Flavorful components found in bone make their way into the meat, he says.
Th truth? Maybe in some cases, but mostly not at all.
It depends on the type of bone, cut of meat and the cooking method.
In wet cooking, like braising or stewing, bones are a great source of minerals. It’s why bone broth is or has been so highly prized. But the source of any flavor comes from the inner core, the marrow.
On the other hand, dry-cooked, roasted, broiled, or grilled meat gets a boost of flavor from the bone marrow as it dissolves.
Marrow is found in the leg and spinal bones and can be red (the source of stem cells) or yellow. Yellow marrow, called prairie butter or poor man’s foie gras, is mostly fat.
Calcium and other minerals make up the hard exterior of bone. It isn’t too porous so extremely little marrow can work its way out to the surface to be absorbed by the meat. But the marrow is exposed in ribeye, T-bone, and porterhouse cuts, so even in dry heat cooking methods like grilling or broiling some flavor can be imparted.
It’s possible this myth came about because bone acts as an insulator, keeping meat closest to it tender and moist.
Myth 14. Only Ever Flip Steak Once
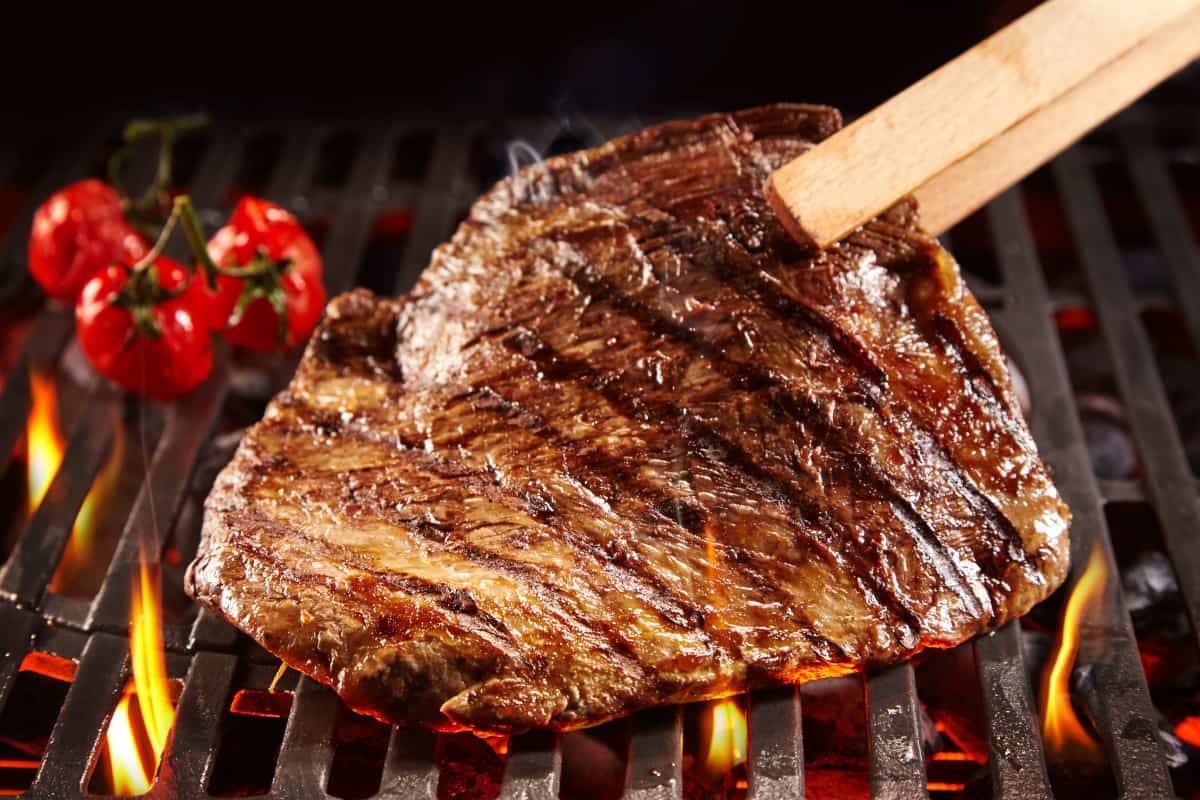
Bob says to only ever flip meat over once during grilling, because turning meat while it cooks makes it lose moisture and you’ll end up with a tough slab of meat.
Kenji at SeriousEats hazards a few guesses as to why this is thought to be true — from improving the crust to locking in juices to making the meat cook more evenly.
The truth? Turning often is actually better!
Dispelling myth number 4 on his list, Kenji says repeatedly turning the meat will cook it up to 30% faster.
He cites food scientist Harold McGee as saying repeated flipping will keep each side from getting too hot or too cool; the meat would cook evenly on both sides. The inside will also cook faster, keeping the outside from overcooking.
He also links to LA Times food editor Russ Parsons who followed McGee’s frequent flipping technique and found it resulted in flat ribeyes; they didn’t curl because the outer muscle didn’t cook faster than the inner muscle.
Kenji concludes frequent flipping isn’t mandatory — and certainly, if you’re looking for a non-labor-intensive grilling experience, don’t do it — but I say, given the results, it’s worth the time to gently turn, turn, and turn that meat again, cooking both sides evenly.
Myth 15. If You’re Lookin’, You Ain’t Cookin’
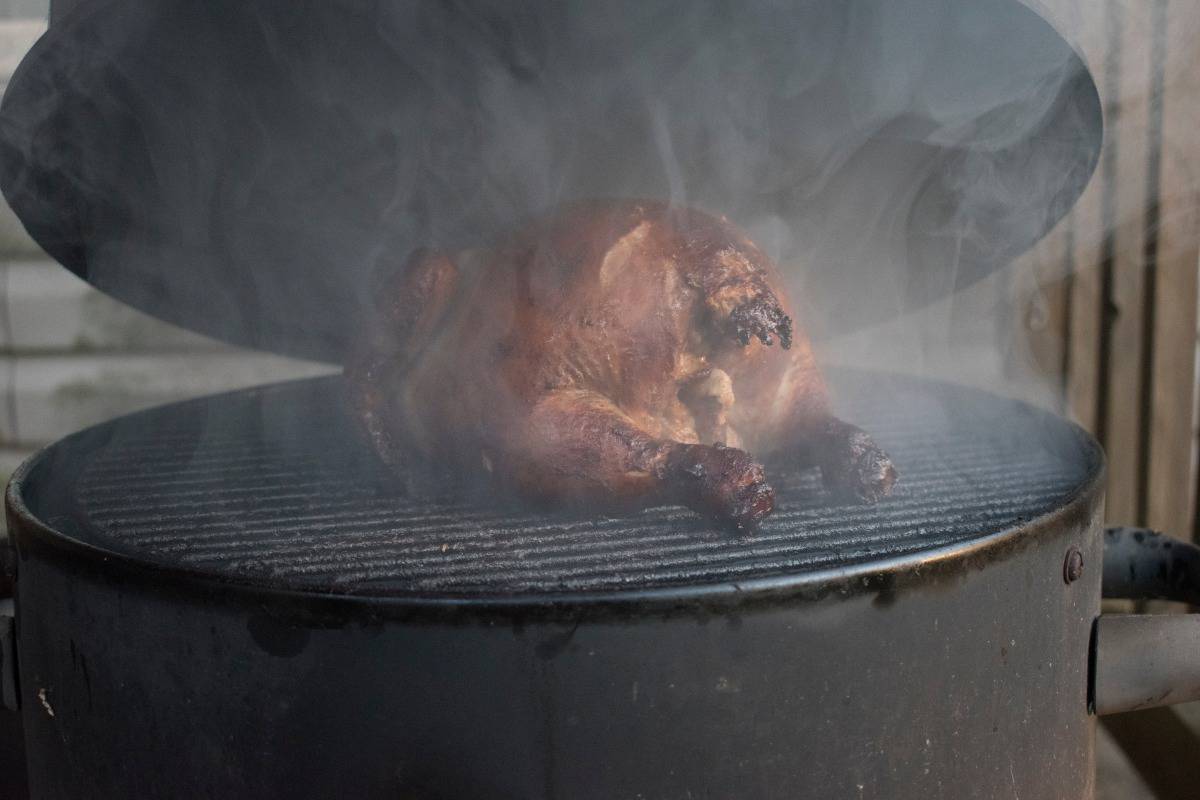
Weber owns up to this catchy phrase, a way to advertise their proud creation of 1952, a lidded grill. It was promoted as a way to generate controlled, flameless, reflected heat by wise use of the lid and dampers.
Bob says each time the lid goes up, the internal steady moist heat at work is interrupted. Even Meathead once thought lifting the lid added 15 minutes to the grilling process. But the science doesn’t agree, he now says.
The truth? Go ahead, look, and keep cooking.
Dr. Blonder tested this venerable wisdom by cranking up gas, pellet, and charcoal grills in various outdoor temperatures. He opened the lid for first one minute, and then five minutes, recording the interior temperature of the grill and the meat.
There was no significant loss of cooking heat. Even when the interior temperature took 15 minutes to return to its former temp, the meat continued cooking at a steadily rising temperature rate.
Myth 16. Grill Marks are Important
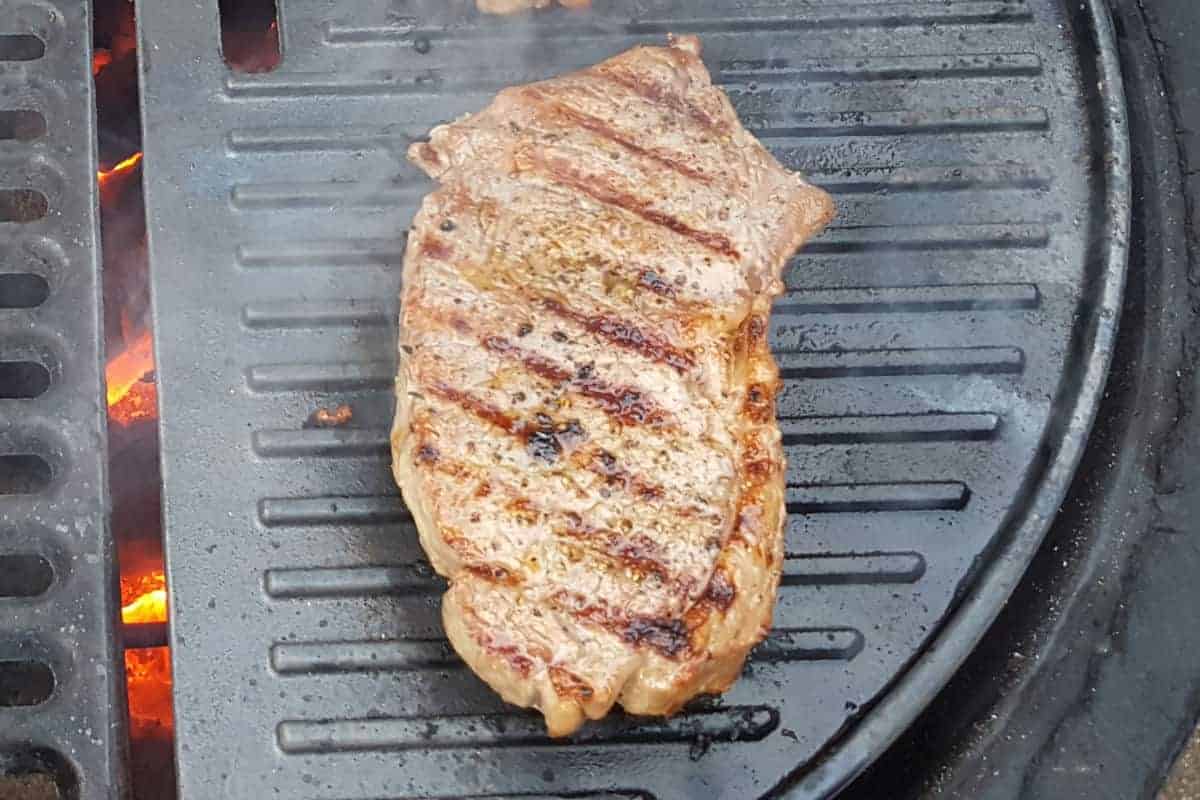
To give your food a professional finish and greater taste, alternately lay it at 90 degree angles to produce clean, even grill marks.
The truth?
True, we eat with our eyes, but it’s highly unlikely anyone ever turned down a steak for lack of grill marks.
Unlike a good searing, which creates a delicious crust on the entire surface of the meat, grill marks are superficial for the most part. If you really want to create a delicious taste improving crust, you want to sear the entire surface, not just small areas where food has been in contact with super hot grates.
However, some quick cooking and more delicate food items such as shrimp or vegetables can benefit, because grill marks are a sear, and some is better none.
Myth 17. Use the Pop-up Test to Know When Ribs are Done
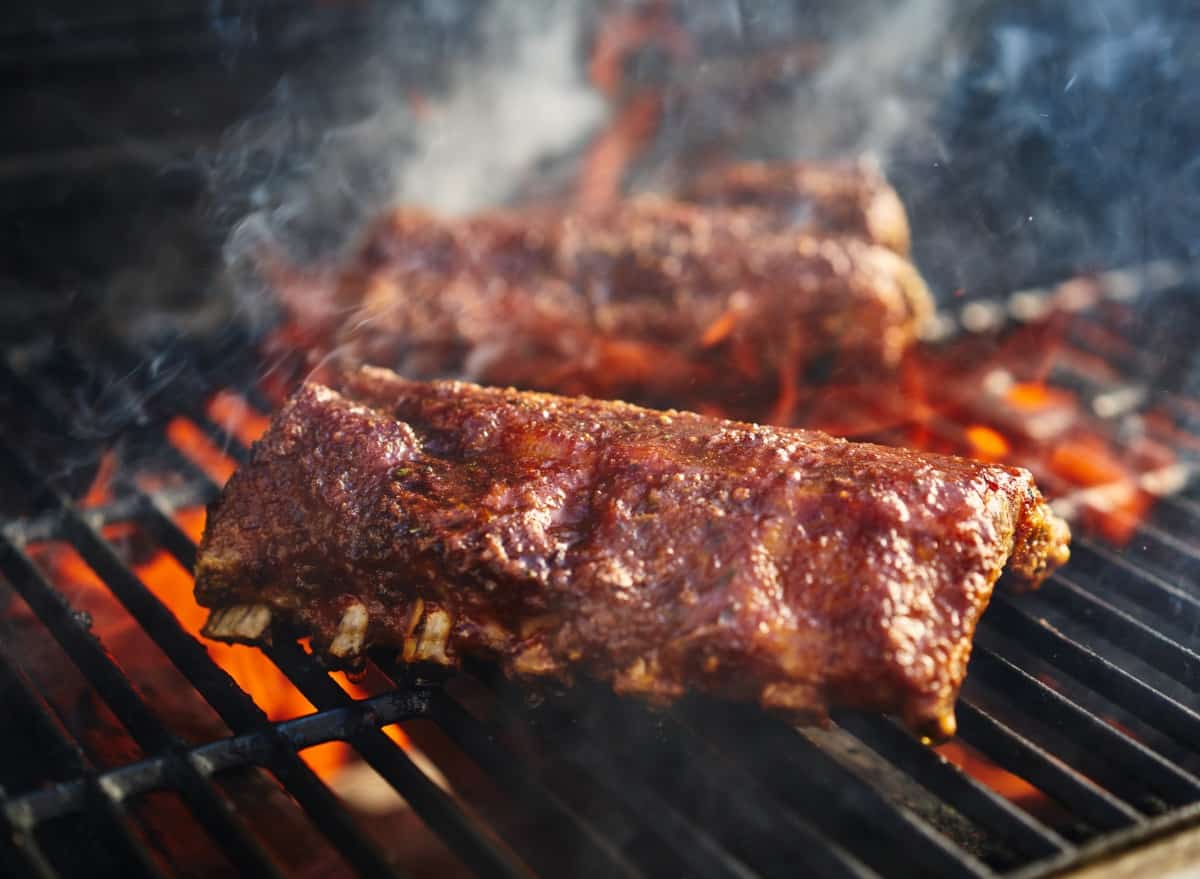
I’ve read it being said that if meat pulls away from the tips a quarter of an inch, they’re done. However, ribs cooked at a higher temperature could still be underdone at this point. Other tests of doneness include:
- The Bend Test — using tongs, pick up one end of the ribs. Bounce lightly. Ribs are done if they easily bend and start to crack.
- The Toothpick Test — Ribs are done when a toothpick can easily slide into the meat between the bones. Test different areas along the rack to be sure.
- The Twist Test — Put on grilling gloves, twist a bone in the middle of the rack. Ribs are done if the bone comes out easily.
- The Sample — Eat a piece. If you like the texture, color and see a smoke ring, it’s done.
The truth? Temperature and texture is the best test.
Ribs are mouth watering tender, yet still have some bite, when cooked to an internal temperature of between 190 and 203 °F. So, using a quality digital thermometer, aim for this temperature range.
However, that’s quite some range, and one rack of ribs could be perfect at 190 °F while another is still too tough, and one rack could be perfect at 203 °F while another is overdone.
So, cook to 190 °F, and then probe the meat with a toothpick to test for texture. You want both an internal temp of at least 190 °F, plus the toothpick to slide in and out like it was going through butter.
Myth 18. Tars and Oil Droplets in The Smoke Create the Pellicle and Color in the Food
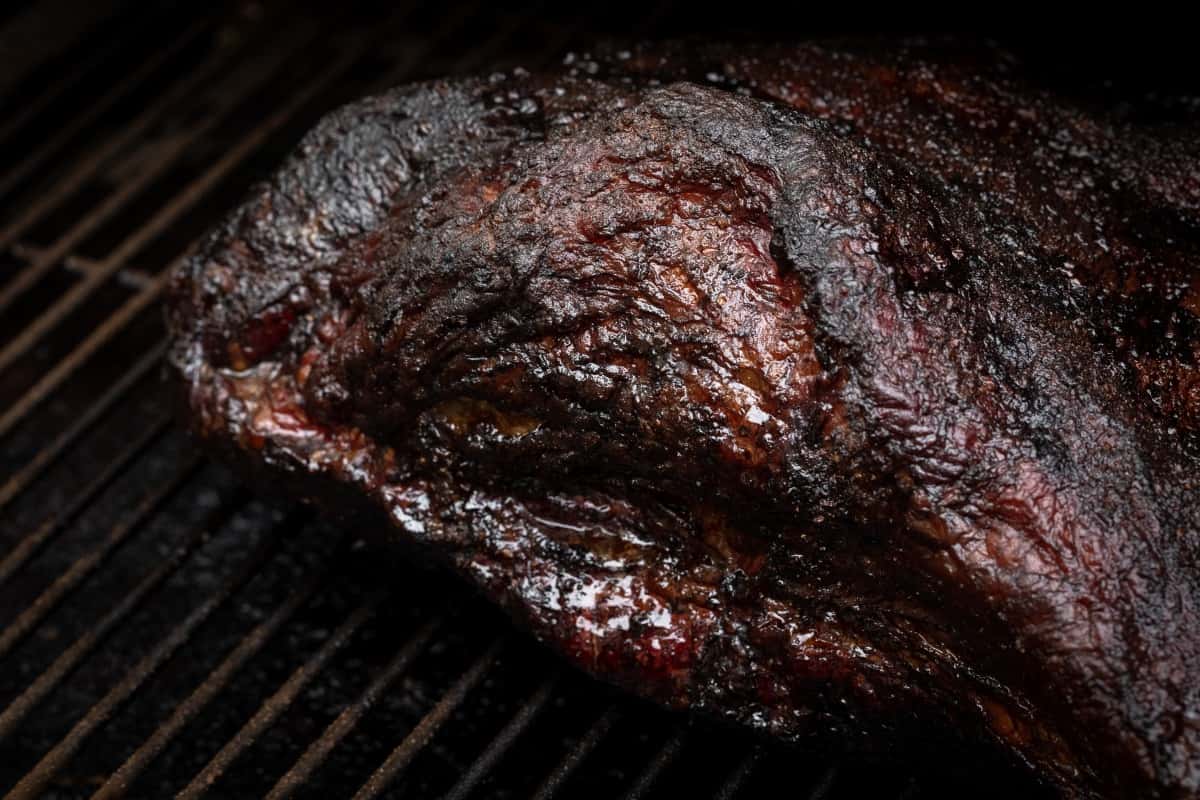
I’ve been unable to find where the myth of the pellicle being tar and oil droplets originates from, but I’ve heard it many times over the last nearly 20 years.
The truth? Pellicle is bark you’ll want to bite.
The pellicle is a skin formed when meat proteins tightly bind together into compounds called polymers. Also known as bark, it’s something to be proud of, not avoided.
Professor Blonder waxes scientific on pellicles, which is officially called the ‘Diffusion Reduced Irreversible Polymerization (DRIP) process.’ It’s more appealing than drying paint, the other instance where the process occurs.
Anyway, it’s not the meat reacting to seasonings; it’s all about the protein. In the DRIP process, proteins dry out and chemically break up. The broken proteins come back together as a tough leathery, chewy film that slows inside-out evaporation and flavor traveling from the outside in.
Myth 19. All Creosote is Bad!

Creosote is tar, the stuff once used to pave streets and weather-proof wood. It’s definitely not something you’d want anywhere near your food, says Bob.
The truth? The source of the creosote matters.
All smoke generates creosote. But creosote from wood is not the same as creosote from tar. Some of its components are crucial to the much-desired flavor and aroma of smoked or grilled food.
On page 14 of his book, Meathead says creosote has its good and bad sides. Too much and food acquires a bitter taste. But if the chemical mix is right, it adds good flavor and color into food. And creosote also aids in preserving meat.
Myth 20. Meat Stops Taking on Smoke After 2-4 Hours of Cooking
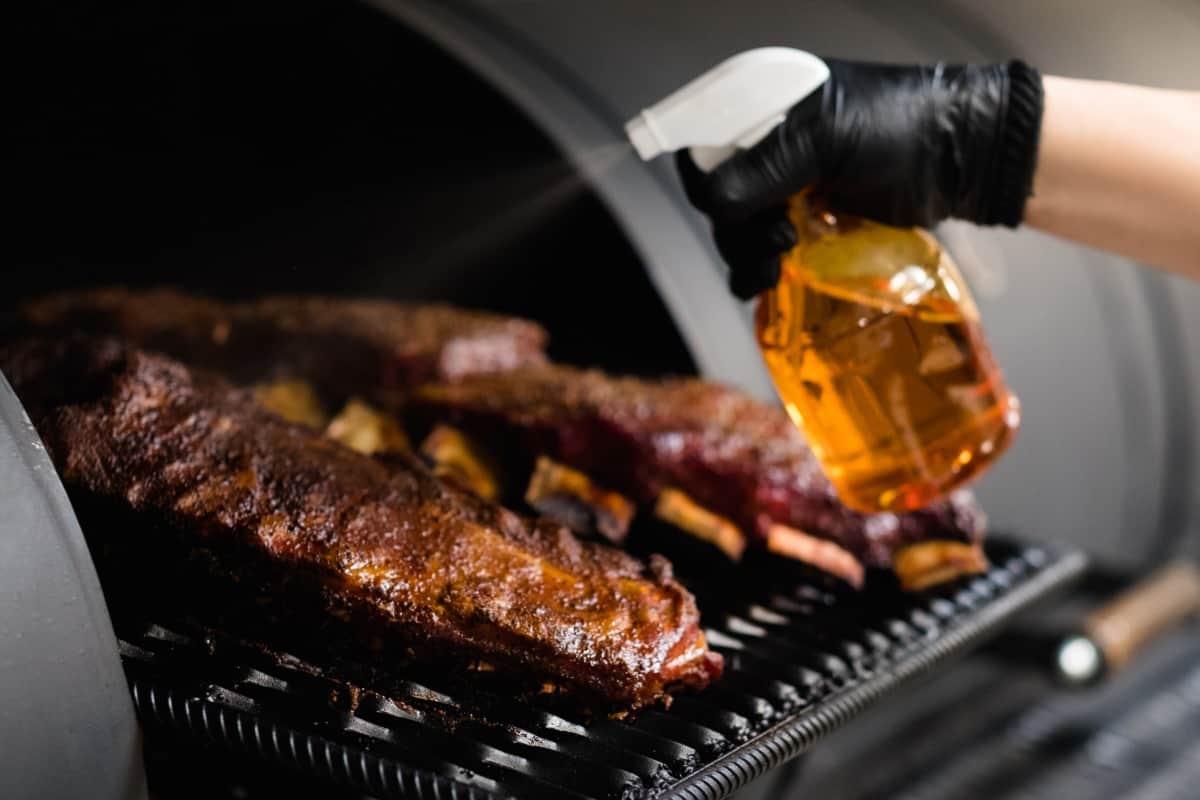
Barbecue boards are full of Bob’s sagely proclaiming the myth that meat stops absorbing smoke after 2 or 4 hours, or after the meat has reached 140 °F.
The truth? No, it’s not all about the temperature.
After a couple of hours of cooking, the meat’s surface is dry and smoke won’t adhere as well as when it was wet.
The time or temp myth likely came from the fact the surface of the meat tends to be dry at close to 140 °F, or somebody somewhere figured after a set time smoke is no longer absorbed, and coincidentally this just happened to be when the meat became dry.
But yes, it’s not time or temp that prevents smoke sticking, it’s the surface moisture of the meat.
So to counter the effect of smoke no longer being taken on, you simply have to lightly spritz or baste the meat, adding moisture back to the surface, and then as long as you have fresh wood providing smoke, you’ll have a second wave of smokiness embracing your meat.
Myth 21. Soak Wood to Prolong Smoking Time and Prevent Wood Flare-Ups.
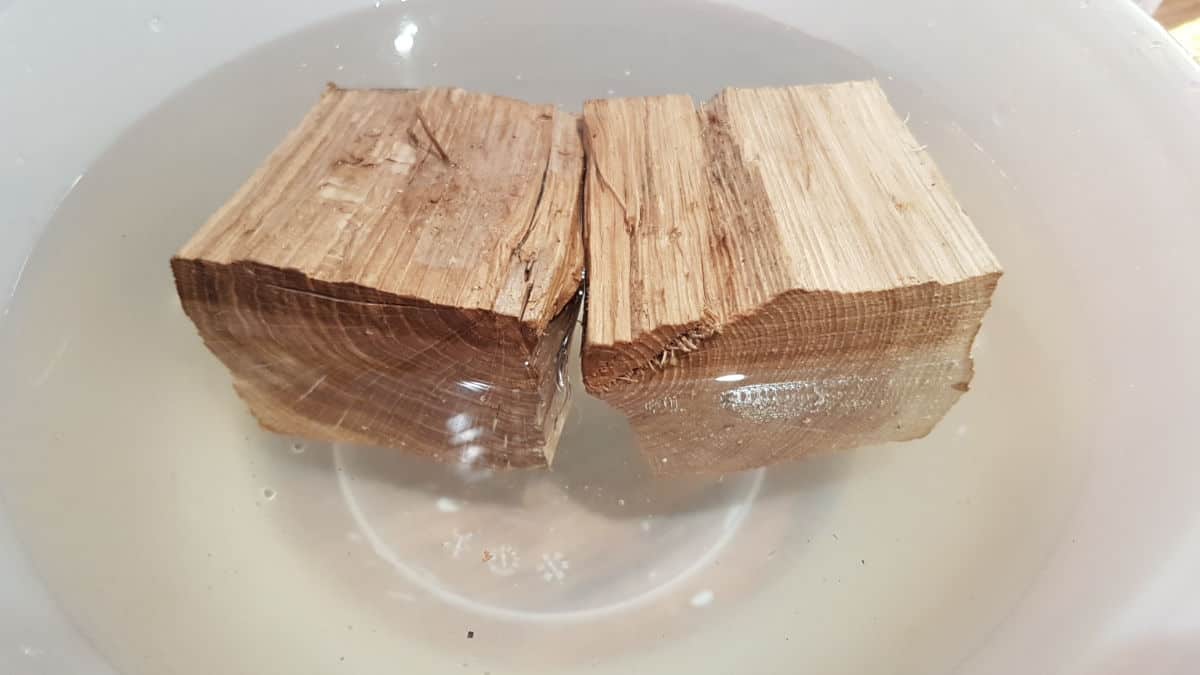
To prolong smoking time and prevent dangerous flare-ups, the myth states to always soak wood before placing in the grill.
The truth? Wetter isn’t better.
Chips and chunks soaked for 12 hours absorbed 6% of water, chunks 3%. After 24 hours, the only water to make it far below the surface got there by way of cracks or fissures.
Meathead states the obvious: ships were made from wood because water only seeps in so far, no matter how long they sit in water. He also notes wet wood won’t heat beyond 212 °F until it’s almost dry because until then water evaporates cooling the wood (like us sweating.) This makes the soaking a waste of time and energy, doesn’t it?
The only time it makes sense to soak wood is when using a ‘delayed smoke bomb.’ This method of extending smoking time uses two pans of wood; one dry, one wet. By the time the dry wood has turned to ash, the wet wood has dried out enough to then start smoking.
So soaking half your wood may have some benefit, but soaking ALL your wood has no benefit at all over not soaking your wood. And anyway, flames are good, creating clean combustion and the desired blue smoke for the best smoky flavor.
Putting the chips or chunks in a foil pouch will minimize the risk of the wood combusting and pushing the temperature too high. Biscuiteater has a great how-to video on this found here: The BEST gas grill smoke bomb! Fast, Easy, No mess!
Myth 22. Oil Your Grill Grates Before Use to Prevent Meat Sticking
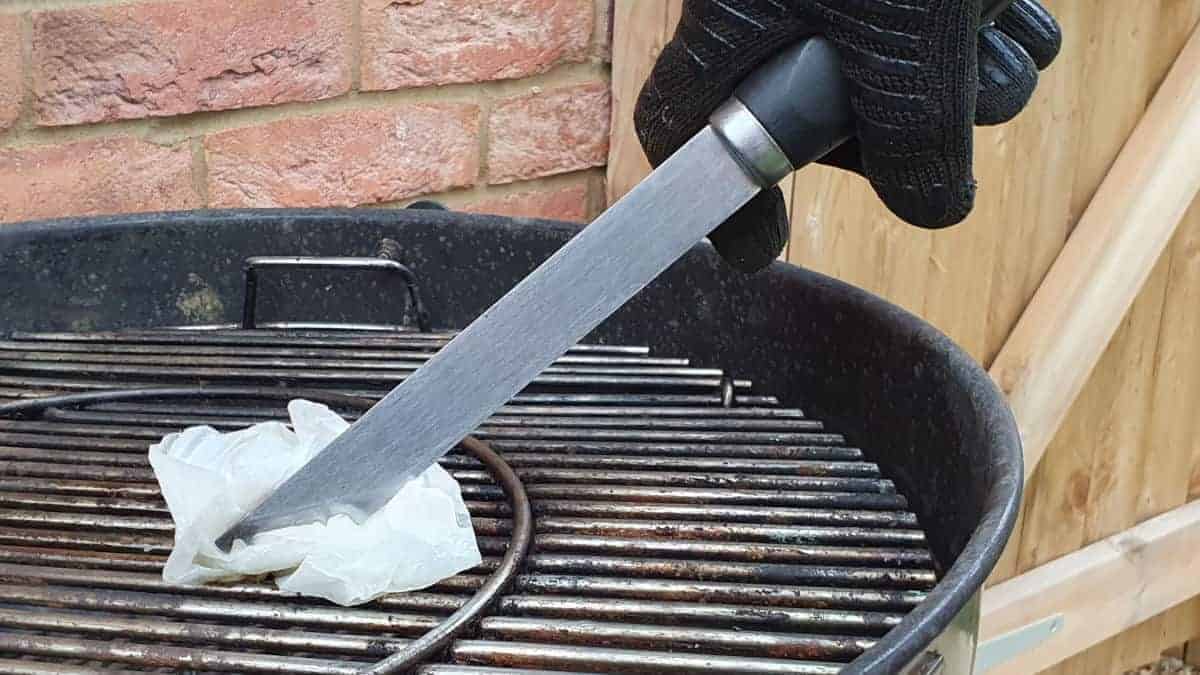
There are many things you’d like to take away from the grill. All your food, for one thing. The myth says to prevent food from sticking and creating a burning mess, use a paper towel dipped in oil to apply a light coat of oil to the grate. This is common Bob wisdom.
The truth? Oil not to be.
Oiling the grill before each use isn’t necessary if the grate is properly cured. Oiling the grill is part of the maintenance process, a step to take after cleaning the grill to prevent rust from setting in. Adding oil to a hot grill is in fact a good way to encourage sticking.
Putting oil on a grate that heats above the smoking point of the oil (usually 400 °F) will cause the oil to carbonize and gum up the grate. If you’re grilling below the smoking point, the oil really will coat the grate, enabling proteins and fats to release easily, but this is rarely the case.
Coating food with oil (one with a high-smoking point like olive or corn) fills in those tiny nooks and crannies on the food and the grate, creating a smooth surface pretty close to non-stick.
Food should release when water escaping from the food hits the oil barrier, lifting it.
There are several YouTube videos offering secrets to stick-free fish grilling (from potatoes to mayonnaise). We like this one where grill-meister Jaime Purviance shows how easy it can be.
Myth 23. Marinade Penetrates Deep
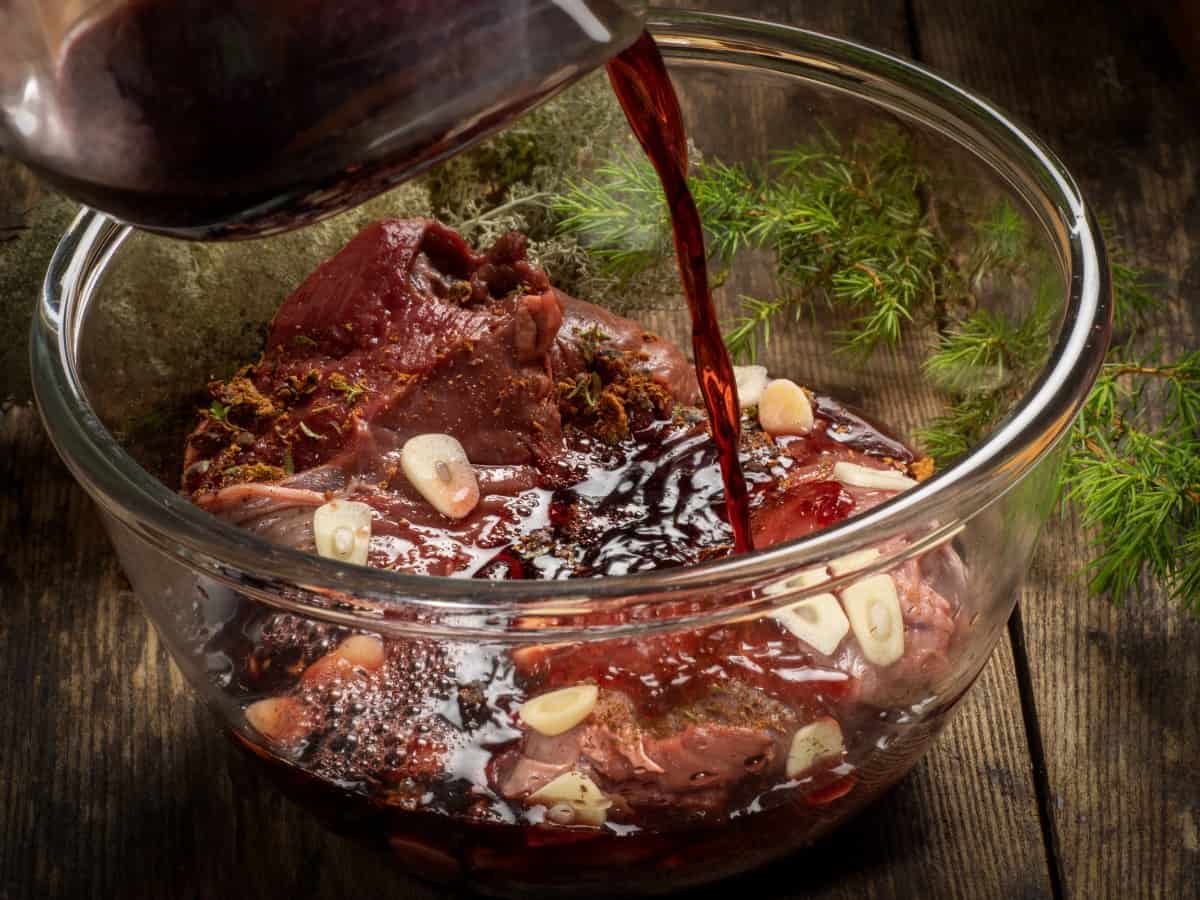
Let meat soak for a few hours or overnight to allow the marinade to really sink in, Bob counsels.
The truth? It’s really only skin deep.
Meathead uses the illustration of a saturated sponge to explain why putting meat, which is primarily water, into other liquid will only accomplish so much. There just isn’t any space for more liquid. Marinades won’t go more than 1/4” inch below the surface, no matter how long it sits.
And if you use liquor in your marinade, burn off the alcohol first. Otherwise, it will begin cooking the meat, creating a barrier to block the marinade from making its short journey.
Methods for delivering flavor deep into the meat that work are either brining or injecting.
Myth 24. Stabbing With a Fork Helps Marinade Penetrate
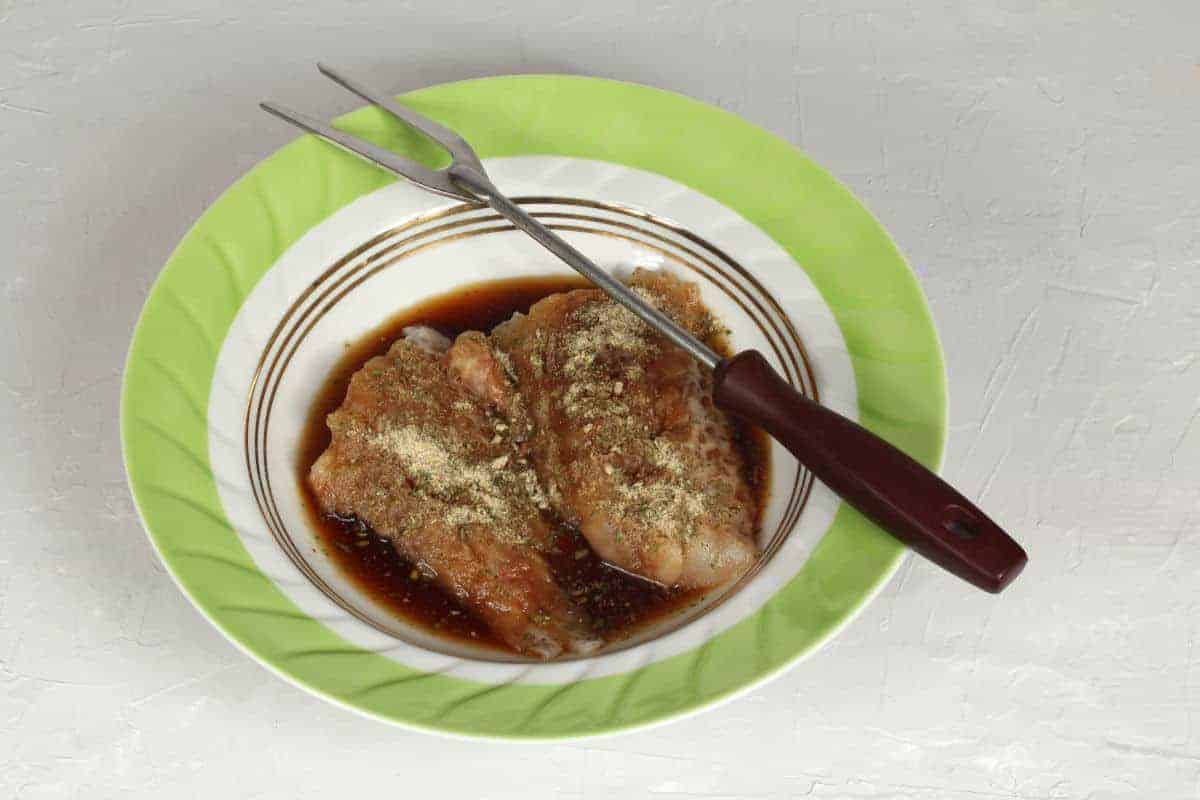
The myth says to deliver the marinade deep into the meat by pricking the meat all over with the tines of a fork.
The truth? Germs don’t taste good.
Surface bacteria usually killed in the heat of cooking is what gets delivered deep into the meat when holes are poked into it, with the bacteria carried deep into the meat via the spikes of the fork. Also, the holes will soon close in, filled with water from the meat, not the marinade.
So save the fork for when it’s most useful — turning the meat or eating it once cooked.
Myth 25. Only Season After Cooking
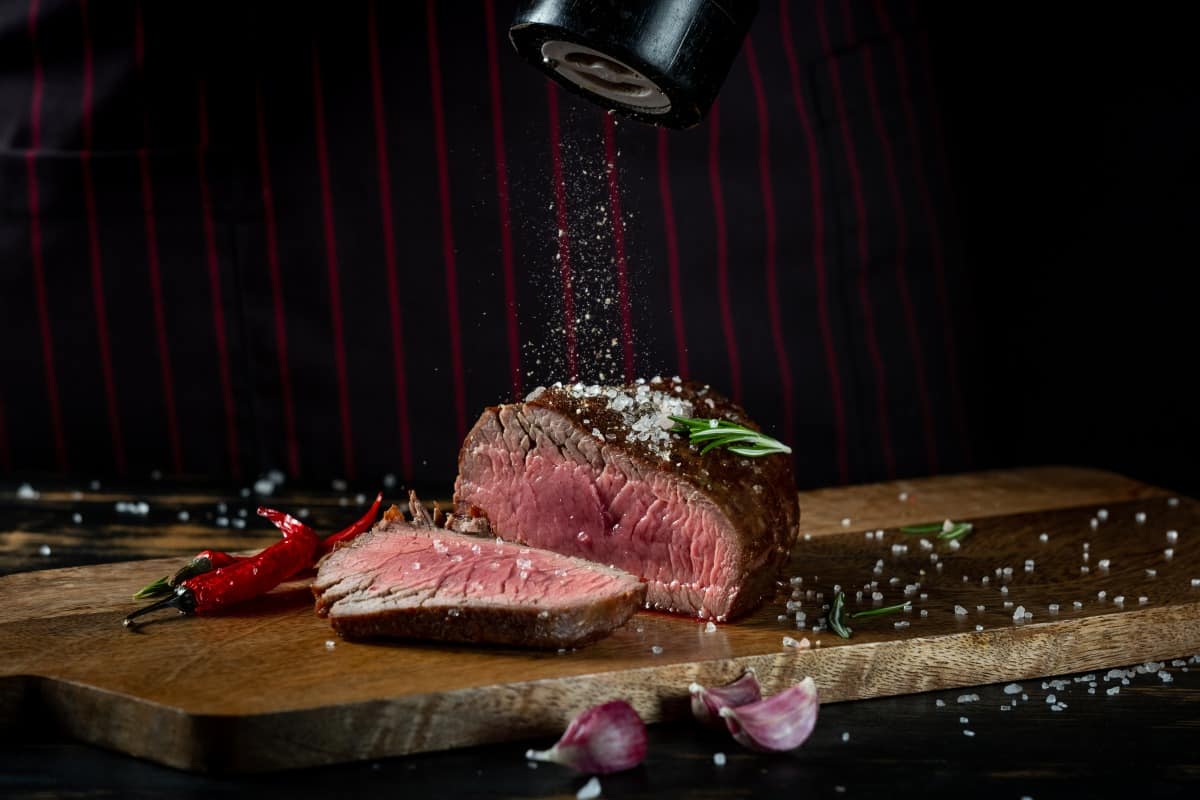
The myth states that seasoning meat before or while it cooks will make it dry out, and you’ll end up with shoe leather, Bob warns.
The truth? Seasoning before cooking aids moisture retention.
Busting myth 5 on his list, Kenji notes that salting a steak before cooking it helps it hold moisture while it grills. He and Meathead agree on the beauty of brining. Meathead’s 12-second video shows how salt sinks into meat in the process known as dry brining.
The process of salt drawing moisture out of the meat, dissolving the salt and then being re-absorbed relaxes the proteins, and the now ionized water has a stronger bond to the meat making it more likely to stay in the meat during cooking.
As a result, there’s more moisture within the top surface of the meat to carry it through the cooking process without drying out.
Other bonuses of dry brining: The salt boosts flavor without making the meat taste salty.
Myth 26. Use Your Fingers to Test Doneness
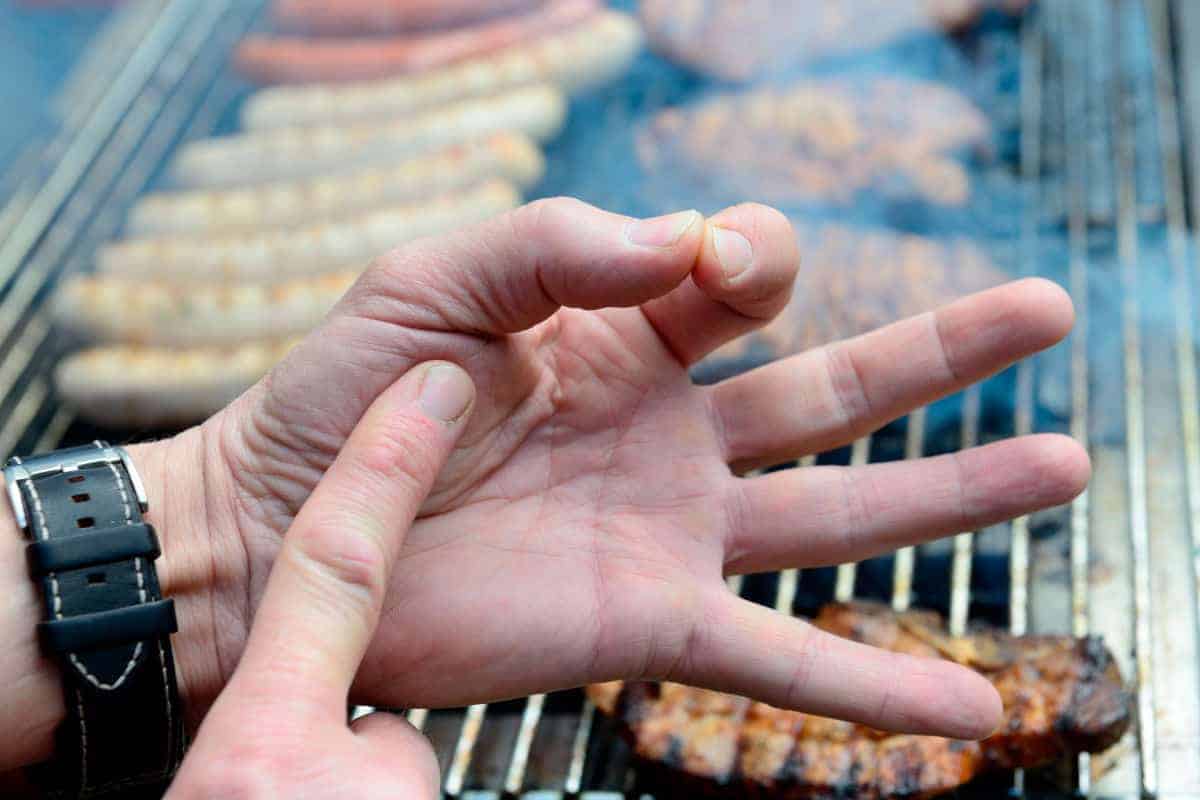
Bob says this is the poke method for testing doneness:
- Prod meat to determine the firmness/bounciness of the meat.
- Close one of the fingers of your other hand to your thumb in a pincer movement.
- Poke the meaty part of your closed hand at the base of your thumb to get a feel for how your meat should also feel.
- To determine rare cooked meat, compare it to the feel of the fleshy part of your thumb when it’s closed to your index finger.
- To determine if the meat is medium done: Compare meat to the feel of the middle finger being closed.
- To determine if the meat is well done: Compare meat to the feel of the pinky finger closed to your thumb.
The truth? Hands off the fingers.
Kenji rightly notes that hands vary by age, weight, gender, occupation, and physiology. And meats vary by age, thickness, cooking prep, cooking time, and other variables.
So stop poking at your food and fiddling with your (and others’) fingers. People will think you’re weird(er). Just use a thermometer for crying out loud!
Myth 27. Poking or Cutting Meat Leaks Juices
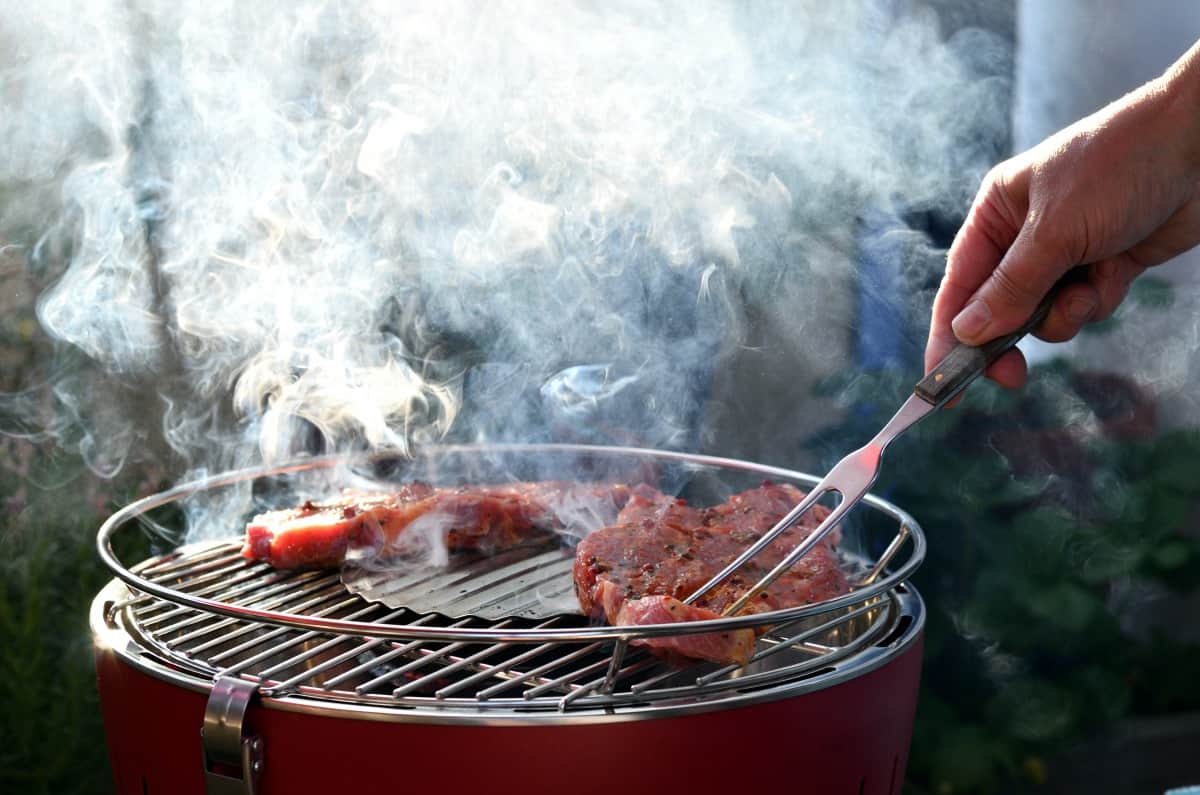
Another warning myth from Bob: Using a fork to turn or test steak will release all the juices and make the meat dry out.
The truth? Very little juice leaks, not a lot
Kenji poetically describes this as filling an Olympic-size swimming pool with balloons and throwing in a needle. So few balloons would burst, it wouldn’t be noticeable.
Of course, if you continually prod your meat many, many times, it may well have an effect. So don’t go overboard, but equally don’t be afraid of the occasional puncture either.
Myth 28. A Spray Bottle Works Best For Flare-Ups
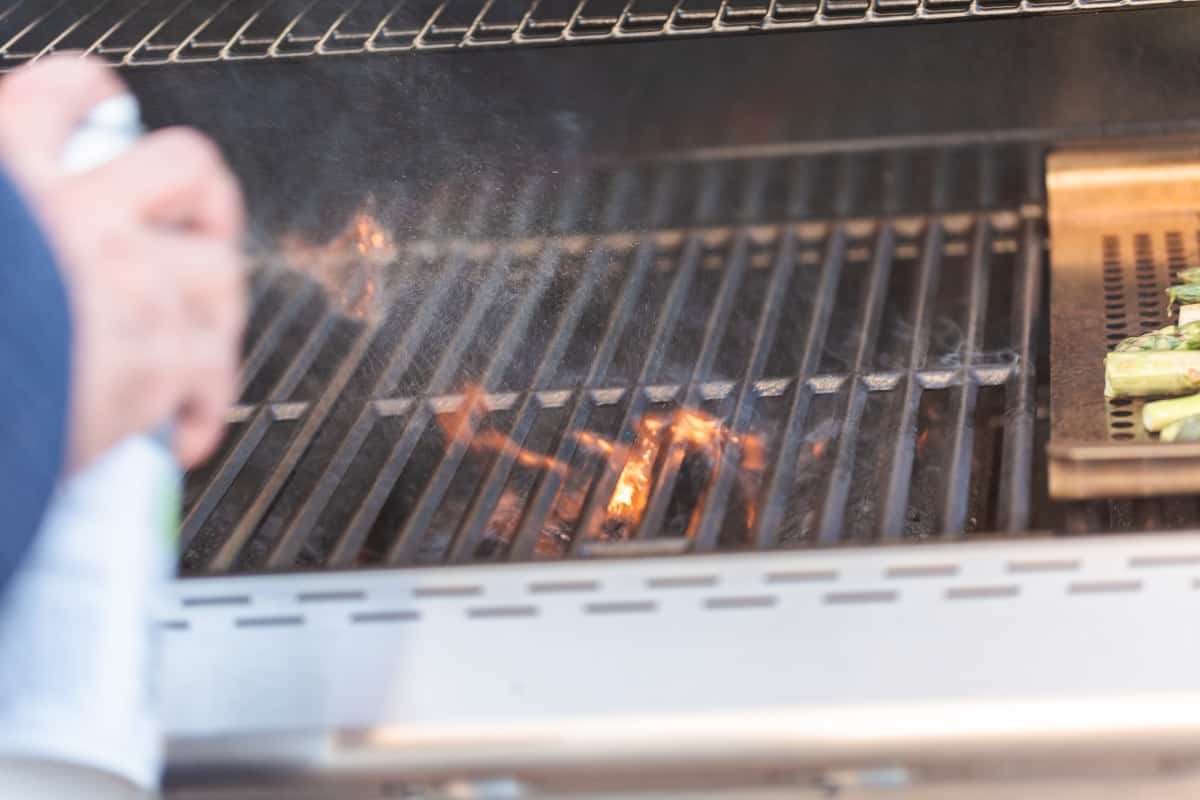
Fire-happy Bob says to have water on hand in case your grill erupts in flame. Spraying the fire will put it out quickly.
The truth? It’s a fire hazard in a bottle.
Grease and fat is the cause of grill fires. Spraying water on grease can make a bad situation terrifyingly worse.
Control flare-ups by depriving the flame of oxygen. After moving foods out of the fire zone, close the lid and vents and the fire will die down. Now, you can lightly spritz small charcoal flare-ups, but this usually has the effect of sending ash everywhere, all over your food. So we don’t recommend this either.
Instead, always have a ‘safe zone’ where there’s no fuel in your grill so that you can place food in this area off the heat until the flames die down.
Myth 29. Clean Gas Grills With High Heat
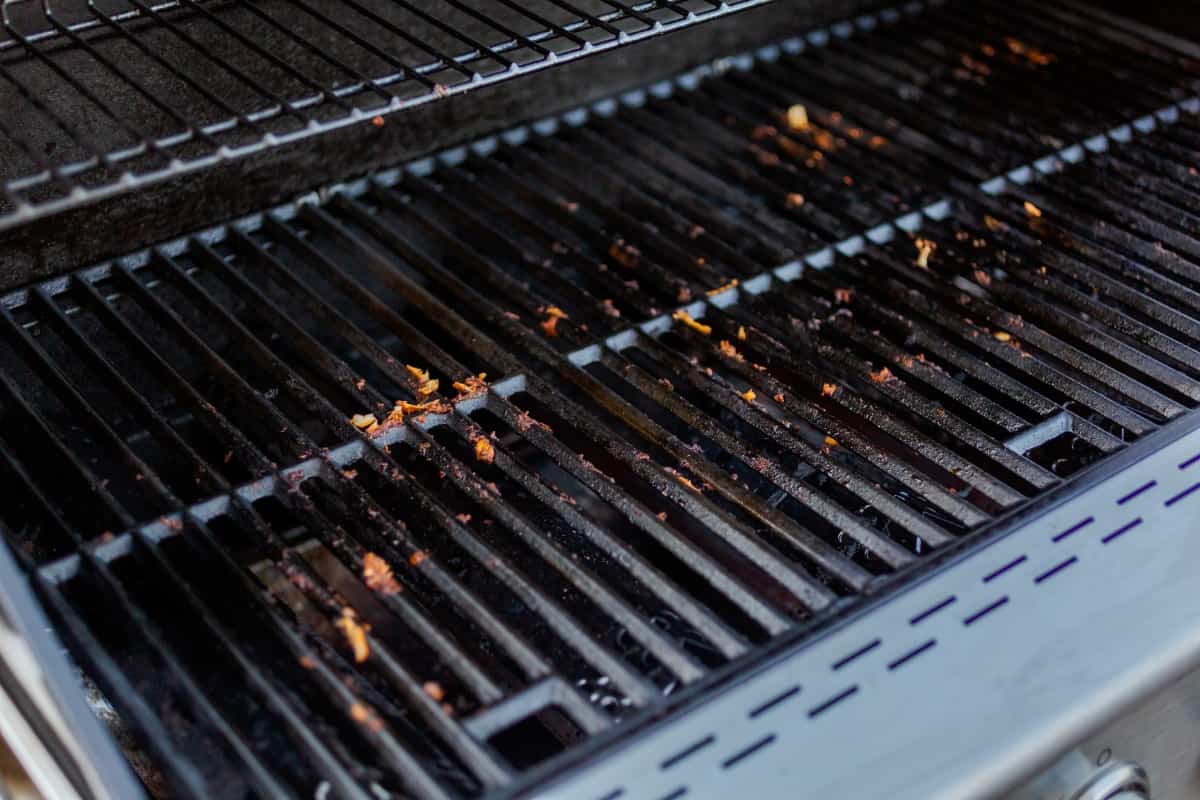
Another once-true wisdom, gas grills were run on high for 20 minutes. Once cool, anything not burnt off the grate could be easily brushed off.
The truth? This is a danger to gas grills.
TheSpruce warns that the new, lighter materials used to make grills cannot withstand the high temperatures formerly used. Quotes Char-Broil:
Blocking off the grate can overheat the entire firebox, and force heat into areas not necessarily designed for excessive heat. The firebox could warp, the porcelain could overheat and bubble or burn off/drip off, the gas train (valves, manifold, hoses, tank) could overheat causing catastrophic failure
Weber states:
Covering the cooking surface could trap gas and become a fire hazard and blocking the airflow causes very high heat that can damage valves, burners and supply lines that may make the grill unsafe to use.
Instead, they recommend preheating the grill 15-20 minutes to clear the grates of any gunk leftover from the previous grilling session.
Myth 30. Soak Bamboo Skewers to Prevent Burning
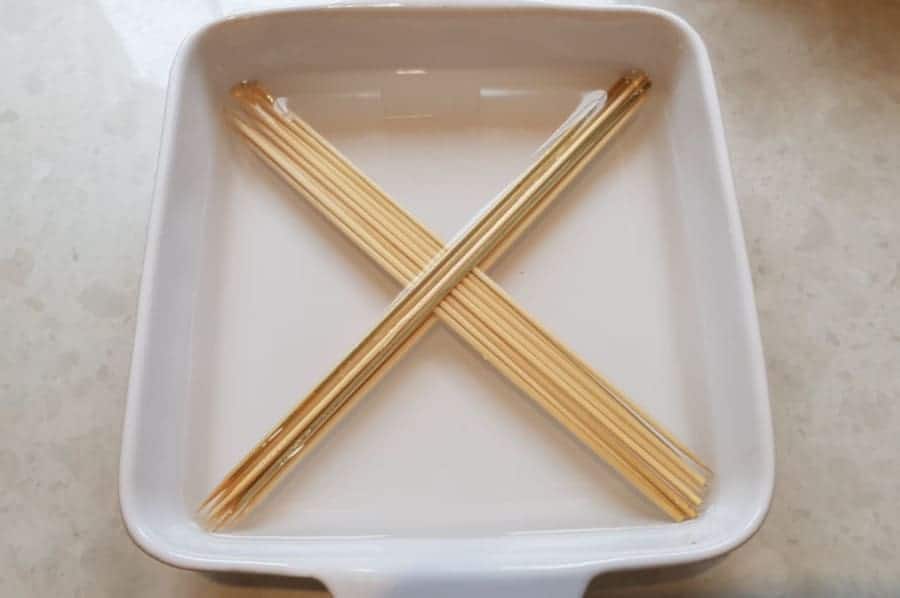
Bob always says this myth, that soaked bamboo won’t burn and ruin your kebabs.
The truth? Small thin wood is still small thin wood.
Bamboo is wood, teeny slivers of one of the strongest types of wood there is. However, it is still wood and highly prone to burning very quickly.
As discussed earlier, wood soaks up very, very little water, so it’s not a foolproof way to prevent burning. It will delay the inevitable by a few short seconds is all.
Instead, the general rule you want to follow is to use metal skewers for meats and poultry, as these will be on the grill for a long enough time to ignite cheaper bamboo skewers. It’s pretty much unavoidable, so use metal skewers instead.
However, for very quick cooking shrimp, fish, and many vegetables, bamboo is perfectly fine as it won’t be on the grill long enough to reach a temperature where it will ignite.
Myth 31. More BTUs Mean a Hotter Grill
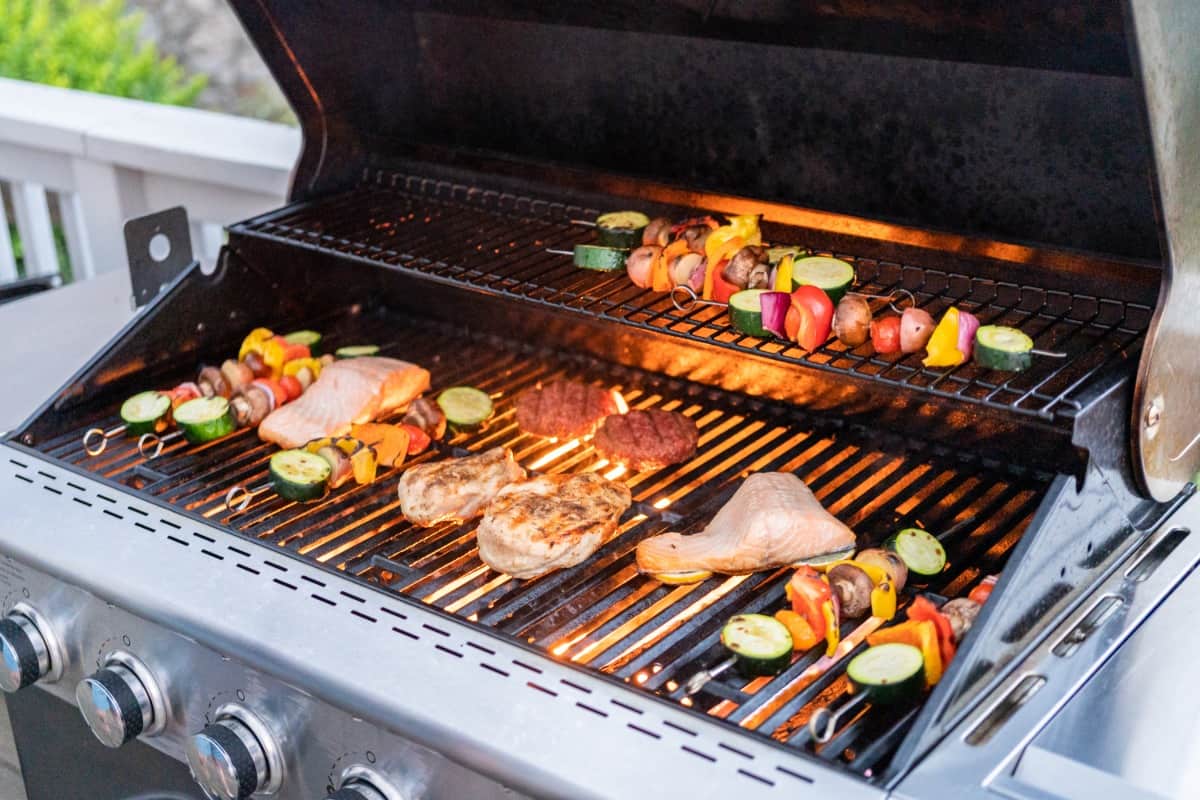
This myth from Bob says that you should look for a high BTU when shopping for a gas grill.
The folks at Char-Broil explain BTU stands for British thermal unit and is basically “a measure of heat output from all your burners in a given hour.”
The truth? BTUs are not a measurement of heat.
Other factors like the materials of the grill, the number of burners operating at one time, and the temperature of the burner(s) are more relevant to gas consumption.
Meathead (page 82) compares it to driving; knowing the miles per gallon (MPG) of a car doesn’t tell you how fast it goes.
To know how hot your gas grill burns, look at the distance between the burner and the cooking surface. Proximity to heat naturally affects cooking temperature and time, while cool spots can lower the temperature further.
Use a thermometer to measure heat, it’s the only true way to get to know your gas grill.
So why does BTU matter? Seriously, I’m asking. Why?
Myth 32. Boil Ribs To Make Them Tender
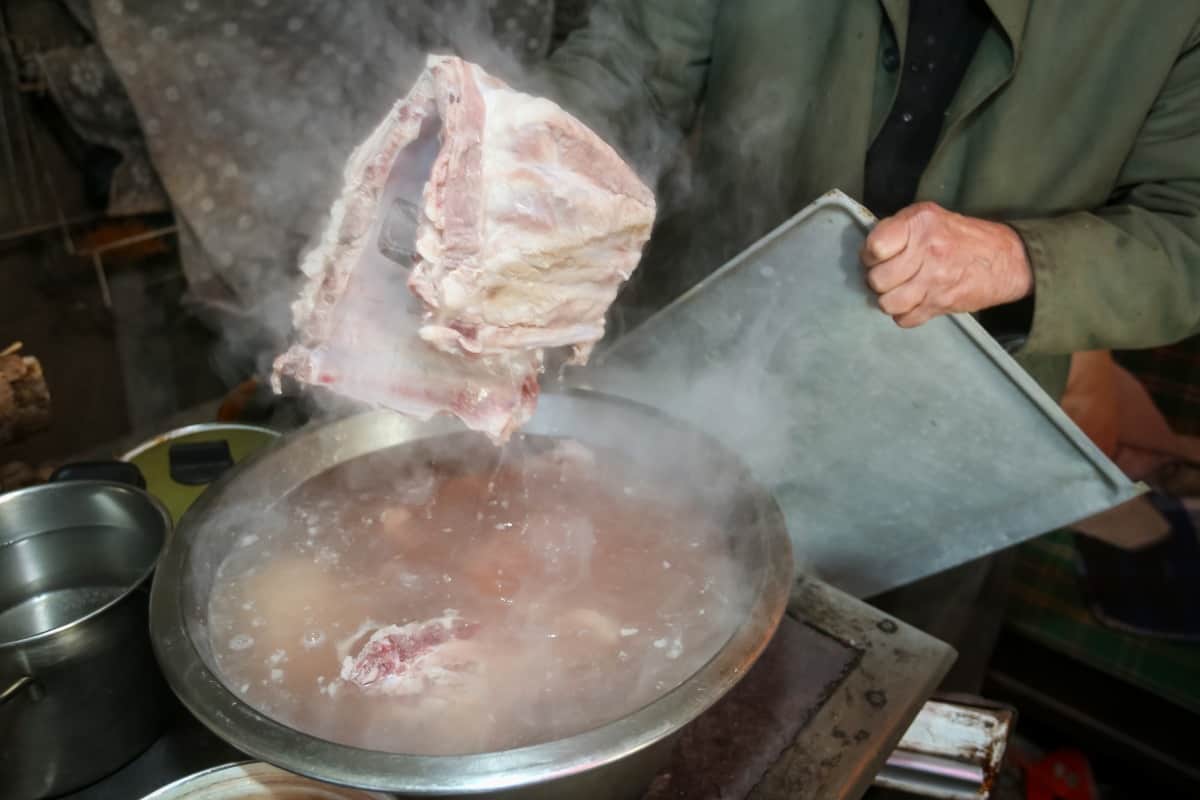
To reduce fat, tenderize the ribs, and speed up grilling time, boil ribs first before grilling, says Bob.
The truth? Water is for broth.
Meathead explains:
Water is a solvent that pulls much of the flavor out of the meat and bones and makes the meat mushy. Boiling also removes vitamins and minerals. That’s why the water is cloudy when you’re done.
Peggy Filippone of The Spruce notes boiling removes the natural juices of the ribs along with the unwanted fat.
Sure, keep the pot of water ready for those bare bones to make a mean bone broth. But to maximize rib meat flavor and moisture, either double cook by steaming, roasting, or microwaving before turning to the grill or broiler, or take the low and slow route.
Conclusion
And that just about sums up all the BBQ and grilling myths we could find.
So, what are your thoughts? Do you agree or disagree with any of these listed? We’d love to know your thoughts.
Perhaps you have another myth or three we should add to this list? Or maybe you’ve read new evidence showing one in our list is true? We’d be happy to make amendments to keep the list up to date if this is the case.
So please, do drop a comment in the section below.
Happy grilling!


Very informative. Things I’ve thought about many times and wondered about were brought out in this article.
So True, I grew up in South Carolina smoking Pork and then lived in San Antonio and took up Brisket. Ive tried a million ways slightly different here and there and not a huge noticeable difference, mainly because I smoke for 10-14 hours minimum, sometimes as long as 18-24. Ive always used the Texas Crutch because I like an offset and cook fat side up. I personally believe fat just adds to the flavor profile (personally). Lots of good stuff in here. Only part I wanted to add was I always use a water can. Some say that it just acts as a heatsink, but I can always tell the meat stays more moist and absorbs more smoke vs. spritzing. Thats just been my experience. Article is spot on! BBQ is a time game, always has been for the smoke flavor at least.